0:02
Inframomi is a Xiaomi Redmi Note 11, and today I will show you how we can bypass the Google
0:13
verification on this phone. Now you can see that the phone I have right here is locked and I can unlock it using a pattern
0:18
or using Google account by tapping right here. And that's something we don't know either of those, we're going to bypass it by going back
0:24
to the Wi-Fi connection page. Now you want to start off by actually connecting to Wi-Fi, which
0:29
as you can see I already am connected and once you have connected to one
0:33
scroll all the way down to the network and then in SSID just type in YouTube.com
0:44
Once you have done so hold the text and then select the little chain link icon which is
0:51
the second one. This will open up our well YouTube so from here you will select the
0:58
account icon and then navigate into help and feedback and then describe your
1:05
issue you want to type in delete or disable now once you type in delete or it
1:15
should show up as a suggested so delete or disable apps on Android click on the
1:20
suggested option right here and from here we're gonna simply tap on the top to
1:26
go to application settings In here, once it loads up our apps, you want to type in top on more, show system
1:37
and we're looking for Android setup, which is right here. Now, it looks like we have two of them, so I keep that in mind
1:44
I'm going to start off with the first one, and I'm just simply going to select disable, disable app
1:48
and then I believe I also need to forest stop it Or not So I going to keep it on So I have disabled the setup
2:00
then I'm going to go to the second one. And. For a stop
2:06
And okay. So from here, I'm going to go back again to the app info page right here
2:13
And we're now looking for Google Play Services. So scroll down to G
2:19
There we go. Google Play Services, just right over here. Click on it
2:25
And same as before. Disable. Disable up. And also for stop. And okay
2:33
And last thing's last. We're going to now go back again. And we're going to scroll all the way down to settings
2:41
There we go. Now again, we have two different settings. So we want to open up the first one, which is this one, with this specific
2:49
icon as you can see now there will if you open up the wrong one don't worry or one of
2:55
them just simply won't have the open option right here so that's the one that
2:59
you're looking for from here gonna select obviously open and from our settings
3:05
we're now gonna go into accessibility settings which is under additional settings so additional settings and accessibility and
3:19
And in here, we are looking for accessibility menu, and you want to toggle it on, and
3:26
select Allow. As you can see, it gives you this pop-up, letting you know that this is the accessibility
3:31
menu right here, so click on OK. And we're now going to back out to the Wi-Fi connection page
3:41
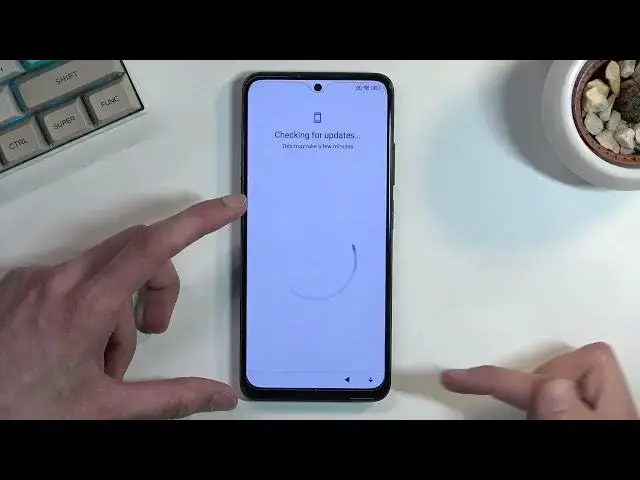
There we go And from here we going to now progress to the next page And it will be stuck on this page now for basically ever unless we do something
4:01
So that is what we're looking for. And now comes the tricky part, I guess
4:08
So you're going to click on the accessibility menu. Then you're going to go to Google Assistant
4:13
and it does nothing. Let's try it again. Add Flickr, Flickr, and there we go
4:19
There is a settings option, which disappears after a moment. When I click on that settings, this will open up our Google Play Services page
4:26
where we, it looks the same as the one that we have disabled
4:30
And all you need to do is select enable. And as you see, this is kind of like tricky, doesn't want to always open
4:38
there it was... And enable it's right here
4:56
So, just want to keep on trying until you can get it enabled
5:08
There we go. So I have just enabled it and from here you're going to go back
5:18
And this will simply skip the page where we need to verify. So we're going to now finish up the setup
5:28
Select whatever search engine you want, it doesn't really matter. I Now once we gain access to our home screen
5:54
which should be any moment now. There we go
6:05
It's still loading apps. There we go. So once you have your apps and everything, from here you want to navigate to your settings
6:13
scroll down to additional settings, and scroll down, and here you'll find factory reset
6:21
You want to select right here, erase all data, factory reset. It blocks you by 20 seconds, so 10 seconds to press next and then another 10 seconds before you can press OK
6:32
Now, I won't be actually going through this process, though it is necessary
6:39
The reason why I'm not going to go, at least on camera, I will still do it off the camera
6:44
It's just because it provides you with no additional content. Once you press on that OK button, the factor reset will begin
6:51
and what this will do is basically remove the protection on the device
6:55
so the Google account and a pattern that was set on this phone will be completely erased
7:00
And it will bring you back to the setup screen from which you can set up your device however you like
7:06
That's why, like I said, I don't really see a reason to record this
7:10
because once you press on OK, it's just a couple minutes of factory resetting
7:14
and then it's just a setup screen, which you can go through however you like. And that being said, this is how you would bypass the Google verification on this phone
7:23
And if you found this very helpful, don't forget to have it. like, subscribe, and thanks for watching