Up next in 10

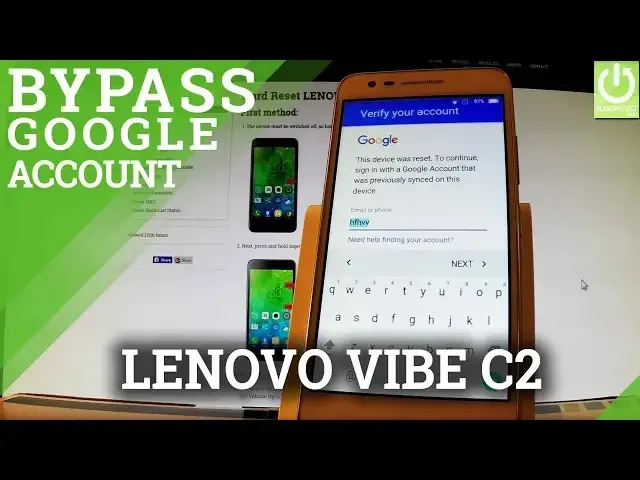
Bypass Google Verification in LENOVO Vibe C2 - Activate LENOVO Without Google Account
May 26, 2024
How to bypass google account on LENOVO Vibe C2? How to bypass google verification on LENOVO Vibe C2? How to remove frp in LENOVO Vibe C2? How to active LENOVO Vibe C2 without google account?
This video presents the way of bypassing Factory Reset Protection. You can skip google verification and active LENOVO phone without google account.
More Info:
http://www.hardreset.info/devices/lenovo/lenovo-vibe-c2/
Show More Show Less View Video Transcript
0:00
Here I have random situate
0:07
Let me show you how to bypass Google verification, so I'm saying in other words how to remove factor risk protection
0:12
Here I have my device after the hardest operation and as you can see now we have to input my Google email and password
0:19
So let's assume that I want to bypass the following step. So let me show me how to do it
0:24
At first you have to activate a keyboard and start inputting a random word
0:28
Then highlight the whole word, tap more button and choose assist. Wait a few seconds
0:39
Choose no thanks and use Google Searcher to input Chrome. Let me correct my word, as you can see the Chrome app just pops up, let's tap it
0:54
Choose, accept and continue
1:08
Choose no thanks. And now you can use Google Searcher in Chrome
1:19
That's what we need. Let's type in the following text. Test. DPC
1:27
Excellent, let's choose search button. Let me change to English
1:37
And let's use the following link, it's the first one. Excellent, then scroll down to the bottom of the page
1:49
and here you should find download AP key, this button, let's tap it
1:53
Let's tap it. As you can see, your download is starting, that's what we need
2:09
Choose update permissions. Allow Chrome to access photos media and files on your device tab okay As you can see the file is downloading Now you can open this file
2:29
Let's do it. Let's tap open. Excellent. Let's tap the following file right here
2:36
Install blocked. So let's tap settings. And you have to unknown sources
2:42
Unable unknown sources right here. Let's do it by using the following switch
2:46
You can read the information. information tab okay excellent now let's go back and let's tap it one more time now
2:55
you can choose install test dbc is installing tap accept now you can choose open now you
3:11
have to choose setup device owner right here and choose setup button the following one now let's select encrypt and now you have to connect
3:27
your device to your charger so let's do it now you can choose encrypt phone right here
3:47
and you have to wait a few seconds. Remember to keep your charger plugged in
3:53
You can't. Disconnect your charger, it's not necessary right here
4:24
Let's wait a few seconds. I going to be Thank you Excellent welcome panel just pops up Let tap next
4:59
Tap skip. Then select Setup
5:26
Tab OK. When the following message appears on the screen, choose
5:41
set up phone when the following message appears on screen one more time let's use your
5:48
power key and choose reboot tab okay to confirm it
6:11
I'm going to be So, Excellent, let's unlock the screen
6:50
Now you can choose start using your device, it's the bottom right here, let's choose this button
6:57
tap skip let tap skip to add in any account right here and choose next Tap finish and choose got it As you can see now you can use your device You can go to settings and check if any Google account is
7:18
signed in. Let's choose accounts. As you can see there is no Google account so that's what we need
7:25
But in order just to be sure that you don't have any
7:30
factor risk protection turned on, Let's accomplish the hardest operation one more time by using settings
7:39
So let's go to Personal tab and choose Backup and Reset. Then select Factory Data Reset, choose Reset Phone
7:48
And tab erase everything to confirm erasing all personal information and download tabs
7:53
Tab OK one more time. Now wait a couple of seconds. I'm going to be The
8:34
Excellent, they welcome panel just pops up. So let's go through the initializing process, let's tap next
8:45
Tap skip to inserting SIM card, tap skip to connect it to one of the mobile networks
8:51
to Wi-Fi networks, tap next, next, next one more time, let me go back and don't protect
8:59
this device, so let's skip it, skip anyway. Agree to all terms and conditions of Google services and choose next
9:10
And tap, got it. Excellent. Now you are sure that you don't have to input any Google account
9:16
so the factor system was erased. Now you can use your device
9:21
Thank you for watching. Please subscribe our channel and if thumbs up under the video
#Hacking & Cracking
#Consumer Electronics
#Science