0:00
Welcome! In front of me I have a realme Narzo 50A Prime and I'm gonna show you
0:12
how to set up and enable the portable hotspot on this device. Let's start by
0:18
opening the settings on our phone. To do it swipe upwards on the screen to open
0:22
the app menu, then tap on the settings icon to open the settings. In settings
0:28
tap on the network and internet option, then tap on hotspot and tethering and
0:33
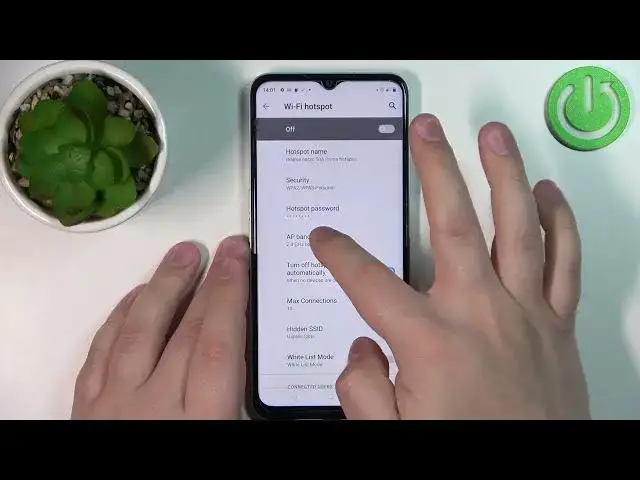
then select the Wi-Fi hotspot. And here we can set up and enable the portable
0:40
hotspot. First let's set up our hotspot. So we can tap on the hotspot name right
0:46
here to change the name. Like that. We can tap on security to change the security type and you have
0:58
couple of options. If you select none you won't have the password protection
1:02
If you select the WPA2 personal you will have the password protection with this
1:06
protocol and you can select the WPA2 slash WPA3 personal or WPA3 personal
1:14
only. Select the option you like. I believe this is the default one and
1:19
that's the recommended one. Next we can tap on hotspot password to make it
1:24
visible or to change it. Like that. Below we have AP band and here we can select the AP band for our network
1:38
and you have 2.4 gigahertz and the 5 gigahertz. I recommend to use the 5
1:43
gigahertz but some devices won't be able to connect to your Wi-Fi hotspot like
1:49
that because they might not be able to use the 5.0 gigahertz band but that's
1:57
really old devices honestly. Next we have turn off hotspot automatically when
2:03
devices are not connected and you can enable or disable this option so if
2:08
there is no devices connected to your network it's gonna turn itself off
2:12
automatically. Below we have max connections and here we can select how
2:16
many devices can be connected to your network at the same time and you have
2:20
from 1 to 10. Select the option you like. Below we have hidden SSID. If you enable
2:27
this option people who will look for the networks nearby won't see your network
2:32
so it's not gonna be visible on the list of networks so you will need to enter the
2:37
or rather give people the ID of your network for them to connect to so they
2:42
won't be able to find it. And next we have whitelist mode and we can enable it
2:48
and basically you can whitelist the devices and only the devices on the
2:52
whitelist will be able to connect to your network. And if you want to
2:57
customize the whitelist you tap on the manually add whitelist device and you
3:01
can tap right here enter the device name the MAC address and whitelist it. And
3:06
once you're done customizing the settings for your hotspot you can enable
3:10
it by tapping on the switch at the top like this. And now the hotspot is enabled
3:16
you can tell by this icon right here at the top of the screen. And to disable it
3:21
simply tap on the switch again. You can also enable and disable the hotspot by
3:25
using the quick panel. So open the quick panel by swiping down from the top of
3:29
the screen twice like this and you should see the hotspot icon on this
3:35
panel. You can tap on it to enable the hotspot and it's now enabled. And to
3:41
disable it you can open the quick panel again and tap on the icon again like
3:46
that. You can also press and hold on this icon to open the hotspot and tethering
3:50
settings. And that's how you set up and enable the portable hotspot on this
3:57
device. Thank you for watching. If you found this video helpful please consider
4:02
subscribing to our Channel and leaving the like on the video