0:30
After the watch turns on you should see the list of languages on the screen
0:35
You can scroll through this list by swiping up and down on the screen. Now find the language you like to use on your watch
0:41
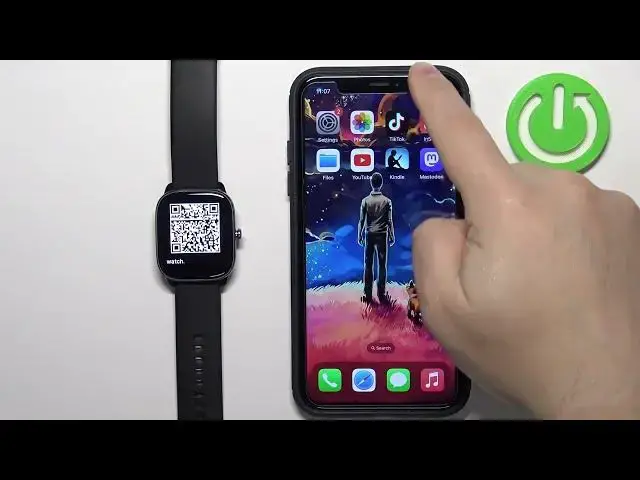
and tap on it to select it, for example English. And once you select the language you should see the QR code on the screen
0:48
This means we need to download and install the ZEP application on our iPhone
0:52
So make sure you have the internet connection and Bluetooth enabled on your iPhone
1:25
Tab on it to select it And then tap on the get button to download And install it
1:37
Once the application is done installing you can tap on the open button to open it
1:44
We can allow or deny some permissions like location. I'm gonna allow it but you can deny it if you want
1:50
The bluetooth one is required so allow it. So tap on OK
2:22
to login, like Apple, Facebook, Google and stuff like that. I already have an account, so I'm going to tap right here, enter the email address and password
2:35
OK, and once you're done entering the credentials, you can tap on sign in to login
2:48
After you login, you'll be asked for more permissions. For example, this is the access to the motion and fitness activity
2:56
So if you want to track stuff like health like training exercises and stuff like that you need to allow this permission If you don care you can deny it
3:06
And next we have the notifications. So basically, if you want to receive the notifications
3:10
from your iPhone on the watch, you need to audible this permission. If you don't care
3:14
you can deny it. I'm just going to allow it. Then we can tap on OK right here
3:18
and allow or deny some of the health permissions like heart rate
3:22
and stuff like that. So basically, you can allow to write the data for heart rate
3:29
read the data for heart rate. You have write and read categories basically
3:33
and you can enable or disable them by tapping on the switch according to your preferences
3:39
I'm just going to tap on turn on all and then tap on allow, but you can deny them if you want
3:44
And once you're done with the permissions, you should see the homepage of the application
3:48
Now tap on profile, tap on add device. to tap na watch
3:57
tap na agree ok and the phone should open the camera up basically
4:08
what we need to do is to scan the QR code with our phone so we need to put the camera
4:12
on the watch and scan the QR code and once it's done scanning
4:18
it's gonna connect the devices Now we can confirm the pairing by tapping on the checkmark Here we can synchronize data from the previous device
4:40
So for example device settings, notifications and alert data of the health, basically PAI data
4:49
Also, if you get this popup, you can tap on Pair right here
4:53
And again, you can allow or deny permission for the notification. I'm not going to synchronize anything
4:59
so I'm going to uncheck the boxes but if you want to
5:03
synchronize something you can check the box next to it to select it and then
5:07
you can tap on synchronize account information I'm just going to tap on set as new device
5:11
then tap on done and at this point you should see the
5:19
device page for your MS with GTS form menu also if you wake up the screen on your watch
5:25
w którym można zobaczyć welcome screen i można tapć na checkmark to go through the tutorial
5:33
i'm just going to tap on X to skip it and as you can see now
5:39
we can use our watch like this and that's how you pair this watch
5:45
with an iPhone thank you for watching if you found this video helpful
5:51
please consider subscribing to our channel