0:00
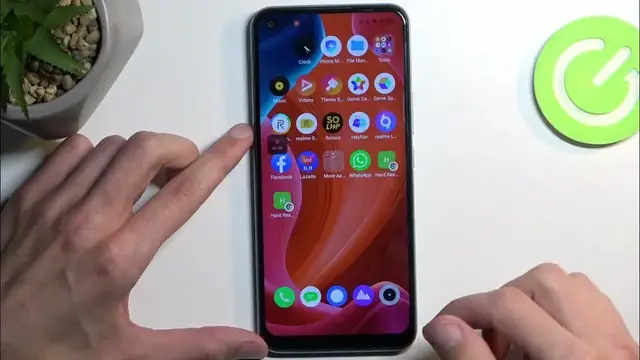
Welcome, Infonomy is a RealMe C17 and today I'll show you how you can record a screen on this phone
0:09
Start it, pull down your notifications and then swipe down once again to extend the list of toggles
0:14
Now we're looking for the screen recorder toggle. If you don't see it on the first page you can
0:18
swipe to the left to see additional pages. For me it looks like it's located at the very top
0:24
on the second page. Once you see this toggle you can tap on it. It will give us this side panel
0:31
right here with a couple options. We have record, settings and close. Now I am going to navigate to
0:38
these settings. By default when you click on it it just gives you a couple options which is the
0:43
recording of sound. You can record either system sound or microphone or both or none. But we do
0:49
have the more settings option which will give you a bit more in terms of settings. So number one and
0:57
probably the most important one will be the video resolution which is set to medium. This is the
1:03
highest it can go anyway. Then below that we have frame rate which is set to dynamic meaning it will
1:13
change itself depending on what kind of resolution you're recording at or what the content is that
1:20
you're recording at as well. So if an application that you're trying to record does not run at for
1:29
instance 60 maybe it's a game and it's capped at 30 then the screen recorder will automatically
1:34
record at the 30 frames. And the benefit of that is your recording will take a little bit less of
1:41
your storage space. And obviously vice versa every game that you're recording is playing or running
1:48
at 60 frames then the screen recorder will automatically switch to that frame rate and
1:53
record at that frame rate. In any case we have a couple additional settings which you can go over
1:58
customize them to fit your needs. From there click on the record button. This will start recording
2:05
And once you're done you can interact with the overlay and either pause or stop it
2:13
Now I did stop it which will automatically save it to the Photos application
2:22
And you can see it right at the top. Now we should also probably find it in our albums
2:28
and we have an album called videos where this will be created more stored in
2:36
So there we go. Now that being said the bit rate right here is absolutely garbage which you can
2:46
kind of see when watching this back. So it does pixelate right here. It's super low quality
2:55
So if you find this on your device to change this because I'm pretty sure you can
3:03
Let's go back to the settings. You'd go to video resolution, select it to be custom
3:10
and then select the bit rate to be maxed out instead of 8, make it 16. And this should resolve
3:15
this problem. It will take basically double the amount of storage that it was recording on this
3:21
setting but it should then resolve this problem where it's just becoming this kind of pixelated
3:26
mess at certain points. So there we go. Now anyway if you found this very helpful don't
3:32
forget to hit like, subscribe, and thanks for watching