0:00
Welcome, Infronomy I have Blackview A80 Pro and I'm going to show you how to enable the
0:11
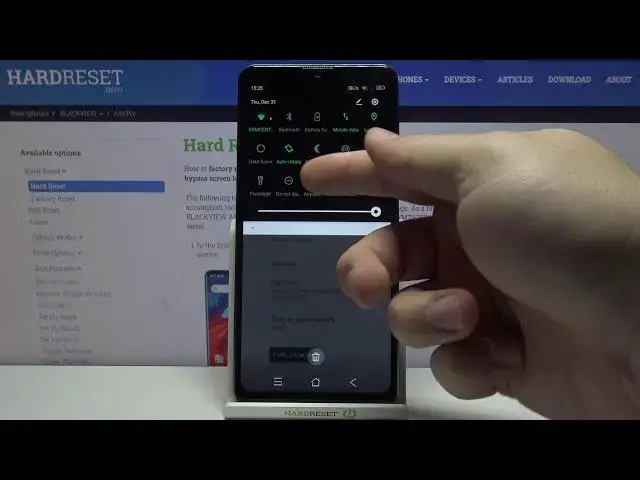
do not disturb mode on this device. First, let's open the quick panel to do it swipe down from the top of the screen twice like this
0:20
and here we have do not thester mode icon to enable the mode simply tap on it and to disable it
0:26
tap on the icon again. You can also press and hold on this icon to enter the do not-distar mode settings
0:33
And here we have a few options we can adjust for our do-not-dister mode
0:38
First, we can tap on sound and vibration. And here we can enable or disable some of the features like alarms, media, and touch sounds
0:47
You can basically enable them or disable them by tapping the sliders next to them
0:53
Let's go back. Below sound and vibrations we have notifications Let's tap on it
0:58
And here we can select one of the profiles First one is no sound from notifications
1:03
Second one is no visuals or sound from notifications And the last one is custom
1:08
You can tap on this settings icon right here To adjust your custom profile
1:13
And here you can check or uncheck the options you like By tapping the boxes on the right side
1:19
Okay let's go back below notifications we have calls let's tap on it
1:26
and here we have a few more options first one is allow calls
1:30
and here you can select from whom you going to get the sound notification when the Dunadistremode is enabled and you can select from anyone from contacts only from start contacts only and from no one
1:44
If you select from start contacts only, you get this option right here, start contacts
1:49
you can tap on it, and here you can add the contacts to the start list, basically favorite them
1:54
So let's tap on the contact and tap this star right here to favorite the contact
2:00
And now when we go back to the Duna Distermot. mode settings
2:04
You will see our contact right here is in start contacts and when this option is selected
2:13
and do not this term mode is enabled. If this contact calls you, the sound notification will go through
2:19
If somebody else calls you, it won't. And below we have allow repeat callers
2:25
This option, what it does is basically if somebody calls you more than once within a 15 minute
2:30
period, the sound notification will go through. and you can enable or disable this option right here
2:37
Okay, let's go back and tap on messages, events and reminders. Here we can tap on allow messages as the same option as for calls
2:47
As you can see, you can select from anyone, from contacts only, from start contacts only and no one
2:52
I'm going to select from contacts only, for example. And right here we can also enable and disable to allow reminders or allow events
2:59
by tapping the slider next to them. Next option is duration, let's tap on it
3:07
And here we can select for how long the DunaDist term mode will be enabled. You can select option until you turn it off Basically it will be enabled as long as you keep it on To disable it you need to do it manually You can tap on for one hour and here you can for example set a certain period of time
3:26
for how long the, basically the Do Not Thermol be enabled. And you can add and subtract the time by tapping plus and minus buttons right here
3:35
And at the bottom we have Ask Every Time. This option, how it works is basically when you enable the..
3:41
Do Not in the Stere mode by tapping the icon. It's going to ask you if you want to select the option until you turn it off
3:47
or enable it for a certain period of time. Okay. And below duration we have turned on automatically
3:56
Let's tap on it. And here we can set up schedules basically for Do Not Distermode
4:00
As you can see, we have two pre-existing ones. We can tap on sleeping, for example
4:04
To enter the editing mode of it, we can tap on this pencil icon right here
4:10
to edit the name and tap okay below we can enable it
4:17
or disable it like this next option is days and here we can select the days
4:22
on which this schedule is going to be active basically and we can check them
4:27
or uncheck them by tapping the boxes next to them like that
4:31
and tap done below we have start time and this here you can set the time
4:36
on which the schedule is going to be turning on to do it Press and hold on this green circle drag it around the watch face or clock phase to set the hour release it and do the same four minutes like that then tap okay Next option is end time and basically this is the hour on which the schedule is going to be turning off
5:00
Let's set it to 7, 30 for example, and tap okay. And at the bottom we have an option called alarm can override end time
5:09
and this basically allows you to turn off the schedule by when the alarm turns on
5:17
So if you have an alarm set up for example 7 and this schedule is enabled
5:23
it's going to turn off the schedule when the alarm turns on. Okay
5:27
We can also add arm on rule by tapping on add rule and selecting the type, not time
5:34
I'm going to select time, for example, enter the name, tap add
5:41
And here again we can edit these settings as we did before. Okay
5:46
You can also remove the rules you added by tapping the Ben icon right here and tapping
5:52
the lid. Let's go back to Do Not Distermode settings. And last option right here is this button right here at the bottom and you can turn on
6:00
the Do Not Distermode by tapping on it and turn it off by tapping on it again
6:09
And that's how you enable the Do Not Distermode on this device
6:14
Thank you for watching. If you found this video helpful, please consider subscribing to our channel and leaving the like on the video