live_tv
Livestream Starting Soon
00
Hours
:
00
Minutes
:
00
Seconds
Up next in 10

Read more about Alcatel U5 HD Unlock FRP Method:
https://www.hardreset.info/devices/alcatel/alcatel-u5-hd/faq/bypass-google-verification/
Follow our steps to bypass Google lock. If you forgot the Google password you should watch our instruction to remove factory reset protection on ALCATEL U5 HD. Easy way to skip factory reset protection in Alcatel U5 HD. This unlocks FRP method works with all Alcatel with Android 7. Let's activate Alcatel U5 HD without a Google account.
How to bypass Google Account protection in ALCATEL U5 HD with Android 7.x? How to remove factory reset protection in Alcatel U5 HD? How to unlock FRP in Alcatel U5 HD? How to bypass Google lock-in Alcatel U5 HD? How to unlock Alcatel U5 HD?
Follow us on Instagram ► https://www.instagram.com/hardreset.info
Like us on Facebook ► https://www.facebook.com/hardresetinfo/
Tweet us on Twitter ► https://twitter.com/HardResetI
Show More Show Less View Video Transcript
0:00
Welcome
0:07
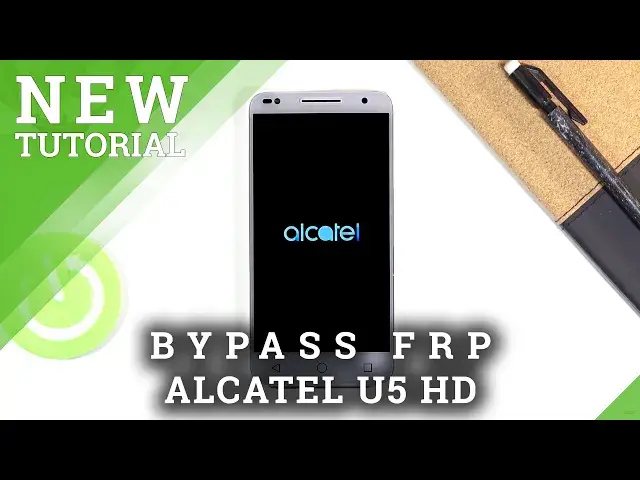
And finally is an Alcatel U5HD and today I'll show you how to bypass the Google verification
0:14
I'm going to actually quickly get through this which will probably take a little bit of time
0:19
So let me quickly connect to Wi-Fi. So while this connecting and there we go, it's checking, I'm going to mention what we
0:29
will need for the process so you will need an SD card I have one right over here it's
0:33
only 16 gigs but it doesn't really matter the size and what you want to do is
0:39
download the links provided in a description of the video so there will be two
0:43
applications one will be the FRP bypass app and the other one will be a settings app so what you want to do is basically download them on your computer
0:50
load them to the SD card and then once they once you have done that which you want to
0:54
do is pop it into your phone now you're gonna wait there we go to this page so
0:59
So as you can see the phone right here is locked. So I would not be able to basically get through this without actually providing the proper
1:08
email address along with the password for it. Now I already did load up the two files on the SD card which you will see soon after
1:16
But let's pop off the cover right now. There we go. So from here I'm going to simply pop in the SD card which goes really, which goes really
1:29
right over here. And this will bring up this window right here
1:36
So SD card ready, change the default rating disk. Tap on OK
1:42
This will open up the storage. From here, you want to select the SD card, which is at the bottom
1:51
And start off by tapping on the FRP application. Now before we can actually install it, we'll need to grant access to its
1:59
Let's go into the settings right here. And what you want to do is check the unknown sources
2:05
So turn it on, confirm it. And as can see, it's on. And also, while you add it, you want to go to the device administrators
2:13
And top on the checkmark right over here. And deactivate this device administrator
2:18
As you can see, it's now disabled. So we can go back go back once more and tap on the application once more to install it Now once it done installing click on Done and then choose the settings And let select install
2:38
And this time around you want to open it up. So this will open up settings
2:43
And from here, let's scroll down to apps, which, there we go, apps, tap on that three dots
2:50
and go to show system and scroll down to, gee, we're looking for Google Play Services and Google Play Store
2:58
And there we go. So Play Services and Play Store. So let's start off by tapping Play Services
3:09
Tap on disable, disable app and go back and choose Play Store
3:15
Again disable, disable, disable up and go back. And as can see, both of them are disabled now
3:21
From here, go back once to the main settings page and then scroll down to we find accounts
3:27
choose add account select Google I do have a phone right here because I believe it
3:41
will give me the verification on onto it and that before I'm kind of recording
3:46
the second time so hopefully it will come again on this device but if not then
3:51
I'm gonna be not very happy up sliding away so I'm gonna log in right now
3:57
if I could actually write correctly. Okay, so there we go
4:08
I'm going to obviously put in a password for it, so I'm going to add that off the screen
4:16
And there we go, so there is the... Okay, so this is not necessary anymore
4:45
Now the secondary phone was most likely not necessary for you either
4:51
It is just for me that I needed to have the two-phase authentication, so it just
4:55
pops up some kind of annoying thing on the other device to verify that this is you
4:59
trying to log into the account You don have it enabled and you don really have to worry just log in as normally From here let just stop on I agree and finish up logging into our account
5:13
And you'll probably see this pop up several more times throughout the process
5:17
It doesn't really matter. That is the first up that we have installed, but this app, even though it's crashing, it already has done its purpose
5:25
which is allow us to add Google account. Without this app, Google is not one of the options from the account list
5:32
So once you have added your Google account, you want to go back to the apps
5:37
Again, show system, and we enable the two apps that have disabled
5:42
There we go. So let's go Google Play Services
5:52
Now choose enable, go back, and then again, play Store, enable, go back
5:57
And as you can see now, both of them are enabled. they are going to then hold the par key and select restart
6:06
Okay so from here let's go to the setup
6:22
Now as you can see it gives us the speed right here account added and provides us with the
6:30
that we have added, well, at least I have added right before the restart of the device
6:36
And this is previously the page that would tell us that we need to verify our Google account
6:40
And we just needed to insert some kind of account that was previously signed into this device
6:45
Now, it gets kind of substituted by the one that we have inserted. Now, I will mention that even though we can right now finish up the setup of the device
6:53
and gain access to the home screen, the device is still not unlocked. So just keep that in mind
6:58
I'm going to show you fully how to finish it. up once I actually go and finish up the actual setup of it
7:10
So also that being said, because we still need to do one more thing, don't bother really setting
7:16
up your device right now, which you have, which you will choose here basically has no
7:21
meaning because we only need to perform a reset of the device anyway
7:25
So everything that you right now add or select will be completely reset
7:30
it and you will need to choose that again so simply skip as much as you can just to get
7:34
through the setup as quick as possible one of them protection you don really need it so not now Skip anyway Set up later and finish it up Okay so once you are on the home screen which want to do is go
7:55
into these settings. This time around, scroll all the way down to..
8:05
Backup and reset. Choose factory data reset. And as you can see, it gives us a couple messages
8:14
The most important one, it removes things like Google accounts. Provides it with the account that we have added
8:19
but it will also remove the old account that was blocking us from actually finishing up the setup
8:24
which is still actually present on this phone. So, now just select reset phone, erase everything
8:30
and the process will now begin. Now this will take some time of..
8:34
time, but honestly, once it's finished, we should be done back in the setup screen
8:40
and from there you can set up your device as however you like
8:44
There will be no need to bypass anything, it will be just a typical setup screen, so
8:48
in all honesty, you're going to need to sit till the rest of this video. This is, at this moment, it's basically done
8:56
So I'm still going to finish it up just so people can see me going through this setup completely
9:04
without any kind of trickery. So yeah, I'm just going to come back once the actual reset has finished
9:26
So as you can see, the process now finished and we can set up our device
9:31
Now, I'm going to go to a quick setup right here, skipping most of the things that I can. with also pointing out the things that I don't actually have to do anymore
9:38
So one of those would be connecting to Wi-Fi. I can simply choose not to sign into Wi-Fi, I believe
9:44
Let's see. There we go. Let's go further. And there we go
9:54
No need to bypass anything anymore. The device is fully unlocked. So if you found this very helpful, don't forget to add like
10:01
subscribe and thanks for watching. Thank you
#Other