Up next in 10

Check out more: https://www.hardreset.info/devices/huawei/huawei-p-smart-pro/faq/tips-tricks/
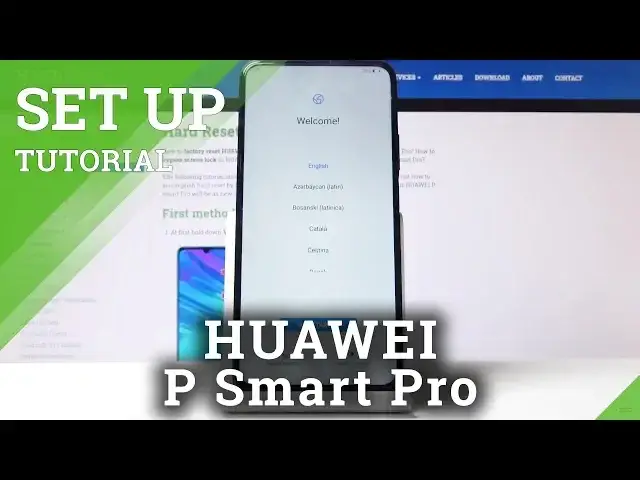
Let’s check the best method to first start of your device and pre-configuration. We show you how you can change your language, connect your device to the network, add Google Account and select Google features. In just few minutes your smartphone will be ready to use. Check also our other videos to find best tricks in Huawei P Smart Pro.
How do I connect my Huawei P Smart Pro phone to the Internet? How to add Google account to my Huawei P Smart Pro? How to configure Huawei P Smart Pro? How to initialize Huawei P Smart Pro? How to set Huawei P Smart Pro? How to activate Huawei P Smart Pro? How to Set up Huawei P Smart Pro? How to accomplish the initialization process Huawei P Smart Pro?
Follow us on Instagram ► https://www.instagram.com/hardreset.info/
Like us on Facebook ► https://www.facebook.com/hardresetinfo/
Tweet us on Twitter ► https://twitter.com/HardresetI/
Show More Show Less View Video Transcript
0:00
Welcome
0:02
And for me, the Huawei P-smart Pro, and today I'll show you how to go to the setup process of the device
0:12
So when you first boot up the device for the first time, it will be presented with the welcome screen where you get to choose your language
0:18
Now, as you can see, I have a list of all the languages, but I'm going to stick with English, so let's stop on Get Started
0:24
And then you have region, so you can select your region. stop on next for me
0:30
then in terms of use now you have to agree to them
0:34
otherwise you can't actually proceed with the setup so let's tap on that and then tap on next
0:39
insert sim card now this is fully optional you can insert it
0:44
or not I can do that later on as well and it will
0:48
literally change nothing so for now I'm just going to skip that data import will allow you to import
0:55
well data from here for instance all the device so you would actually first have to create a backup copy of your device on your old one
1:03
probably the easiest way will be through Google then you can choose Google to import it
1:08
and if you have a Huawei device as well then both of them actually have a specific app just to
1:15
back it up which you can actually find a video to it okay so for now I'm just going to set it up as
1:22
new and you have network connection so again this is optional you can skip it or
1:28
connect to network. If you connect, you will then be able to log in to Google. So I'm just going
1:33
to connect to one. Stop here. And I'm going to put in the password
1:43
And there we go. So I'm connected. Stop on next. As I said, you can now log into Google
2:08
Now you can also skip that if you don want to You can also create a new account right here as you can see Now I already have one so I just going to use that to log in
2:24
Up on next. I'm going to put in the password. And once you log in, it will be able to put in the password
2:39
see this welcome and basically in terms of service nothing says welcome as
2:44
agree to our policy so just up on agree and from here have a couple things that you can enable disable like localization
3:01
backup and stuff like that so if you don't want most of these you can just check it off
3:07
you also have a description of what it does now I'm not really too concerned about
3:14
this I'm just going to tap on accept without changing anything and it's go next
3:20
now here is a voice assistant setup now I'm gonna skip this because it's a
3:26
little bit too long but basically what it does is if you tap on I agree it will
3:30
go to the setup of it and it will require you to read specific phrases and stuff
3:36
like that that the device will show and then we'll try to recognize what you are saying
3:42
and adapt your pronunciation to what it says or what it's written so it can better understand
3:47
you later on when you're trying to talk to the voice assistant but it has a little bit to read
3:54
there so there's like i think 10 or more passages that you need to read and it needs to like to
3:59
each one adopt so i'm just going to skip that for now by tapping on no thanks but like i said you
4:04
you can go through it and set it up as however you like it
4:09
And then you have the Huawei ID, which you can completely skip that as well
4:14
What it does is allows you to access the Huawei specific apps
4:18
as you can see right here. So you have the Huawei Gallery, their wallet
4:22
some health app and a couple other things So you can log into this and then you will have the access You can also skip this and do that later as well Or just never use those apps at all because for the most part you can probably find most
4:38
of the substitutes for them anyway on the Google side. So I'm just going to choose on later
4:46
And then cloud. Again, optional you can enable the cloud or disable it by skipping it
4:51
What it will allow you to do is just keep data instead of in your device on the cloud
4:56
but this will be using your mobile data. So if you have a limited amount of it, I'll probably skip that
5:06
And then you have device protection. So here you can set up the fingerprint or password
5:11
If you choose fingerprint, you will actually have to set up a password anyway. So I'm just going to go with the fingerprint just to show both of them
5:18
So because fingerprint requires... additional ways of unlocking it set you up with the pin. Now you can change the unlock method
5:27
right here by topping and it gives you the pop-up so you have four-digit custom pin which this is the
5:32
custom pin pattern or password. Now each one of them is all self-explanatory. Now I'm going to choose pattern
5:39
because that's primarily what I use most of the time. So I'm going to draw the pattern and then
5:44
redraw the same pattern once more and top I'm done. It should take me to the
5:49
fingerprint setup so as you can see it gives you an animation what you're supposed to do
5:53
so you want to start scanning your finger on the power button the power button
5:58
is a fingerprint sensor now scan the finger that you will actually be probably
6:03
using so for me probably right now would be the easiest to scan my index finger
6:10
but because the phone is actually used normally you hold it like this you
6:13
probably want to scan your thumb so keep that in mind And when you're scanning your finger, you want to get a good read of your entire finger
6:24
So make sure you're basically scan each part of it by topping in different areas
6:28
So let's just see. I can also see I kind of moving it around It also gives you a little indication in the red and the red where you
6:51
should place your finger or what part of your finger you should place. It doesn't
7:03
always work the best considering for instance I'm pressing the area that it wants to
7:07
but it kind of like rejects it. Okay, so, oh, there's actually more, so let's try to go through it a little bit quicker
7:20
There we go. So once you have added the fingerprint, I can rename it
7:28
Now I'm going to keep it as it is, just skip the hustle of it
7:34
And then you have some more services that you... that you can enable or set up later so I'm going to press on no thanks then
7:45
you have some Google experimental programs this basically gathers data on what
7:49
you're doing in a way and tries to I guess improve quotation mark on your
7:54
experience so again optional you can go through it and read the entire thing
8:00
that they say I'm gonna choose later anyway update manually so doesn't actually go through anything right now and we should be now in the home screen as you can see
8:13
so the device is now fully working with everything set up so if i lock the device now let's use
8:19
actually a different finger so you can see so if i try to unlock it and i'm not using the finger
8:23
that i have added i'll have to put in the pattern now if i'm using the finger that i have added i
8:29
just can top on it i don't need to actually press it as you see i'm not actually pressing it
8:36
I'm just touching the sensor and it automatically unlocks. So yeah. And yeah, this is how you would go to the setup process of your device
8:45
And if you found this very helpful, don't forget to hit like, subscribe and thanks for watching
#Software
#Mobile Phones
#Intelligent Personal Assistants