0:00
Welcome and for let me say Motorola Moto G 5G plus and today I'll show you how to
0:11
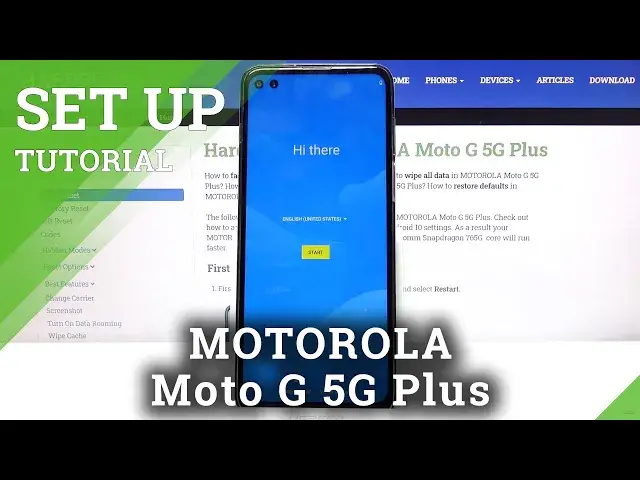
set up the device. So when you boot it up for the first time you will be presented
0:16
with the hide air screen. So simply let's select our language. I'm gonna stick with
0:23
English so tap on it and from there choose start. Then on the next page it prompts you
0:30
that you can insert your SIM card, SD card right now. It's completely optional. You don't
0:35
need to really worry about it. The moment you insert a card after the setup it will
0:39
work just as well as it would work now. It won't really change anything. So I'm gonna
0:44
skip it. Then we have Wi-Fi connection. Again this step is completely optional. If you don't
0:48
have any Wi-Fi near you then it's completely disregarded and you can just simply tap on
0:52
skip. If you do you can simply choose your Wi-Fi and it will automatically progress further
0:59
and the benefit of it is it will not connect in my case so I'm just gonna skip it. But
1:07
if you choose to connect and you actually do connect unlike me you'll have the option
1:12
to log in to your Google account and then also restore your device from an old Google
1:16
backup. And on top of that it also sets the time correctly which probably it will not
1:22
do without the network. So yeah. Now as you can see on the next page we have the option
1:29
to set up a screen lock. I can change it to not have a four digit PIN but you can for
1:35
instance choose a password or pattern. I'm gonna go with a pattern. Draw the pattern
1:41
Draw it. Confirm. And there we go. We have set a pattern. Now once you do it prompts
1:47
you to also set up a fingerprint which looks like it's gonna be under display so I'm gonna
1:53
set it up as well. Oh never mind. It's on the side. So all I have to do is start pressing
2:02
on the side to start scanning my finger. Now you do want to get a fairly good read of your
2:08
entire finger so basically every edge of it. There we go. And from here you can either
2:19
add another one so that could be another finger if you want for instance like thumb or index
2:23
or whatever. Or just finish it up by clicking on done. And then we have about privacy. Your
2:30
privacy so just some privacy settings. You can tap on it to actually read it and enable
2:36
or disable them. At the end of the day you do have to accept and continue. Let's stay
2:41
in touch. Now this step is basically optional. As you can see you can provide your email
2:46
right here to receive some kind of newsletters and stuff like that. Read exactly what you
2:50
will be getting with it. But I'm not gonna bother. Tap on next. Carrier location access
2:55
So just an option for your carrier to have access to your location. So again you can
3:04
read it exactly what the benefit of it is. If you don't want it you can disable it. And
3:10
once you actually tap on it it still prompts you with the window. And then we go to the
3:16
gesture tutorial. So you can tap on next. It basically shows you how it works. But I'm
3:24
gonna skip through it and show you actually in action how it works. So once you're done
3:29
you can go also to the settings to change it if you don't want it. But I'm gonna stick
3:33
with it. And the gist of it is swipe up and hold to go to recent. Swipe up quickly to
3:43
basically go home. And swipe from the sides to go to, well, go back. So I'm gonna open
3:49
it up and you can see that there is an arrow appearing. So that's the back arrow and it's
3:53
accessible from both sides. So that would finish up the setup process. And if you found
4:01
this very helpful, don't forget to like, subscribe and thanks for watching