0:00
Welcome today I am with Motorola Edge 20 light and I will show you a couple camera tricks
0:11
So the first I will show you the best features that you can find in the settings and then about options
0:16
tier tricks that you can use when you open photo and video mode
0:22
So open the settings and then first we can go for the AI settings and when you are here we can
0:26
And for example, activate the gesture selfie. So when we are going to show palm of our hand in the selfie camera, our smartphone will automatically
0:34
take photo. So enable the switcher, go back, open the front camera, and right now show palm of your hand
0:44
As you can see, the photo was taken. So right now the photo is right here
0:52
I'm going to remove this photo and let's go back. We can switch to the rear camera and right now we have to go for the settings again and
1:02
when you are in the photos we can for example add the watermark
1:06
So when you look up here at the timestamp on the right bottom corner we will find the date
1:11
and the time. On the left we will find the device watermark and also we can add our default mark like the signature
1:22
Take look right now. I'm going to take photo. on the black wall that is on my right hand because on the white background you will not
1:34
see that there's watermark and take look on the left bottom corner we can find shot on
1:40
the motorh 20 light by hard reset and on the right we can find the date and the time stamp Okay let go back what we can find next In the photos I think that all
1:52
In the videos, we can quickly increase stabilization, but enable this option
1:59
In the capture settings, we can find this option called the quick capture
2:03
So when you twist our wrist twice quickly, this option will open the camera
2:09
as you can see so we can select selfie rear or automatically
2:14
let's go for the rear and let's try as you can see it works
2:20
that's cool when you go for the capture settings we can also tap option
2:28
tap anywhere to capture so when you hold your phone like that and you cannot reach your shutter
2:32
you can tap on the screen and the photo will be the photo will be also taken
2:36
as you can see so that's useful option definitely. When you are here we can also add the grid lines to the screen and camera leveler and they help us to take better composition on our photos
2:49
So if we want to put something in the middle like this plant
2:54
with these lines you can make it much, much easier. When we go for the safe settings, we can find the location tags
3:04
So click here, go for the app information, top on the permission
3:08
mission, find location and tap right here. Select this option right now, click on the switcher again and take photo
3:20
In the details you will find the exact location where the photo was taken
3:26
Take look. Here we have the location Okay and that all from the settings We under photo mode we can click quickly increase or decrease brightness level Take a look Oh I have to turn off this capture option
3:41
because without that, with this option, we cannot make it. So take a look right now
3:46
By using this icon, we can increase and increase brightness level manually
3:54
When you click right here, we can set timer for three or ten seconds. and after that the photo will be taken after this few seconds
4:03
When you tap right here, we can open more options. It will be also the timer and the flashlight that we can find here
4:10
We can activate the active photos or change the aspect ratio. But you have to remember that when you change the aspect ratio
4:16
the quality of our photos also change. So the best to stay always with 3 by 4
4:22
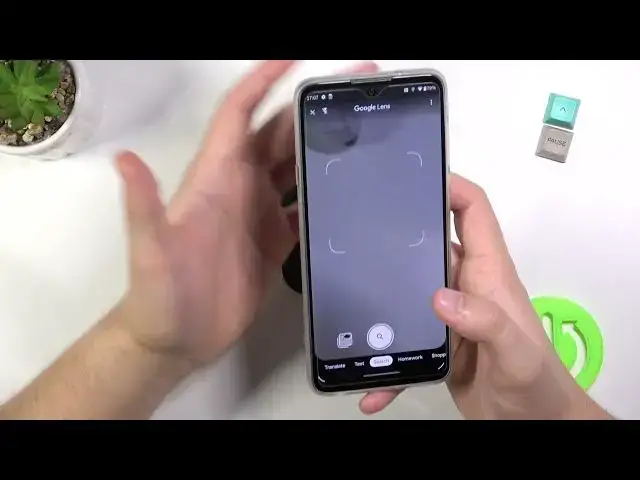
When we are here, we can also quickly open the Google lenses. Sorry, guys
4:28
And when you are in the Google lenses, for example, you can find objects around us
4:35
So I would like to find this controller. So you have to just simply put your front camera, your rear camera
4:45
on the object and then tap on this search shutter. As you can see, after a few moments, we'll get the web information that we can find here the Xbox wireless controller
4:56
Let's close this option. Let's go back for our camera application. Tap here to open more modes
5:09
For example we can add filters to the photos take look So we don have to download any external application You can choose one of them For example this one this one this one this one and this one
5:30
Take look. How quickly you can change temperature and colors on our photos and our stock camera application
5:38
And the dual capture, you can record video at the same time from the rear and the front
5:45
From the rear and the front camera you can also change the cameras. So this front camera can be shot right here in the right upper corner
5:56
And you can just hit the video or take photo, whatever you want
6:01
You can use the dual capture for taking photos and also for recording videos
6:06
When you click here, you can also split that view and resize
6:11
I mean change the position. so you can just simply select what you want to get
6:17
and also we can find this very famous the pro mode where we can find a lot of options
6:26
that we can adjust manually so we can adjust the wide balance
6:29
shutter speed ISO and also EV if you don't know how to use this mode and what is going on here
6:42
you can check our other video on our channel about the promo and the smartphone
6:48
so basically that's all all tricks and tips that you can use with motola h20 light
6:53
and if you find this video helpful remember to love like comment and subscribe