0:00
Today in front of me I have DoGVE Max and in this video I would like to share the top 5 Pro tips and features for this device
0:11
So to start I will demonstrate that you can enroll the fingerprint or add to your fingerprint and set up the fingerprint recognition method, screen lock method
0:21
So launch settings, then go for the fingerprint, then go for the fingerprint manager, choose what backup screen lock method you would like to go with it
0:30
I'll go with pattern, then set up the password of choice, your password of choice
0:37
onwards choose what notification, access the lock screen will have, more, more I agree
0:45
and now we can start enrolling the fingerprint. So the scanner is located at the side power button, click the turn off the auto-rotate feature
0:57
wherever it is. Okay, whatever it is. So the sensor is located at the side power button
1:11
so just continuously lay and lift your finger on and off the scanner
1:16
until the entire surface of it will be red. Scanned, simply. Already now the fingerprint is added The fingerprint recognition was successfully enabled
1:39
So let's test it out. As you can see, works like a charm
1:47
So moving on, I will demonstrate that you can manage your screen refresh rate
1:51
So open settings, go for display, expand the advanced options and open the screen, refresh
1:57
page. In here there are three values to choose from, 16, 90 and 120 Hertz. The higher you go
2:03
the smoother and silkier visual experience you'll get, and animations will be sharper and
2:09
snappier, but at the same time higher values of display refresh rate tend to drain significantly
2:16
more battery. But I mean, this device anyways, it has like 20,000m-hour hours or something
2:25
like that so it's not like you would be worrying about power consumption on this one but if you
2:32
just do not want to manually change between all those values in accordance with like let's say battery
2:40
you have left you can always set the screen refresh mode to automatic and let the system automatically
2:49
set the value for you the next feature uh you that I wanted to show you is called the side key function
2:59
That a whole separate settings category conveniently So open it This phone unlike the majority of other devices you might have stumbled upon has not only volume rocker inside power key but also the additional key at the left side of the phone
3:16
which you can program some things on for one-click, double-click, and long press
3:23
So let's say as for the one-click, I'll go with... Well, screenshot
3:33
The double click will open the camera and the long press will, I don't know, open the flashlight
3:43
Open the flashlight. Now let's test it out, so here is one click, the screenshot is taken, here is double, the
3:54
camera is launched, and here is the long press. the flashlight is also active
4:03
And once you long press this function button or macros button again
4:12
it also turns the flashlight conveniently off. So it's also a plus
4:18
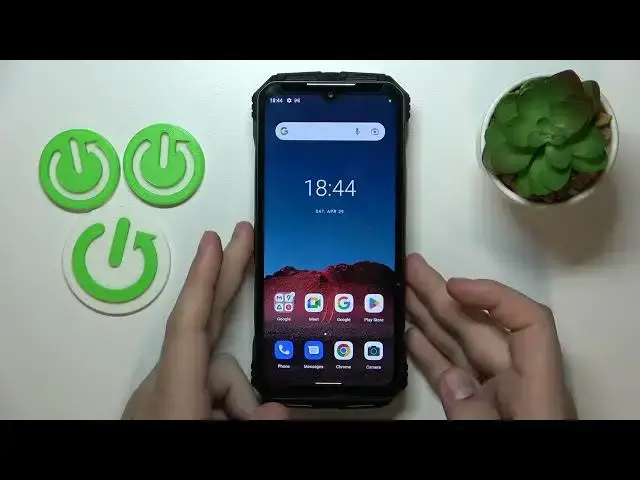
The next tip is the smallest one. That's how you can enable the battery percentage over here
4:25
So in order to do that, go into settings, then battery. battery and simply toggle on the battery percentage switch And as you can see the battery percentage appears right over here The fifth and final tip for today is the only performance one more or less
4:43
That's the memory expansion, as you could have already guessed, and how you can activate it
4:48
So open its respective settings category. And in here, well, long story short, the RAM expansion
4:55
works in a way that the system allocates the respective amount of gigabytes from the internal
4:59
storage so it borrows them and controls them in a way that they are those additional RAM
5:05
gigabytes they are used as virtual random access memory so it helps your system performance and
5:11
uploads the actual RAM allowing you to do multiple processes at the same time allowing your system
5:18
to work just faster smoother and seamlessly in general so that's a very cool feature to have enabled
5:24
if you don't mind sacrificing a few gigabytes of storage so basically
5:29
All you gotta do is to turn on the stuggle, then choose how many gigabytes you would like to increase your RAM for
5:38
and then just reboot the device in order for those changes to be applied or take effect
5:43
and you are good to go. Already, so that will be it not only for the last tip, but for this video in general
5:49
so we highly appreciate your attention, guys. Thanks for watching. If you found it helpful, do not forget to hit the like button
5:56
leave your comment, and subscribe to our channel. Bye-bye