Up next in 10

VIVO V2023 Skip Google Lock:
https://www.hardreset.info/devices/vivo/vivo-y70/faq/bypass-google-verification/
In this video, you can find the easy way to bypass Google verification on VIVO V2023. Let's follow the steps and unlock FRP in VIVO V2023. All you need to do is use our simple tutorial to remove factory data reset. This unlock FRP method works with all the newest VIVO V2023 from 2023. Let's activate VIVO V2023 without Google account.
How to unlock FRP in VIVO V2023? How to remove Google account verification in VIVO V2023? How to bypass Google lock in VIVO V2023? How to skip Google lock in VIVO V2023? How to bypass Google account verification on VIVO V2023?
#VivoV2023 #BypassGoogle #UnlockFRP
Follow us on Instagram ► https://www.instagram.com/hardreset.info
Like us on Facebook ► https://www.facebook.com/hardresetinfo/
Tweet us on Twitter ► https://twitter.com/HardResetI
Support us on TikTok ► https://www.tiktok.com/@hardreset.info
Use Reset Guides for many popular Apps ► https://www.hardreset.info/apps/apps/
Show More Show Less View Video Transcript
0:00
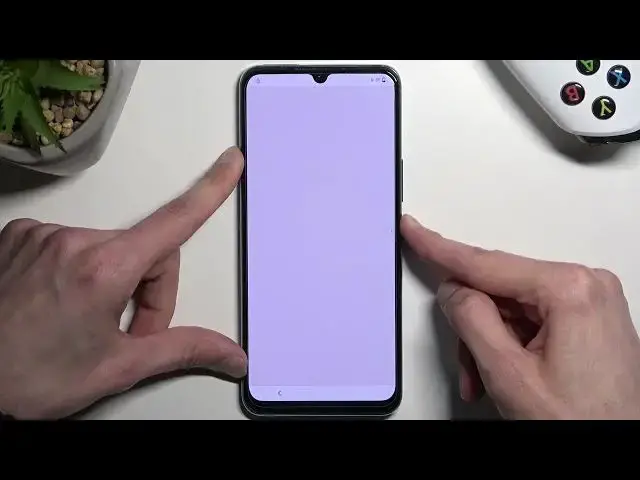
Welcome. And follow me is a VVo V-20203 and today I'll show you how you can bypass the Google verification on this phone
0:13
Now, typically this should show me right now that the device is locked, but I did just attempt a bypass which I did kind of mess up throughout
0:23
So this is a second attempt at recording it. And I don't know if it's going to show that it's still locked. It should
0:29
You can see that it is locked right here based on this tiny little icon. And I guess it's going to show it right now, probably
0:36
But anyway, with this being said, I'm going to just guide you through how you can bypass the verification, like you see right here
0:43
I have a pattern set, but obviously this works also with PIN or Password and Google Accounts
0:48
So, to get started, we're going to back out to the Wi-Fi connection page, and you want to connect to your Wi-Fi network
0:55
So you should see in a second that I am connected. There we go. connect on your device to your network and from there you want to back out to the
1:03
beginning of the setup basically right over here. I'm going to select auxiliary settings for reading, talkback and then you're going to
1:09
simply enable talk back. I'm going to mute it before it starts talking
1:19
It's a little bit distracting to me so I prefer to have it as quiet as possible
1:25
Anyway, once you see this page right over here, you'll probably realize that you'll realize
1:29
that the screen isn't working as you might be used to. So now whenever you tap on an option
1:33
it's first getting selected, as you can see, and then you have to double top on it to
1:38
actually confirm it. And we also have some new shortcuts that weren't present before. So
1:44
one of those shortcuts that we will be utilizing is the mirrored L one. So just throw on the screen
1:50
something like this. Just try it again. There we go. And it will bring up this window right
1:56
here. So you want to double top on the first option, which is selected
2:01
Then single top use voice commands. And before we double tap on it, I'm going to quickly
2:06
just mention what we will need to say to the device. This will be
2:10
told to the device. So once you double top on this, the microphone will activate
2:16
You hear beep that basically the device is now listening to you. At which point you want to say
2:20
open Google Assistant. You'll hear two more beeps, one that accepts your voice command
2:24
and yet one that now Google Assistant is listening to you, at which point you want to follow up by saying Open YouTube
2:31
So, with that being said, I'm going to now double top on it, and you can hear and also see
2:35
how I'm doing it. Additionally, if in your case you have a very strong accent, you could
2:42
possibly play me back, and this possibly could work, though I haven't ever tested it. I know that
2:49
my voice is basically being picked up by the device no problem so you could always try it if you struggling with this voice command Anyway open Google Assistant
3:02
Open YouTube. Opening, YouTube. So there we go. Pretty simple. From here, we're going to hold volume up and volume down
3:16
This will bring up a window for talk bag. You can select turn on
3:20
select turn on, double top on it, and then hold volume up and down once more
3:25
which will then suspend the talkback and allow us to use our display normally
3:30
From here we're going to now click on the account icon, navigate to settings
3:35
and then about and Google privacy policy. Typical, accept and continue on things, and when you have your browser open
3:43
you want to navigate to hard reset that info slash bypass. So like this, if you need a moment to write this link yourself, do pause the video
4:06
And select consent right here and we're going to now scroll down to settings
4:12
Scroll all the way down to system, reset options, And you want to select, reset all settings
4:25
Reset all settings and again reset all settings. So reset the settings and then reboot the device
4:34
Once device boots back up, we will repeat most of the steps that we have taken from the beginning
4:40
Now I will be doing it a little bit quicker. So if you get lost throughout the process, you could just start the video over
4:48
if you're struggling with, just getting back to where we were, which is the web browser
4:54
Because on the web browser, we're going to then select another shortcut, different one
4:58
to select or set up a screen lock. Okay, so as you can see
5:06
the device is now back on. And I'm going to need to connect to
5:12
Wi-Fi, I believe, so I'm going to check if I'm not connected. We do need, obviously, network connection
5:18
Now by resetting the settings there's a high chance like this includes network so I need to connect to it now
5:25
Okay, so anyway once you connect to network now, again back out and like I said I'm going to go through it a little bit quicker
5:48
Open Google Assistant Open YouTube
6:00
Open YouTube. Open YouTube. YouTube Cast disconnected
6:10
Double tap to activate Press and turn off YouTube Talk back off
6:34
Okay, so now that we are back in our browser, from here we're going to scroll down
6:43
lower to the believe your last option, set screen lock mini, open, whatever, and from here
6:54
you can select a screen lock. I will be selecting a pin just because before one of the verification methods was patterned
7:02
I want to just switch it up so it's something completely different
7:06
So I'm going to select pin. I'm going to make something very simple, one, two, three, four
7:11
You can select the same thing, same pin. And we're going to select next
7:17
Again, we're going to repeat it. I'm going to confirm it now
7:21
Yes, I'm in. Got it. Okay
7:32
So now that we have selected our pin, going to hold the power button
7:39
and we're simply going to reboot the device. And once the device boots back up
7:53
there will be one difference that you will probably see. When we go to the setup
7:58
instead of having the device tell us to verify pattern, it's now gonna tell us to verify pin because the pin that we have selected completely
8:07
over with the old pattern without us needing to ever verify it now because we did
8:32
set up a pin it's now telling us to verify it again one two three four and we can go
8:40
through the setup right now And as well as you can see a verify pin and starved pin and as can see a verify pin and stroll
9:13
pattern so one two three four if you selected the same pin that will be great in this case you
9:20
can just use the same thing that i am using and confirm it and voila so now we can finish up our setup
9:43
I'm gonna I'm going to be. I'm going to be. I'm going to be
10:19
Okay, so once you have access to your home screen, there is one last thing that I recommend
10:24
doing which is a factory reset out the device. Now it might seem a little bit redundant to do it, considering you already have access
10:32
to your home screen, but the reason I recommend doing it is because by performing a factory
10:36
reset your device through settings, the device forces itself to remove any kind of protection
10:42
was put on it that would include your Google accounts that were previously blocking us and
10:47
also screen locks. Google account could still be present somewhere deep in the system, the one
10:53
that we needed to verify, and so could the pattern in some kind of way. So that's why I recommend
10:59
doing this. So all you need to do is navigate to settings, system, and then reset options, and
11:05
select Erase All Data Factory Reset. This would perform a reset of the device and would bring you
11:11
back to the setup of it, but at that point you can set up your phone in whatever way you want. It
11:16
will be fully unlocked at that state and basically everything would be optional as it is with any
11:23
kind of other brand new device so there we go so anyway with this being said if you found this
11:30
very helpful don't forget to hit like subscribe and thanks for watching
#Software
#Intelligent Personal Assistants