0:00
Welcome. And Phnomics Avivo, T1 Pro, and today I'll show you a couple tweaks and the tricks you can do on this device
0:10
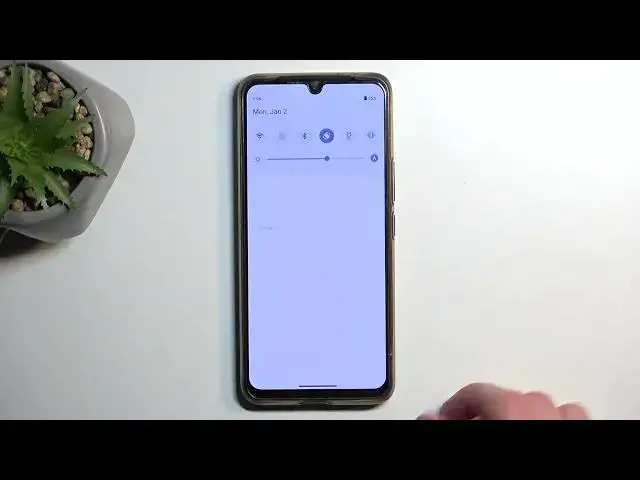
So let's get started by opening up settings. And in here, I'm going to begin with the dynamic effects
0:21
I think that's how it's called. If I can find it. There we go. Dynamic effects
0:30
So in here we have a slew of different options and I can mess around with
0:35
Weirdly enough, if you're looking for always on display, it's also here, but it has like a weird name
0:40
so ambient light effect, which is basically always on display. We have also on-screen display
0:47
so displays the dynamic effects for notifications or calls. I believe this is something similar to what Samsung has
0:55
on their devices by default when you get a notification and you're not using your device
0:59
it just pops up with like a notification even though the display is off
1:02
so that's pretty nice option if that is what I think it is. Then we have a home screen
1:07
transition animations so here will have different animations so you can mess around with those
1:11
this will increase the speed of things like for instance this minimization effect
1:15
the zooming in and so on so you can mess around with this right here
1:21
we have three different options we have efficient medium and comfortable If I select them, yep, it automatically shows you how fast it will go
1:34
This is obviously pretty slow. This is the fastest one and the medium is the default one
1:40
You can also completely turn off animations if you want to and then your apps will automatically
1:45
pop into your view of your screen So that also a okay option to utilize which is what i will select now there also home screen entering animation so this is a different one it also an animation
1:58
and works the same way but it looks like the uh the device automatically switches between them
2:04
so if i swapped the other one it automatically set this one to none i assume because by default
2:09
there should be an animation one of things like fingerprint icon animation because we do have under
2:15
to display finger pincer. You can change the animation of that sensor, how it looks
2:20
just a cosmetic change. I don't have any kind of screen lock, so I guess that won't really apply
2:28
to me. Obviously you have several additional things in here, so go through them. If you want
2:34
to customize some of these things, obviously change them. The only affect your device primarily
2:39
in terms of how it looks like. There is very little in terms of the actual behavior, apart from
2:45
be the notification like I mentioned always on display but it's primarily all cosmetic
2:50
wise now moving on to display section display brightness we have the dark mode right
2:59
here or dark theme as it's called so you can turn on the dark mode on this device by
3:03
switching this on or you can also tap on the text and select it so it automatically swaps between
3:08
these two modes either from sunset to sunrise or on a custom schedule so if you want to utilize that you can
3:15
end it out right here and it's a pretty neat option because during the daytime you probably want your display in light mode but during the night time dark mode might be a little bit
3:23
more suitable now moving on a little bit further down the line we have status bar and this right
3:29
here allows you to change uh instead of having the icons shown in a status bar you can have it
3:35
numbers or nothing now i personally like numbers it just gives you a nice clean a number of how many notifications you have once you pull down your notification tray If you remove it it disappears I probably wouldn recommend having none because that gives you like no
3:50
info about it. But the numbers are pretty nice. You just see how many you have. You can pull it down
3:56
and check them out. And additionally if you want to also see your battery percentage
4:01
you can enable it right here. I personally like it inside of the battery
4:05
this is not something that I'll be looking for but if you just want to have the information about it
4:09
that's where you can turn it on and moving on to two last options we have the refresh rate
4:18
we have the smart switch which is a pretty nice option to have we also have the 60 or 90 now these
4:24
two 60 and 90 are permanent ones so if you select 60 it's going to always run at 60 and the 90
4:31
obviously always at 90 while the smart switch will switch between those two
4:35
I believe it won't go anywhere lower than 60, unfortunately, which would be really nice to have
4:41
but I don't think that is the case right here. But in any case, by having it on smart switch, you basically get best of both worlds
4:49
so you have a nice, smooth animation when you're scrolling up and down with a 90 hertz
4:53
and whenever your display is just stationary, like it is for me right now, it will switch to 60
4:58
And because of that switching that is being done automatically, it will preserve a little bit more of your battery life than opposed to
5:05
like it running permanently at 90. Now, the reason I bring this up is because there are people that are interested in preserving
5:14
as much battery life as possible, and in this case you can select the permanent 60
5:19
and this will always run at 60 hertz. So the display will be refreshed less often and therefore also consume less of your battery but you won have this nice smoothness when you scrolling up and down but in terms of battery life it will be better
5:37
Now for people that want high refresh weight just stick with the smart one
5:42
90 has basically no benefit over the smart switch and smart switch gives you a little bit
5:48
more battery life. And moving on to the last one is the visual enhancement and this just enhances
5:56
the image. As you can see, you have a side by side. So this is the enhanced one. This is the non-enhanced
6:00
one. Now it is a little bit of a dumb kind of way to show with this because it's not like you
6:04
can move this around. And they did put the image, the more vibrant part of the image that is
6:10
enhanced additionally on the right side, which kind of takes away from this, like how this affects
6:18
your image. But in general, a person, well, very nondescriptive information. What I think
6:26
think it does, it just adds a little bit more saturation, makes the image a little bit more
6:31
vibrant, increases the shadow details, so just changes the contrast levels, and the image does
6:37
look a little bit better. So that is something that you're interested in. You can toggle it on
6:41
in here. Now, this only works for video players, as you can see once you enable it, it shows you all
6:46
the video players that it detects. Now, there is a chance that if you have some kind of third-party
6:51
video player, it might not support it, but it supports the typical things like you. It
6:56
YouTube, Netflix and a built-in video player that comes with the device so you can utilize
7:01
that if you want to. So there we go. Now that being said, hopefully you found this very helpful
7:07
If you did, don't forget to hit that like button, subscribe and thanks for watching