0:00
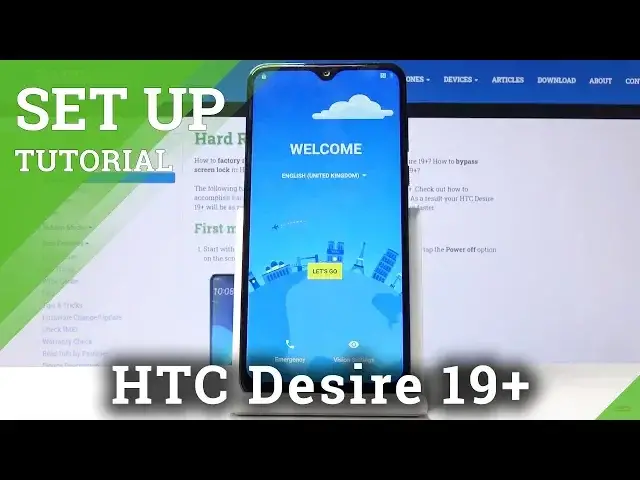
Welcome! I'm Filomys in HTC Desire 19 Plus and today I'll show you how to go through the setup
0:09
process of the device. So when you first put up the device, once you get it, you'll be presented
0:16
with this welcome screen. So number one you get to choose the language, tap on the drop down and
0:21
here you have all the language choices. Now I'm gonna stick with English so I'm just gonna go back
0:26
and let's go. And the next thing you'll see is the Wi-Fi connection. So now because I actually
0:35
did a reset of the device and didn't log out of Google I need to confirm my
0:40
Google account later on. So I cannot skip it but if you choose to you should have a skip button
0:45
either on the left or right. So just tap on that if you wish to not log into Google and
0:54
or not connect to Wi-Fi. So just connect to network right here
1:15
Okay so as you can see I need to verify it. Now if you have a new device this won't appear. This
1:20
is just because I didn't log out of Google before I reset the device. So I'm just gonna quickly
1:26
verify it. I'm gonna put in the password and there we go. So now that it's verified I'm gonna use new account
1:44
So once you connect to Wi-Fi you will see this thing here. So the option to sign into Google
1:50
I'm gonna skip this for now but you can do that if you want to
1:56
And from here you have date and time. Now setting this up is completely optional. If you have a
2:03
if you put in a SIM card into the device the time will be set automatically or if you connect
2:07
to Wi-Fi which I am right now that's why it's also correct. Now if you choose not to connect to Wi-Fi
2:13
and you don't have a SIM card then you then the time and date will be incorrect but the moment
2:18
you connect to either of those it will automatically set it. So you can completely
2:24
disregard this till the time that you for instance connect to Wi-Fi. And now you have the Google
2:31
services. So you can disable enable all the services. You can also read them up if you wish to
2:39
find out what it does exactly. And for stuff like localization you can actually turn it on and off
2:46
in notification panel. So let's just tap on accept here. Protect your phone and this is just a way
2:53
for you to add security to your device. So you can either have a screen lock so pin password or
3:02
pattern and you can also add a fingerprint or face unlock. Now if you add face unlock or fingerprint
3:09
you will also need to set up either a fingerprint, I mean not fingerprint but pin pattern or password
3:17
Either of those will always need one of the physical ways to unlock. So the ones that for
3:22
instance won't change that you can remember or you can completely skip it all together. Now I'm
3:28
gonna set up a fingerprint along with set up next along with pattern. Now like I said you can choose
3:37
whichever one you want. You have a choice between pin pattern password. I just chose pattern
3:42
So just draw that. Tap next. Redraw the same pattern. Confirm. And I can get to scan my finger on the
3:47
back sensor. So you want to start tapping on it. Get a good read of your entire finger from all
3:53
the edges and the middle of it for the best chance to unlock your device. So the phone has
4:01
your entire fingerprint. And once you're done we'll come here. Fingerprint added. And we can tap on next
4:07
Next. Terminal server is next. And agree. Here you have some HTC account. Now we can skip this for now
4:23
There we go. Step on next and keep the name as it is
4:32
And we're almost done. And there we go. We're now on the home screen. So that is how you would go to the setup process
4:38
of the device. And if you found this video helpful don't forget to hit like, subscribe
4:42
and thanks for watching