0:01
Amphromi is an Infinex Hot 11 and I swear to God there's got to be a better name for your
0:07
phone than hot and such a low number or anything else and that
0:14
But yeah, today I'll show you how you can bypass the Google verification on this phone
0:19
Now you can see that, no, never mind you can see that the phone is locked
0:25
So you know what? I'll introduce you to the intro while I just progress a little bit through the setup
0:43
Now in a second you should be able to see that the phone is locked. There's just like two more screens
0:48
And while I wait for that to show up I'm going to quickly go over what you can see on the screen
0:53
So obviously because it's recorded on a computer you probably figured out we will need a computer
0:58
computer for this. So on your computer if you're watching this video on your PC, then in
1:05
a description you'll find the link to our website if there isn't one, then just simply
1:10
navigate to hard-weesit info. And type in Infinex Hot 12, another greatly named device, or 12i
1:20
exactly. And it's a different phone, but the process is exactly the same, so don't worry
1:26
Now and there you will find, let's back out, whatever, you will see like a couple tiles
1:37
and there will be one unnamed bypass Google verification. So click on it and it will take you right here
1:45
Now if there is a link just simply click on it and it will take you directly straight to this page
1:50
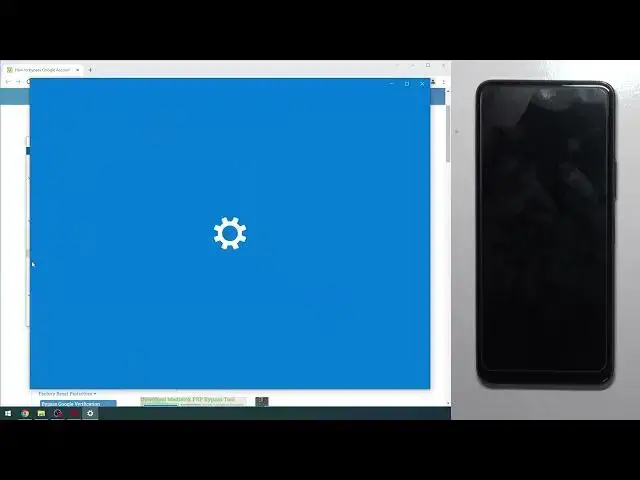
Now here you will find two different links that you need to download. So we have the Universal MTK Drivers and we have the MTC drivers and we have the
1:56
MediaTech FRP Bypass tool. Now I have downloaded both of them. They are right here
2:05
So these two And once you download them simply extract them There is no password protection on them or anything like that I can even showcase this right now After it gets removed there we go
2:21
Now obviously to extract it, you'll need WynRR or 7Zip or whatever you use
2:27
Now one more thing while this is extracting for extremely long time, you most likely will need to disable your..
2:52
To do so, simply top on stop. navigate to settings, select Update and Security, then Windows Security, open Windows Security
3:09
Open Windows Security, Virus and Threat Protection, and in here you want to scroll
3:17
down to Virus and Threat Protection Settings Select the Manage Settings, scroll all the way down to Exclusions, scroll all the way
3:24
down to exclusions select add and you can choose a folder I do recommend adding just
3:31
downloads folder to your exclusions that way when Chrome downloads your files to the downloads folder windows will not remove it and from here once
3:43
it's extracted you'll want to start off with the driver's auto installer
3:50
select the 64 or 86 depending on your system. If you have over 4 gigs of RAM, you will be selecting 64. If you have 4 or below
4:02
86 is the one that you want to select. Now I have 8 gigs, so I'm sticking with the 64. I don't know
4:10
if I actually need to install it. There is a possibility that it's already installed on the
4:14
computer but just in case I going to do it again So there we go Now the second thing What you will need to do is go to the MediaTech Universal Tool and open up the second last option the Media Tech Universal tool
4:37
Give it a second, it takes a moment for it to turn on. Now from here just as before you will need to select 86 or
4:46
64-bit versions by selecting tools, drivers, drivers, and you do need to install one of those
4:52
Now like I said, pick the one depending on your system. Now for people that don't know what system they have
4:57
either 64 or 86, you can right click on start, select system, and it will say it right here
5:08
under installed RAM. Oops, there we go. Now, I have already installed this
5:17
so I'm not going to do it again. the reason I'm not going to do it again is because it requires you to reboot your computer
5:22
So once you install it, reboot your computer, and from there, basically get back here
5:30
So we open this program, but this time around you want to select Erase FRP, and select Start
5:39
Now, we need to move over to our phone, and here we'll need a cable for this that is plugged into your computer
5:48
and you will also need to turn off your phone. So once the phone is off
6:04
you want to hold volume up and volume down at the same time
6:08
And while holding both of those keys, plug it in. And as you can see, it starts to out
6:17
It starts to automatically work here. So just let go of the keys and..
6:28
Hmm There we go Progress completed Let turn on our phone And now we just going to go through the setup
7:02
And as you can see right now instead of telling me to verify my Google account or the pattern that was previously used, it's telling me that I can sign in, but I don't have to, so I can skip it
7:32
So this basically will allow you to finish up the setup right now without any kind of problem
7:37
There is one last thing that I would probably recommend doing which is factory resetting your
7:42
phone once you actually set it up. This will ensure that there is no more any kind of protection left over from the old accounts
7:49
on your phone. So I'm going to quickly show you where you can find this
8:01
So navigate into your settings, scroll down to system, reset options, erase all data
8:12
and then select erase all data twice, and this will begin fact through resetting your phone
8:16
Now it will bring you back to the setup screen, but this way, once you go through this
8:21
you can be absolutely sure that there is no more any kind of leftovers from the old accounts
8:26
that could maybe pose potential problems later on. So anyway, on this being said, this is how we can bypass the Google verification on your phone
8:36
And if you found this very helpful, don't forget to hit like, subscribe and thanks for watching