0:00
Welcome guys today I'm with the Oppo A17 and I'm going to show you camera tips and tricks for this device
0:10
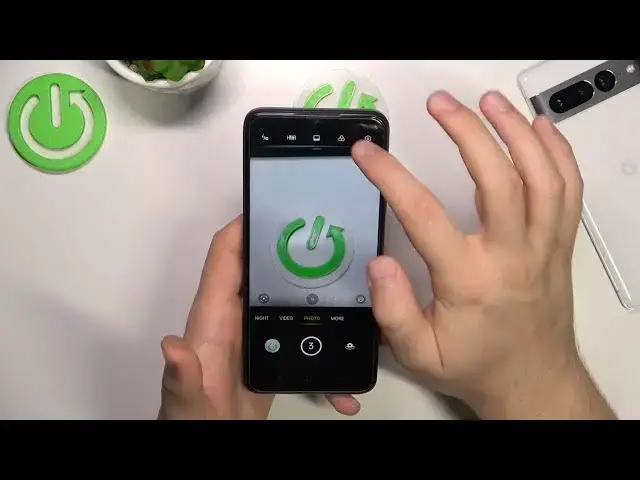
At the first we are going to start from the standard photo mode and right here we can use the volume buttons to take photos
0:17
Let me show you you can press the volume up or volume down and as you can see and also as you can here we can simply take photos
0:25
When you click and hold one of this button we will take series
0:30
of the photo. If you want to take a look on this photos, just go for the gallery and then tap on this
0:40
icon in this right upper corner. If you want to save any of this photos, just click like that
0:50
And tap in this place. Next, we can click on the screen once to simply
1:00
adjust the brightness level by moving this icon. So as you can see you can increase and decrease the brightness level
1:09
Top ones to make it automatically. When you try to zoom in and zoom out, you can make it by using these presets
1:16
As you can see, you can zoom into the five times and when you click and hold this preset, you
1:23
will unlock this slider and with this slider you can zoom in and zoom out very smooth
1:29
Next when you tap in this place you can enable additional filters As you can see they change our color and temperature on the photos You can find all of them right here To turn them off go for the first option
1:53
If you want to get more details on your photo, let me show you a small comparison
1:57
So we can take photo of this button. We can make it like that, for example
2:03
Let's catch focus on it. Let's take a photo. I'm not sure if I take it, so..
2:11
One more time, okay, then open this menu, turn on the 50 megapixel mode
2:21
Let's focus one more time. And right now let's take look, that was the photo taken with the 50 megapixel mode and take
2:32
look how it looks. And that's the normal photo. As you can see right here we can zoom in definitely closer and we can also spot more details
2:44
when you take look especially in this arena. So that's quick tip about the more details on the photos and when you open this menu for
2:55
another time you can also turn on camera delay for three or ten seconds and after this countdown
3:03
the photo will be simply taken. In this place you can also enable the HDR so we can turn it on, turn it off, or set it up automatically
3:17
You can decide. In this place you can turn on the flashlight, for example when the lightning condition are not too good so we can get more light on your photo
3:26
And I think that right now we can simply move for the settings because right here we can switch for example the volume buttons function So right now they are as set up as a shutter but we can also zoom in with them so right now when
3:39
you keep tapping on the volume up or volume down you can zoom in and zoom out we can enable the
3:44
fingerprint shotting so take look how it works the fingerprint sensor is located with the i mean on the right
3:53
edge and it's synchronized with the power key so when you click on it
3:58
Basically just touch it, you don't have to click or press the button, just touch it and the photo will be taken
4:06
We can also turn off the shutter sound and when you go for the composition we can enable the gridlines for the photos and the videos and also we can enable camera leveler
4:17
As you can see right now it appears on the screen and this option allows us to take better
4:24
composition on our photos and videos. for the advanced settings, we can flip the selfies
4:32
So if you want to get the mirror effect on your selfie photos, you can turn it on
4:36
And also we can find here the quick launch gesture. So this option allows us to quickly turn on the camera by double pressing volume down or
4:45
up button. When the screen is turned off. As you can see, it's working very smooth
4:57
When you go for the Shining methods, we can enable these two options
5:04
That's tap to capture and show palm of the hand in front of the selfie camera
5:09
So that how tap to capture option works As you can see And this palm gesture looks like that so we have to show the hand in
5:25
front of the screen and when it will be detected there will be two seconds countdown
5:31
and the photo will be taken right here we can also enable the device watermark
5:40
so you will get the name of the device date and the time and also right here you can tap and input your own signature
5:50
So when you take the photo you can find on the left bottom corner this watermark
5:58
You can simply turn it on and turn it off. You can decide
6:03
When you go for the more modes, right here we can for example find the sticker mode and it
6:08
allows us to simply put something on the photos so just let me turn it down
6:14
on and as you can see all of them we have to download so you have to be connected to the
6:19
Wi-Fi network or mobile data we can get for example this one it looks catchy
6:26
and we can take photos like this or maybe a pixel okay and when you go for the preview as you
6:38
can see that's how it looks Okay, and as you can see, that's all for this video
6:49
That's all my tips and tricks for this device. If you find this video helpful, just remember to love a like, comment and subscribe to our channel