0:00
Welcome. Enfenomy is an Enfenyx Note 12 Pro and today I'll show you how you can go
0:05
to the setup of this device. So to get started when you boot up your device
0:14
for the very first time you should be presented with this screen right over here. Now in here all you want to do is just find your desired language from the
0:21
list and once you have selected it you can go to the next page which will then prompt you to select your region. Moving on we have the option to insert our SIM
0:31
card. This step is optional and you don't have to do it but if you want to just
0:35
pop in shows you kind of where it is so there we go. Now I will be skipping it
0:41
and I'll also be skipping signing into my network which will result in me not
0:46
having a option to sign into a Google account. Now if you choose to either
0:51
insert a SIM card or sign into Wi-Fi you will have the option to sign into Google
0:56
account and also date and time will be set automatically. There we go. Now here
1:01
we have some information about the battery which it's not like we can take
1:06
it out in here so let's go to the next page. Terms of use we can deselect the
1:15
first option and just select the checkbox right here and you can tap on
1:21
that terms of use and privacy policy to read exactly what you're agreeing to if
1:25
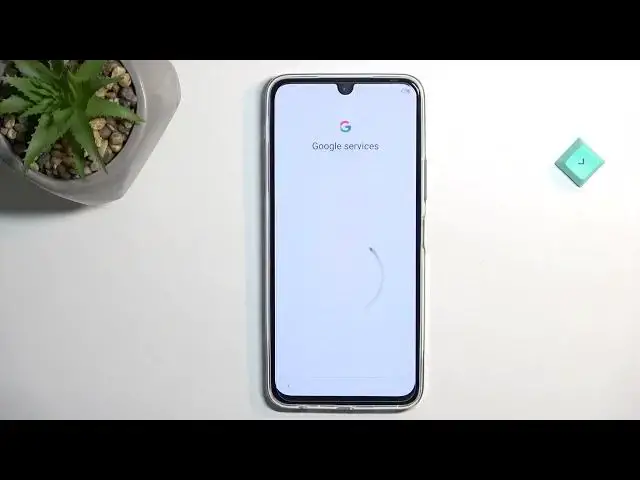
you want to. Now moving on to the next page we have Google services like
1:29
location scanning and sending user and diagnostic data. If you don't want some
1:34
of these you can deselect them and afterwards you can then select accept
1:38
which will allow you to set up a screen lock. Here you can choose between three
1:43
different methods so fingerprint, face recognition and pin pattern or password. Now if you're planning to use any of the first two you will always be required to
1:51
set up a pin pattern or password as well and it doesn't really matter if you use
1:56
both of these. The reason for this is if something would happen to your face and
2:00
your finger you would lose access to your device or maybe the sensor start
2:04
malfunctioning whatever the case it would still leave you with the last
2:08
physical way of unlocking your device. Now moving on to the next page we have
2:14
option to transfer our data from an old device. If you want to do so you could do
2:18
this right now just select transfer now. This will I believe most likely require
2:24
you to download their specific application that they will have. It's going to be listed in there what's the name of it and then on your older device
2:31
just download it and then go through the connecting process. It just should be
2:36
all shown or described what you need to do pretty well in the application. Once
2:42
you connect it you can then move over the data to this device. Now for
2:47
everybody else who's planning to set it up as new just select skip and then we
2:52
have some desktop style so this allows you to choose between a larger folders
2:59
and classic. Not exactly sure what's the difference apart from the folders is
3:06
something tells me that probably classic has no optor but it could be
3:12
completely wrong. Anyway I'm just gonna keep it at this and then we can just
3:16
finish up the setup. And there we go and it looks like here we have an optor and these folders. Okay
3:32
so it refers to large folders as in one that take four tiles instead of the
3:37
typical one. Anyway if you found this video helpful don't forget to hit like
3:43
subscribe and thanks for watching