live_tv
Livestream Starting Soon
00
Hours
:
00
Minutes
:
00
Seconds
Up next in 10

More info: https://www.hardreset.info/devices/bq/bq-aquaris-v/faq/bypass-google-verification/
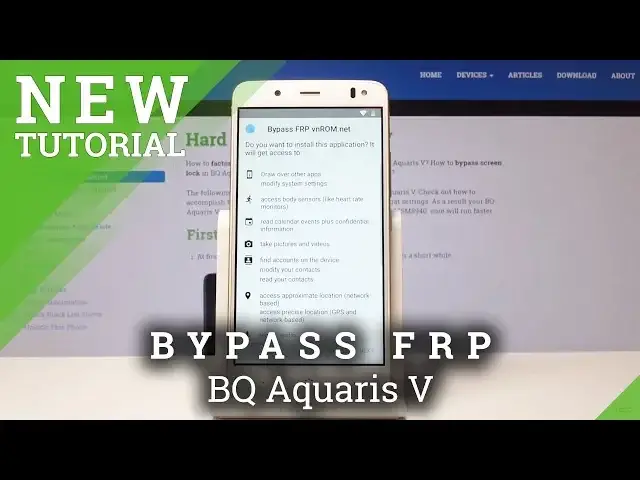
Looking for a way to bypass Google account verification on your BQ Aquaris V? Here it is! Effective method of skipping FRP in your smartphone. Follow presented steps and smoothly unlock your device. Find out the best way to skip Google Verification in your Android mobile. Learn how to remove the Google protection and log in with another account.
How to Bypass Google Verification in BQ Aquaris V? How to skip FRP in BQ Aquaris V? How to skip Google Verification in BQ Aquaris V? How to Bypass FRP in BQ Aquaris V? How to unlock BQ Aquaris V?
Follow us on Instagram ► https://www.instagram.com/hardreset.info/
Like us on Facebook ► https://www.facebook.com/hardresetinfo/
Tweet us on Twitter ► https://twitter.com/HardResetI/
Show More Show Less View Video Transcript
0:00
Here I have BQ AquariusV and let me show you how to bypass Google verification
0:10
on the following device. So let me show you how to unlock Vactorist protection, how to solve the forgotten Google
0:16
account solution. So at the very beginning let's go back to the first screen
0:21
Of course you need to have the internet access, the Wi-Fi connection
0:25
Then let's choose here the vision settings. Here, talkback and let's enable talkback
0:32
Tab okay to confirm it, let's write L on the screen. Let me show you
0:36
Just simply write L. Choose Talkback settings, double tap to confirm it
0:42
Here let's use together volume down and volume up simultaneously, hold down together those
0:46
two keys. Tab okay to confirm it, let's do it again. Here let's scroll down and choose here the Halepenfix
0:57
the HADAN feedback. Choose here use Morse code. Let's play this video
1:10
And let's use the clock icon right here. Now let's tap accept and continue
1:19
Choose no thanks and now you can use the Chrome so that's what we need
1:23
Let's type in here the hard reset.info. Alright
1:34
Here let's use many key, tap download. And let's here type in Android 7.1
1:57
7.1. Tap search. Here let's use this app, tap download
2:10
Alright, let's scroll down and choose here download again. Tap continue. Tap allow, Crown to access photos, media, etc
2:21
Choose OK. Tap here open Let tap settings and let enable the unknown sources right here Tab okay to confirm it Let go back Now let tap download again
2:48
Tap download. Tap open
3:03
Choose next. Now you can install this app. install. Alright, tab done
3:23
Now let's go back to the download section in Hardlyset.Info. Right here and let's type in here settings
3:36
All right, choose Settings tab Search. And now let's install this app, Android Settings, application, tab download
3:48
Scroll down, choose Download again. Tab OK. Choose Open
3:58
And tap install. Tab open again. Now you can use the settings, so let's choose here the security
4:09
Select here the device administration and let's deactivate the find my device
4:16
Tap here, deactivate the device administrator. Let's go back and here let's use the apps
4:26
So let's here find apps. Here I have apps. Let's use more key and select show system
4:37
Right now let's find Google Account Manager. So let's go to G
4:45
Google Account Manager. And here let's use the disable button. Tap disable app
4:55
All right, that's what we need to do. Now let's choose force tab, tab okay
5:02
And now you can go back. And let's choose here Google Play Services right here
5:08
Tap disable, disable app. And now you can choose here first step, so let me do it
5:16
Tap okay Let go back right now to the list of settings and choose here accounts So let me find and select accounts
5:29
Here I have accounts under Personal tab, tab at account, and let's use the Google account
5:35
Now we need to sign in into some Google account. This could be any Google account not connected to this device, even the new one, just the Google account that you know, the email and password
5:45
So let me connect my device to my Google account. Google account, of course this account is not connected to this device
5:53
Tap next. Now it's time to enter the password, so let me do it
6:01
All right, if you are ready, let's choose next again, right here
6:09
So now let's tap Agree right here. Here let's just click somewhere outside this area and now you need to go back to the apps section
6:34
Let's choose here apps, select here show system and you need to find here Google Account Manager
6:47
All right, here we have Google Account Manager. And now all you need to do is just tab enable
6:56
Let's go back. Now we need to find the Google Play Service
7:02
Here we have Google Play Service and let's tab enable. Now let's go to the security
7:11
And in security section you need to find and select the Divide Administrator and let's yze it
7:17
enable the Android Device Administrator. Let me choose here to find my device in my case
7:27
Let's choose activate the device administrator. Just activate the Find My Device Administrator
7:34
And now we can reboot your device. So let me do it. Let's press reboot
7:39
Tab OK and let's wait a few seconds. All right, well, Gun Panel pops up
7:55
So now all you need to do is simply use to gather volume down in the volume up Let me do it Tap OK double tap to confirm it and let me try to activate the device without the Google account
8:09
So tap set up as a new. Let me just skip all settings to quickly enable the device
8:16
Account added, so the account that you add previously in that process is added is a good sign
8:20
tap next. Alright, let me skip the fingerprint unlocking, skip anyway
8:39
Tap more, more and do agree to Google services. Tap next to Google Assistant
8:48
Choose no thanks to the Assistant, tap all set
8:59
As you can see, the home screen pops up. So now to fully erase the factor reset protection is good to perform the hard reset by using the settings
9:09
So let's choose here settings, scroll down and select here the backup and reset, select here factory data reset, and choose reset phone, and erase everything
9:20
Let's wait until the operation will be completed. Do not interrupt while the process is running
9:29
Excellent, the welcome panel pops apps
9:49
So now let me try to activate the device. Without the Google account, let me skip everything
9:55
Also let me don't use any network for setup. It's a good sign that you can skip it. Tap next. Next
10:05
Skip fingerprint, skip anyway. Let me enable Google services in my case
10:12
Should all set. The phone is adding some finishing touches. As you can see, the home screen pops up
10:18
Now let me just check out the version of the device. Choose about phone
10:22
As you can see, this is Android version 7.1.2 with the security patch level from January
10:28
from January. Alright, so that's it. Everything went well. Thank you for watching
10:33
Please subscribe our channel. Leave thumbs up under the video
#Hacking & Cracking
#Mobile Phones
#Other