0:00
Welcome. A phone on me is a Redmi Nose 10 Light and today I will show you how you can apply a temper glass to your phone
0:11
So as you can see the phone I have right here or not the phone but the glass I have is for a different phone
0:18
but this will not matter whatsoever because once you see the glass right here basically fits perfectly over this specific display
0:26
Now we go. It's as though Redmi buys their screens from Samsung
0:34
But anyway, so that's what I'll be using. Now, outside of just the temper glass, the package, you should also have..
0:44
Come on. There we go. Wet and dry wipe. Now, what I recommend doing with these is just throwing them into garbage
0:53
Now, out of curiosity, I'm going to check. Maybe third times the charm
0:58
I think this one is almost. my god this one is actually moist so what I mean by that is I opened two
1:05
previous temporary glasses like this one and the wet dry the wet wipe was
1:10
already dry this one is on a verge of becoming dry as you can see it's there
1:15
isn't much moisture in it but at least there is some but still I don't really
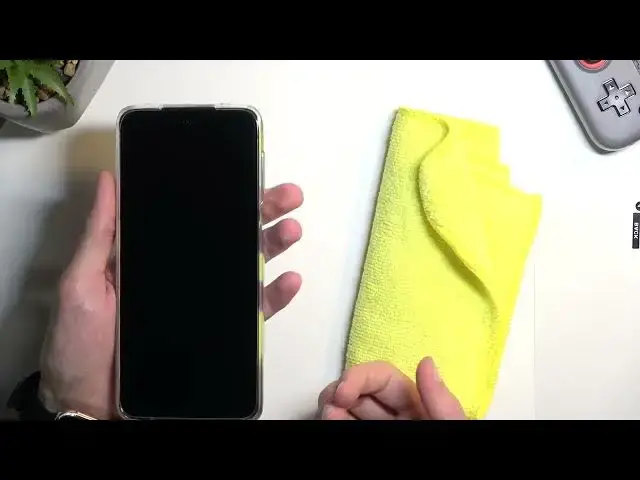
1:20
recommend using it the size of them is just laughable and if you have a microfiber cloth use that instead It will greatly simplify the process Now before I start cleaning off my display I going
1:33
to quickly just explain how I apply my tempered glass. So most likely you will have a glass
1:39
with just a sticker like this. So it will have a number one. Some might have another number two
1:45
right here on the other side. No matter the case, you will always start with number one. Once you
1:50
kill that off, it will then reveal a sticky side on a tempered glass right over here
1:56
So you'll then take this glass and just place it like this. Now the way I applied is I will place it at an angle, so kind of like this
2:07
and pinching it from both ends, so both sides right here like this, I'll just place it down
2:13
align it correctly from left and right side and also the top left and right side
2:18
and then just hold it a little bit more securely and lower it down on the bottom of the phone
2:24
while pushing it down right here so it won't shift too much and just dropping it on the display
2:30
So you want to, also while pinching the glass, you want to start feeling the bezels
2:35
so kind of like this. So you can get a feel if it's spaced correctly
2:39
if not just shifted a little bit. And from there, just drop it
2:44
So anyway let now get to cleaning off our display One more thing that I mention is I do have a case on my phone You can do this with or without the case
2:58
Doing it with the case might provide you just with an additional like bumpers. So if you somehow place the glass a little bit off
3:05
it will never really stick to the display fully. So you can easily just lift it up and realign it
3:12
Now without it, if you place it just a little bit to one of the sides and you put on the case
3:17
the case might lift up the glass again. So something to keep in mind
3:20
it might be easier to have the case already on the phone if you're using it
3:25
And this will prevent later on the possibility that you put on the glass
3:30
then you put back on the case, and it just kind of lifts up the glass
3:37
Now, once you clean off your display, now to make sure that apart from just cleaning it off
3:43
from all the smudges and stuff like that, you also get rid of all the dust
3:47
that is on the display. Dust will be the main cause of your screen
3:54
just temper glass not being fully on, where it might just have some kind of air bubbles
4:00
So do pay more attention just to the dust itself. If you have some kind of dust particle, try to remove it
4:09
Once your phone is prepped and ready, just jump straight into it
4:17
I going to apply it the same way I explained how I will do it I think in my case I have it
4:35
I have it a little bit too low. No, no, it's just fine
4:42
So there we go. Now possibly I probably could have made it go a little bit higher
4:49
This would probably give me a bit of a more symmetrical result. I did shift it a little bit too far down
4:55
But still, as you can see, it's fully on there. Now these weird lines that you see right here
5:00
this is just some kind of, I believe, solution that they use on the glass itself
5:05
when they're cutting it into shapes. So this should come off, though
5:09
you might need to put a little bit more effort. into trying to get this off
5:14
As can see, it is almost fully off. So it does come off, but it takes, like I said, more effort
5:26
But as you can see, that is how you would apply your tempered glass. And if you found this very helpful, don't forget to hit like, subscribe, and thanks for watching