0:00
Welcome, I'm Fonamizé Sharp Aquos D10 and today I'll show you how to go to the
0:10
process of setting up the device for the first time. So once you get it up and
0:14
start it up, you'll be presented with this screen where you get to choose your
0:19
desired language. So I'm for this purpose gonna stick with English and let's just
0:23
hop on next. You have internal internet connection. Now if the device was
0:27
previously restarted by someone and or by you and you didn't log out of your
0:33
Google account and had some passcodes you need to connect to Wi-Fi but because
0:38
this device was cleanly restart I don't need to so I can just skip it right here
0:43
Normally if you don't skip it as well the only choice you will get is to log
0:47
into Google account. So yeah now we can top choose a basically name of the
0:54
device or just skip it as well. Here you get Google services enable or disable
0:59
which one you like. You can later on enable or disable them anyway in the
1:03
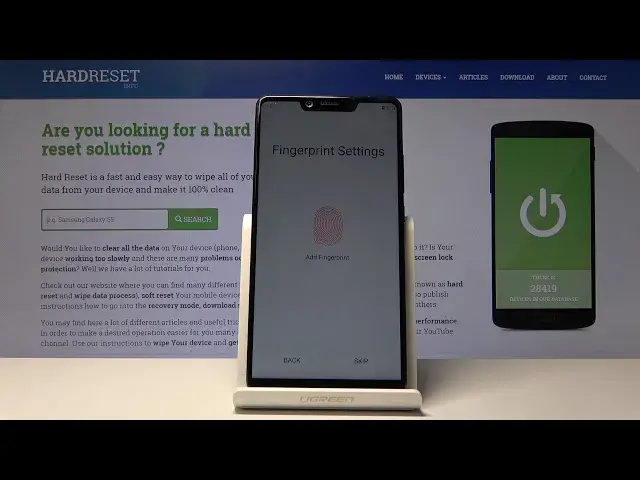
settings so it's your personal choice. Just tap on I agree and then you have
1:08
fingerprint settings so you can add a fingerprint so you can unlock your
1:12
device with a passcode and a fingerprint or you can also skip it. Now for this
1:17
purpose I'm just gonna add it. So once you tap on add by default it's set to
1:22
add a pattern as well but you can also change it if I correct so yeah other
1:26
unlocking methods and you can also choose a simple password or complex
1:31
password. I'm assuming simple password will be just a four-digit number while
1:35
complex one is just a normal password like you would use letters and numbers
1:39
without any limitation. I can actually tap on it to see yeah it's a four-digit
1:44
number but honestly I'm gonna stick with pattern because it is way better in my
1:49
opinion. Tap on continue and confirm and here you get to scan your fingerprint. So
1:59
the sensor is located on the back and you want to start tapping away on it with your finger that you will be using to unlock the device. Now it's advised to
2:07
get a fairly good read of your finger from basically every angle so it might
2:13
take you a little bit longer than it took me. I was just smacking away the same spot of my finger just to do it quickly and once it's done you can
2:20
rename it so you know which finger it was if you wish to add additional ones but if you're satisfied you can just tap on done and that's basically it now you
2:28
can just tap on finish and we should be in the home screen as we are now. So that
2:34
is how you would go through the setup process of the device and if you found this video helpful don't forget to Like subscribe and thanks for watching