0:00
Welcome, and following me is a CAD S40 and today I will show you how to go through the
0:10
setup process of this device. So when you boot it up for the first time, you'll be presented with the welcome screen
0:16
where you get to select your desired language. Now I'll be sticking with English but you can just kind of slide through them and find
0:21
the language that you want to use and then click on an arrow
0:26
Now on the next page we can insert a SIM card. This step is completely optional and the reason why it's here is so you can either use your
0:32
SIM card or the Wi-Fi to connect to internet. Now the reason why you would want to do that is throughout the process you'll have the
0:40
option then to log into your Google account. And if you choose to not connect to any kind of network, this step will just be kind of skipped
0:48
Which I'm going to be skipping both of them to be honest
0:52
So there we go. Additionally date and time will not be set automatically without any kind of network
0:58
connection. So if it's incorrect you can fix it up. If you're planning to connect to a network in the future, after like, I don't know, not
1:05
long, then you can also not fill it up correctly because the moment you connect it to any kind
1:11
of network it will automatically set up date and time correctly. Then we have name so you can fill up the field right here
1:19
Again optional. If you choose to leave this empty the device will name itself by the name of, well, itself
1:24
which will be catS42 or something along those lines. And if you choose to fill up those fields then later on for instance in like hotspots
1:35
and Bluetooth devices instead of seeing catS42 you will see whatever you filled up right here
1:43
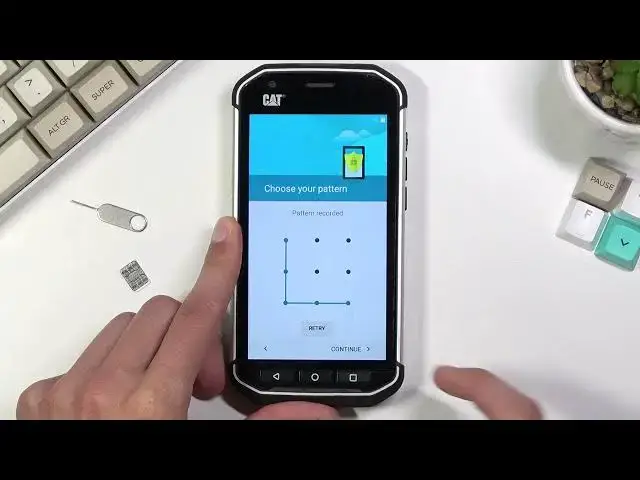
Protect your phone will allow you to set up a screen lock on the device. So let's set it up
1:48
We have a choice between PIN pattern or password. I'll go with the PIN for here
1:53
Oops. There we go. So draw it, tap on continue, redraw the pattern, confirm and this will automatically set it up
2:02
Now it also gives you an option how notifications will be displayed on the lock screen when
2:07
you haven't unlocked the device. So if you don't want any kind of notifications you can choose that
2:12
So basically if someone likes to snoop around on your phone they basically won't be able
2:18
to see the notifications. The first one, show all notification content, will basically show you content of the notification
2:24
on the lock screen. But the two below ones, hide sensitive information content, meaning that when you get a notification
2:31
it will show you that for instance only fans gave you a notification but it will not display
2:39
any kind of content of it. And this one will just not even display any kind of notification on the lock screen
2:47
So anyway, next page we have Google services, we have location scanning and sending user
2:51
and diagnostic data, at least that's how it's called nowadays but the premise is the same
2:56
And obviously if you don't want any of those you can disable them by unchecking them, scroll
3:00
down and select next. Which brings us to the end of the setup screen
3:09
So if you found this video helpful don't forget to hit like, subscribe and thanks for watching