0:00
Hello! In front of me I've got XGODI CarDash camera
0:04
In this video I'll show you all the button's functions. Most of these functions are available to find in the user manual
0:15
but perhaps you did buy this camera online or it's from second hand
0:19
And if you don't have the user manual, which is in two languages
0:25
you most possible won't be able to find the functions for those buttons
0:35
So follow me in this video to learn more about your XGODI CarDash camera
0:45
Let's start with UP button, which is located right here on the right side of your camera
0:56
Sorry, on the left side. Because this is how you face fronting the camera and that's how it should be positioned
1:05
So this UP button allows you to switch the camera mode between front and rear camera
1:13
If you press it once. If you press it and hold, you'll enable or disable Wi-Fi function
1:24
If you press the M button once, you'll enter video menu settings from the video mode
1:32
and also photo menu settings from the photo mode. Also if you press it again, you'll go back to main menu
1:42
If you press and hold the DOWN button, you'll enable or disable ASR function
1:49
If you press it once, you'll go to next selection under setting mode
1:54
So basically, these three functions allows you to enter the menu, navigate through menu
2:00
confirm, go back, enable Wi-Fi, enable ASR. Next, we've got the slot
2:08
Thanks to this slot, you can install SD card to your camera
2:14
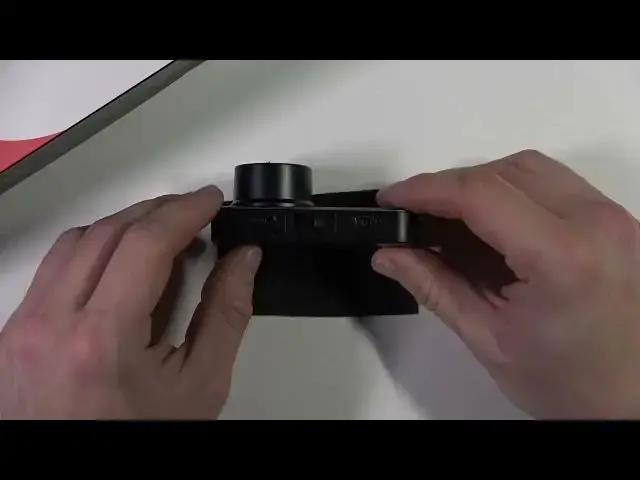
Then let's take a look at the top of the camera. Right here, we've got the AV port, thanks to which we can plug our rear camera to the main camera
2:26
This slot right here allows us to connect the holder to your camera
2:31
And then we've got the power supply, which is actually mini USB
2:38
Let's go to the right side of the camera. And first, we've got the OK button, thanks to which we confirm our choices in the menu
2:55
If we press it once. Also, if you press it again, once you'll start and stop recording
3:04
And in the end, in the photo mode, if you press OK button, you'll take a photo
3:10
Next, we've got the switch mode button, which is right here. If you press it once, you'll confirm selection under the setting mode
3:24
Press once OK button to stop recording under video recording mode, and then press once mode switch button to enter photo mode
3:34
So we press OK button in the selecting mode and then this switch button to select photo mode
3:44
Also, if you press this button once, you'll enter the playback video and photo menu and under the photo mode
3:56
Next, we've got the emergency lock button. In the video mode, emergency video is locked
4:06
After pressing the key, the red flashing of the video will turn to the yellow flashing of locked video
4:14
And in the end, we've got the power button, which is located right here
4:19
If you press and hold this button, you will power on or power off the camera
4:26
If you press it once, you'll turn on or off the display
4:31
And that's basically it for all buttons and outlets in this camera
4:43
If you find this video helpful, please, if like, comment and subscribe