0:00
Hello, in this video I'm going to unbox the dodgy S98
0:13
So here I have a box. You can see on this sticker but the light reflects it but let me try showing you that it's
0:23
S98, 8 gigabytes and 256 gigabytes of storage. 8 gigabytes is RAM. Now the price goes for around 320 to 300 dollars US dollars
0:40
So now let's try opening the box. Something prevents us from it and that's a sticker on the
0:45
back. Also we can find a sticker with more information on the back which is the name of the
0:52
phone. The color it's wine red 8 gigabytes of RAM and 256
0:58
gigabytes of storage. Now let's open this box by plugging this tape right here
1:28
Now we can see our device already. It's this one right here. Kind of heavy
1:39
It's protected by a foil. And also another layer of protection in another foil which you can open right here but we're going to check it out later
1:58
let's see all accessories left on this device here's our tool for opening the all kinds
2:09
of SIM card slots and other things on this device so that will be handy in a moment
2:17
another thing is a cable for socket charger which is double-site USB C and not as in a standard
2:28
USB and USBC so it's okay here's a charger has USB C plug and not much else
2:42
there some instructions and information right here and also the screen protection So you can install it if you want or reach these instructions
3:05
Now the rest of the box is probably even more instructions right here
3:15
Warranties instructions also there's. something like this I'm not sure what it is but that's some stickers I'm not gonna
3:24
open them screen protector accessories sorry so yeah just for cleaning and
3:31
making sure that you insert the screen protection properly now let's take a look
3:38
on this phone and here we have a sticker with an email serial number on the
3:45
back it's it has a wine right color as it mentioned but most of the phone is black here's a volume up volume down
3:54
power key there's a fingerprint scanner thing right here I guess we're gonna check that
4:01
later you here's a charger plug which is protected by by this opening you can use this
4:09
thing to open them easier without damaging your nails and I would actually recommend
4:16
that because that's much easier the microphone right next to the block and right
4:23
here we have the volume speaker now on the left there's another lock key and here's
4:33
our sim card along with our probably we have right here the SD card I'm gonna check
4:45
get in a moment. Let me open the other of the camera
5:31
It's a double sim slot along with a SD card. So we can increase the memory of this device
5:39
Now let take it in You can plug in your SD card or SIM card right now On the top there nothing and a phone call speaker right here
5:52
So we have everything covered on this device. You can also use this instruction right here to
5:58
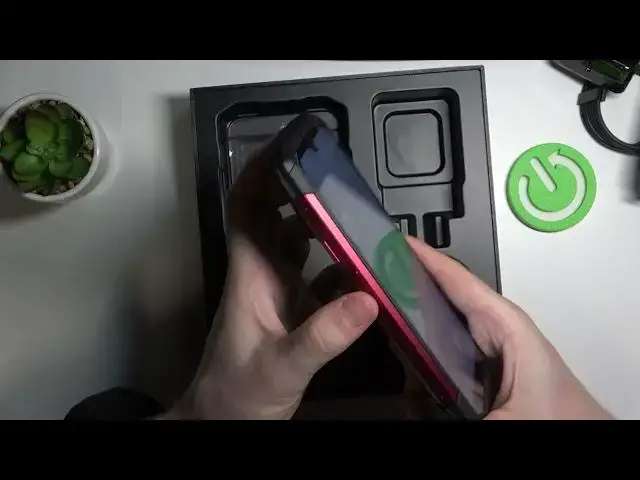
help you navigate all the buttons and all the stuff so now let's power the phone
6:07
So it powers on and we can try and remove this foil. Okay, that was very fast opening our device. You can choose a language you
6:32
want to use on this device. You can do emergency call or enter vision settings in order to increase font size
6:40
display size magnification select to speak or enable talkback now let's just set up the phone the basic way
6:49
here if you inserted your sim card you can connect to mobile network which i didn't so let me skip
6:58
through that there's also Wi-Fi network connection so let's do that because that's very
7:06
important for the phone setup I don't like that this button is very loose, but I think that's that should be on every device, but this button is not as loose as this one
7:34
that's weird but let's just skip that here you can copy apps or data from your
7:46
older devices and migrate them to this one but I don't have any Google bug app so
7:53
let's don't copy it you can move to the next step if you want
8:04
Now we can log into our Google services and I'm going to do that
8:12
I would recommend you doing that as well. After you put the right password and email address you can put the right password and email address you can can set up the phone for a specific person which is if it you and your adult you can use this device normally or if you setting up this
8:46
device for your children you can use the children settings so now let's just
8:50
use the normal settings and proceed to the next step here we want to click on I agree
9:02
Set up Google Services, so choose any service you want to use on this device and move to the next step
9:16
Choose your default search engine and in this case I want to Google
9:23
Set up the pin code for a lock screen, I'm going to skip that
9:31
You can access Google Assistant with Hey Google right here. I'm going to skip that also and skip another thing with Google
9:41
Anything else? No thanks, you can change wallpaper text and other thing
9:49
Now right here our phone should start unlocked and now we can move to the settings in order to check out a few things
9:56
Let's move to the About Phone section at the bottom and here we can find on the
10:01
model name the number of SIM cards and some email numbers and etc there's also
10:10
storage Android version which is 12 and the build number so here we have everything
10:18
now let's move to the security and check where the fingerprints scanner is
10:24
located now if it even has one so it should be in a biometrics and password and
10:30
here it is let's use a pattern and fingerprint because you need a password in order
10:35
to make fingerprint work so it's right here as I mentioned in beginning and we can
10:49
set up let's check how it works so it's
11:00
done. Now it's very quick. Now let's lock our device, try and locking it with a finger
11:07
And as you can see it works as the usual. So that's it for this video. Hope you like it
11:13
Please consider subscribing to our channel. Leave a like and a comment below