0:00
Hi everyone! In front of me I've got a Lenovo Tab P11 Plus and let me share
0:04
with you how to enable Google Backup on this device. So first of all let's enter the settings and here we have to scroll down to the
0:17
very bottom to find the system option. Now we have to tap on backup and as you
0:23
can see we will be immediately and automatically transferred to the Google
0:27
account. So the backup in this device is only by using the Google one. So let's
0:33
tap on add account. Make sure that you've got the internet connection because it
0:37
is required so the Wi-Fi or mobile data. And a quick disclaimer if you've got
0:42
your account already added to this device then it will be automatically I mean uploaded to this backup section so you will not
0:54
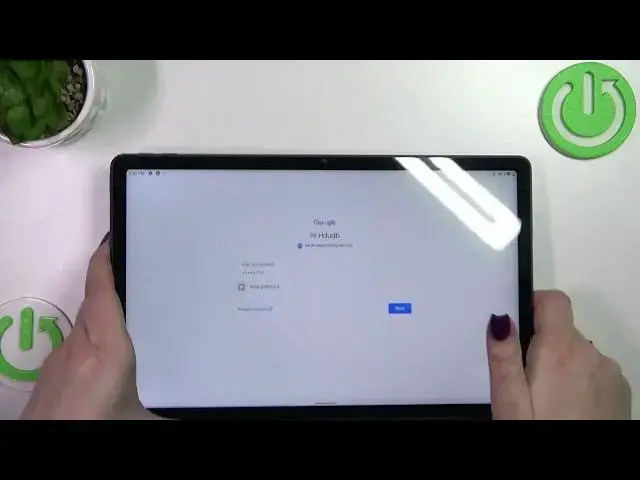
have to go through all these steps which I will just show you. So from this step
0:59
we can either create a new backup account if you do not have your own yet or simply type your email or phone. So let me do it and a quick disclaimer
1:08
again if you don't have to enter the full email address just the very first
1:12
part of it before the add symbol and after tapping on next your device will
1:16
autofill it. So right now we have to enter the password and let me do this
1:21
out of the screen. All right now let's tap on next. Here we've got Google Terms of Service and
1:38
Privacy Policy so of course you can read it just tap on it and here you've got
1:42
all the info. Let's tap on I agree after reading and here we've got the info
1:51
about our Google one and about the whole backup. So as you can see you're
1:55
able to use 15 gigabytes of Google account to backup apps and apps data
1:59
call history, contacts, device settings and text messages. Of course if you want
2:02
you can simply tap on more details to learn more. Your device will backup the
2:06
data automatically so you don't have to do actually anything. We'll store it
2:10
securely so of course it will be locked and only you will have the access to the
2:17
data and you will be of course managed to backup whenever you want to. So let's
2:22
just tap on turn on and we've been transferred to the backup section. As you
2:27
can see here we've got the line which is connected with the account storage. You
2:31
can see how much space you've got left. You can manage the storage so for
2:36
example remove some kind of files or anything which you don't need. Under it
2:42
you've got some backup details so basically what kind of what parts have
2:46
been backed up already. And here you've got the advanced settings and I highly
2:52
recommend to keep this option turned off. So your device will simply backup the
2:57
data only by using the Wi-Fi. Thanks to keeping this option off you can be sure
3:03
that you will avoid some payments, some charges. So that's really good to keep
3:10
it turned off. And basically to finish the whole operation to start backing up
3:15
the data just tap on backup now and as you can see your device will simply
3:19
backup the data. So basically that's all. This is how to enable Google backup in
3:24
your Lenovo Tab P11 plus. Thank you so much for watching. I hope that this video
3:29
was helpful and if it was please hit the subscribe button and leave the thumbs up