0:00
Welcome, in this video I'm going to show you how camera pro mode works on the
0:04
Xiaomi 12s Ultra. So take a look. We have to simply go for the camera mode, then go
0:14
for the pro mode right here and first of all I will recommend you to simply go to
0:18
the information icon that is located in the left upper corner of our preview and
0:24
in this place you can find description of every mode that we can find right
0:29
here, maybe not mode, about every parameter that we can basically adjust
0:33
in the pro mode and in this pro mode we can adjust a lot of parameters
0:40
manually. That's also the automatic adjustment but the point of the pro mode
0:45
is to do this manually, right? So I'm going to show you right now how you can
0:49
do this. First of all we are going to start from the white balance and you can
0:53
find right here the presets, but also right here we can find this manual
0:58
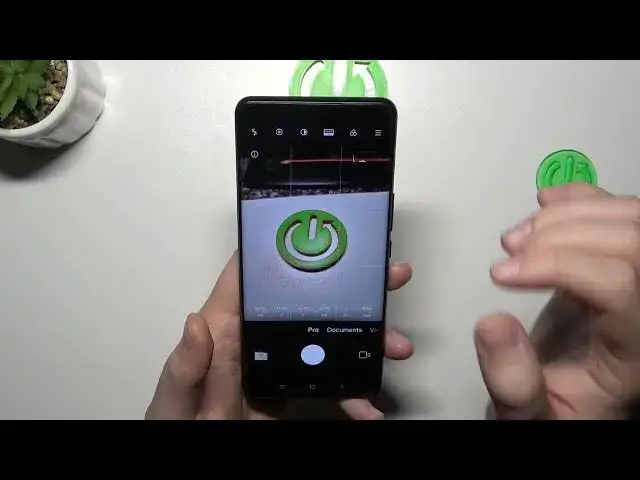
adjustment. Next we can move for focus and here with the slider when I set it
1:08
up the focus for example like that, let me just change this white balance, when I
1:13
set up the focus like that, every object that are close to the lens will be in
1:19
the focus, but when I'm gonna set it like that, as you can see the close
1:24
objects are without the focus. That's also a good option to enable when you
1:31
click on this three lines focus peaking, so right now when you manipulate this
1:35
slider you will find out where it's focused right now, so you will get this
1:42
red highlight on the objects that are in the focus. So take a look right now. I
1:48
hope that right now we can spot that on the video. Next we can find the automatic
1:58
shutter, the shutter speed we can set it for the 30 seconds even. Next it's the
2:06
ISO parameter. Here we can find the exposure compensation and that's by the
2:14
way the only parameter that we can only adjust manually, as you can see there is no automatic adjustment and here we can switch lenses between ultra wide
2:22
wide and the telephoto lens. When you go for the upper bar we can enable the
2:29
filters. Right here we can find the Leica, how to call it, it's some kind of the
2:44
filter that will be applied to your photos, so that's vibrant and
2:48
authentic. Here we can also adjust other things like saturation, contrast and also
2:55
the sharpness. To reset the parameters just click right here. Here we can switch
3:02
the matrix metering. We can also turn on the flashlight and in the right upper
3:09
corner we can also find the histogram. When you click in this place you can
3:13
also enable the 50 megapixel mode. You can turn on exposure verification. So
3:20
let me show you how it works. When you try to adjust exposure compensation you
3:26
can also see the blue lines right here and what it means that right now
3:34
this place with the blue lines are under exposure, so it will be good when you
3:40
adjust it a little bit like that, but when you get too much exposure, when you
3:46
give your photo too much exposure, as you can see, that's the red lines and this
3:53
red lines show us all the places that are overexposed, so it will be also good
3:59
to adjust this parameter for example like that. So that's how the promote
4:06
works on this phone. Thank you guys for watching, leave thumbs ups, comments and
4:10
subscribe to our channel