0:00
Welcome, here I've got Motorola Moto E7 Plus and I'm gonna show you how to use the camera
0:09
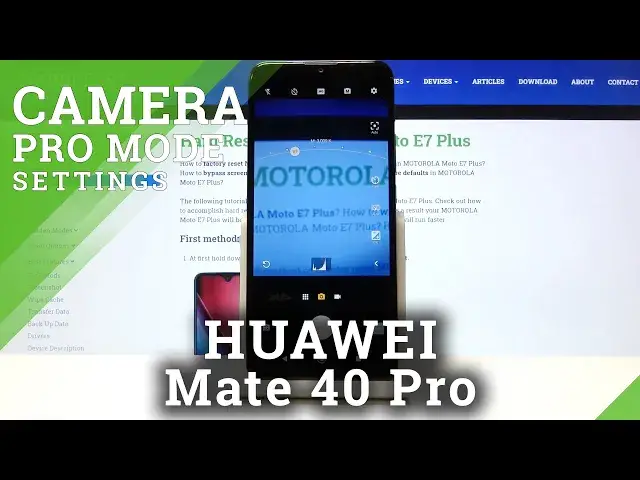
pro mode at this device. So at first we have to tap on the camera button here to open it and for now we are in the
0:15
standard photo mode. From here let's go to this button with A letter
0:19
When we tap on this we can change auto settings to the manual settings so let's pick this
0:24
And here we are, this is kind of pro mode at this device and this mode gives us possibility
0:30
to choose shooting parameters by ourself and this is useful when we want to learn photographic
0:35
skills and making experiments. So let me start with this settings bar and let's go from the beginning
0:41
The first one button here allow us to control the focus so we can change auto focus to the
0:46
manual focus by using this slider. As you can see this is how it works and here we can see how it changes
0:55
And also remember that you don't have to stay on the manual focus by going to the beginning
1:01
here, you just go back to the auto. So let's move to the next one button, here we have the white balance so we can control
1:08
the temperature of our picture also by using this slider. We can manage it in Kelvin degrees by going to the right we can make it more warm and
1:17
by going to the left we can make it more cold. Also we have this small icons here that suggest us which light is good for which conditions
1:25
we have where we take a picture so we have the tungsten light, white fluorescent light
1:31
daylight and the cloudy light and of course the auto white balance is at the beginning
1:36
of the slider. So let's move to the next one button here, this is the shooter speed so here we can adjust
1:43
the time of taking picture and by using this slider we can pick from 1 and 6 thousands
1:49
of seconds so this is really short time of taking photo and this should be better to
1:53
objects that are in move to frozen them. By going to the right by using this slider we can make our time of taking photo just
2:02
much longer to the 32 seconds so this is really long time and this should be better to objects
2:08
that are stable. And of course at the beginning we have the auto settings
2:13
Now let's go to the next one button, here we have the ISO so we can control the camera's
2:18
sensitivity to light, we can make it less sensitive from 100 or more sensitive by going
2:26
to the right to 3 and 2 thousands of it so this is also really cool spectrum and 3D Pro
2:31
and at the beginning we have the auto settings. And now let's go to the next one button, here we have the exposure compensation so by using
2:40
this we can make our photo just more bright by going to the right or dark as we need
2:46
This is how it works and at the center here we have the zero settings
2:52
So now let's go to this button, by tapping on this we get also one of my favorite options
2:57
in this camera that we have all of the sliders at the same time so we can adjust them just
3:05
at the same time like that. And also we have here one of really cool options, this button here in the left so we don't have
3:15
to separately go back to the auto settings when we want to, we can do it by just tapping
3:21
on this buttons and all of this go back to the auto when we use this button so this is
3:26
extra button when we adjust the settings and if we sometimes want to go back to the auto
3:32
at all of this we just simply tap on this. So this is really cool here
3:37
And now let's have a look at this button here at the center, rest of the settings is also
3:42
in standard photo mode so I'm going to show you this extra button
3:47
Here we can change the format of our photo so from JPEG to the RAW, we can also pick
3:52
the RAW plus JPEG. This is also really pro option here because the RAW format is used by professional photographers
3:59
to saving more details at the picture and post-producing them in graphic programs so
4:05
this is really cool that we have this and this is how to change this
4:09
And now let me use this to take a picture so for example let me change the focusing
4:14
here, white balance maybe this one, here I can stay in the shooter speed, then the ISO
4:24
and this is how it works so let me take a picture. When we go here to the right corner at the bottom we can see it in the gallery
4:32
So that's all, thanks for watching, subscribe our channel and leave the thumbs up