0:00
Welcome and front of me is a Sony Xperia 1 and today I'll show you how to transfer
0:09
files from your device to an SD card and vice versa. So to get started we will
0:14
need to open up the files app which can be found right here and in here start
0:21
off by tapping on three dots and selecting where I have... let me just show
0:26
how it's supposed to look. So by starting off by showing internal storage. So when
0:32
you tap on this it will give you the internal storage right on the panel
0:36
right here. Before it would not be visible. So now that it's visible you can
0:41
tap on it and it shows the structure of the device in a way of
0:46
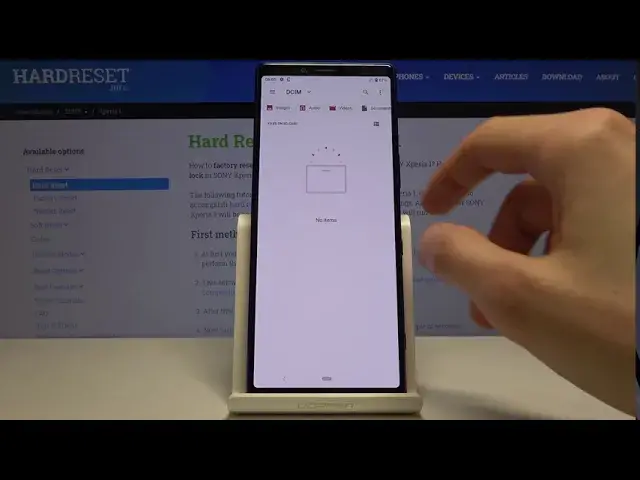
folders. So just a quick tip. Videos, photos captured with the device will always be
0:55
located under the DCIM folder as you can see right here. That's the camera pro
1:00
and project. Now it's a little bit more convoluted when it comes down to the
1:05
the pro app for recording but if I were to quickly capture a couple photos
1:12
right here and go back you will see that now I have the two photos just simply
1:20
right here. Then downloads folder will contain anything that you have downloaded using either your web browser or email. So that would be either
1:30
documents, photos, videos, music. Whatever it is it will always be in the downloads
1:36
folder as long as it was downloaded. Then movies and music will contain files that
1:44
well you place usually yourself in there so you probably know that they're
1:48
located there. And pictures contains most of the time screenshots. So that
1:56
being said that you know majority of the locations of different files you can
2:01
begin to find yourself all around this entire folder structure here. And also
2:09
these files for instance photos like from the DCIM folder can also be found
2:14
on the SD card. So you will see that the SD card also has basically the exact
2:19
same folder structure and the difference is this place is empty. There's
2:24
nothing on here right now. The device looks like by default saving to
2:28
itself rather than the SD card. So let's start off by opening up the photos that
2:35
I will use as an example. So I have those two photos right here and you
2:41
want to number one select them. So you select them by holding one and then you
2:45
can see that it has a check mark. You can feel when it's actually being selected
2:50
but because the device gives you a vibration. And then you can tap on
2:54
additional ones to add more. Once you have selected everything that you want
2:59
you will tap on the three dots and you have two options. You have copy to or
3:04
move to. So choose whichever one you want to use. While you move the files will be
3:12
completely removed from where they are right now and move to the new location. While copy will just create additional set of the same files. So you will have
3:18
duplicates in this case just in two different locations. So select which one
3:24
you want. I'm gonna go with move. And from here it looks like we're not really sure
3:30
where. So let's go to SD card as a way by tapping on the three dots, three bars
3:36
right there. And from here I can drop it wherever I want. So I'm gonna keep it a
3:42
little bit organized and go to the DCIM. I'm just not gonna be bothering with
3:46
creating a folder called camera. So from here up on move, copy whichever one you
3:53
chose and you can see that the files now disappeared from their original place
3:58
And they can now be found on the SD card in DCIM. And the same process works
4:05
for any kind of file. So that'd be either documents, folders itself with all of its
4:11
contents. Whatever you select always has the same process of moving or
4:17
copying them. And if you found this video helpful don't forget to hit like
4:22
subscribe and thanks for watching