0:07
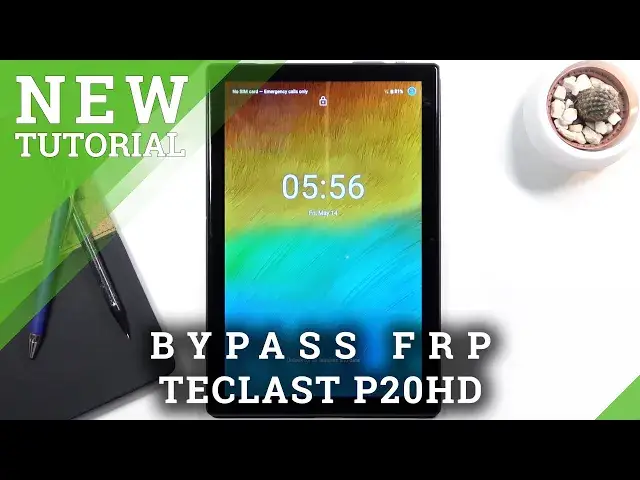
And following me is a tech class set, P20 HD. And today I'll show you how to bypass the Google verification on this particular device
0:18
So as you can see, the tablet right here is locked and I could unlock it either using the
0:23
verification pattern that was previously set or using the Google account. again that was previously logged in on the device
0:31
Now assuming we don't know either of those we'll back out to the first page
0:35
right over here and start off by changing the language to any kind of other language that uses different keyboards
0:42
So simplest swipe scroll all the way down and you can choose virtually any language from here
0:49
I'm going to stick with something a little bit fun. Then we go Greek
0:56
So from here I'm going to progress through the setup. So if you're not sure what to press
1:05
because as an example you're using a language that you might not understand, then you can follow me
1:10
Assuming you haven't chosen a language that decides to write from right to left
1:15
instead of from left to right, all the options should be in the same place
1:19
If you chose a language that is writing from opposite side, then, for instance, the skip option will be on the other side
1:28
So anyway, from here you're going to tap on this button
1:37
We don't want to back up any or restore anything so again press right over here
1:45
And there is the pattern, so let's tap on use Google account instead, the text below
1:51
And once it loads, there we go on this field, tap on it
1:55
It will bring up a keyboard and from here you going to hold the cross low icon change it to QWERTY which is the second option I going to hold it again Go to language settings the text below the two options
2:09
Add the keyboard at the bottom blue button. And from here, choose any kind of option that doesn't have an arrow
2:16
As you can see, these options here, here, here. Choose one without an arrow
2:21
And from here, top on add, which again is the blue button. And once you added the language or keyboard, more precise
2:26
back out again to the first page and change the language back to your desired
2:35
language and again get back to the same place we just were
2:43
again let's stop on the field and hold the globe icon again and go to language
2:56
settings, add a keyboard, and this time around you're looking for a keyboard with an arrow
3:01
So scroll down, there is one, as you can see, so select it
3:06
And once you select it, top on it three dots, and go to help and feedback
3:13
And describe your issue, field, top on it, and type in two letters, M.O, and it will bring
3:19
up what we're looking for as a suggested option. As you can see, use Morse code, right at the top, so select it
3:26
top on the video, choose the 3 dots and go to watch later
3:34
This will open up our Chrome browser. So let's accept and continue and no thanks
3:43
And there is our browser. So right now, again, top on a field right at the top and navigate to hardreset
3:49
in the phone slash bypass. Like so if you need a moment to write it down pause the video Once you load it up give it a second we give this annoying pop
4:12
So you want to scroll down to the Settings application, simply tap on it
4:19
This will open up the device settings. And from here you're going to scroll down to security
4:28
select screen pinning, enable it, and then also enable the lock device when unpinning
4:35
And this will ask you what kind of protection you want to set on the device because it thinks that there is no protection
4:43
So if you did recall, the way we can verify our device at this moment is using either the Google account or using a pattern
4:54
So I'm going to set it up to be something completely different. Let's go with a pin in this case
4:59
And I'm going to set up a fairly simple pin. Now, for the bypass, I do recommend you to set it up in the same way
5:04
So it's going to make it a little bit easier throughout the process. I'm going to say what pin you need to insert, making it a little bit more straightforward
5:13
So I'm going to set it up to be one, two, three, four. Next, one, two, three, four
5:18
Confirm. And there we go. Now the pin is set. So once you have set up your pin
5:25
I'm going to hold the parking select to restart and wait for the device to reboot
5:33
okay so now that we're back in the device or Android
5:43
I'm unlock it now again the device is right now locked so to put in our pin that we have set up
5:50
one two three four and from here we can progress with the setup
5:55
And as you can see right now we have a verification pen in sort of a pattern as a way to unlock the device so let just put our pin in one two three four and unlock the device
6:11
now I would still recommend you after you unlock the device to perform a
6:15
factory reset of this tablet just in case the not in case but the tablet does
6:20
still keep old account in its memory so by factory resetting the device
6:26
through settings you will get rid of it so that's why I recommend
6:30
it and explaining also what happened right here. Android is, it looks like such an amazing operating system that it can only keep one screen
6:40
lock in its memory. So if you set another one, it basically overrides the old one
6:47
So it substituted the old one with the one that we have set up and allowed us to simply unlock
6:51
the device like that. Now once the setup is complete, like it is right now, like I said, I recommend you to perform
6:58
a factory reset which you can quickly do by going into the setting. from here scroll all the way down to system advanced reset options and then
7:11
select erase all data factory reset erase all data put in your pin one two
7:16
three four and erase all data now I'm not gonna go through this on the video it
7:22
would just add unnecessary time to it all will happen right now once you click on
7:27
the button as device will start removing all the data from it
7:30
from the factory reset and once it's complete you'll be back in the setup screen
7:35
at which point you can set up your device as however you like it will be fully unlocked at that
7:38
point so yeah and it's kind of self-explanatory from there so that's why i'm not going to go through
7:44
it but as you can see right now the device is already usable and that is basically how you
7:49
would bypass the google verification on this device so if you found this very helpful don't
7:54
forget to hit like subscribe and thanks for watching