0:00
Welcome. In front of me is an honor 90 and today I will show you how we can go to the setup process of this phone
0:11
So to get started when you boot it up for the very first time, you should be presented with a welcoming screen where you get to select your desired language from the list
0:19
Now for me, I have already selected English, which is the language that I want to use. Next we can go to the next page by selecting get started and then choose our region
0:27
I'm going to be sticking with this one. I don't really care. I'm going to go automatically to the next page, which is Terms of Use
0:33
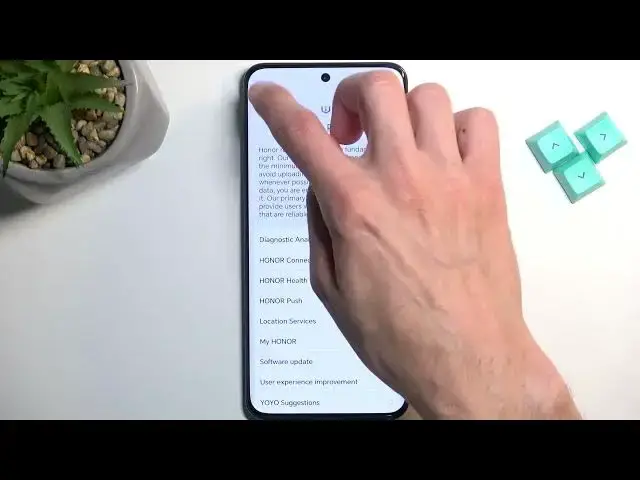
And here, all we need to do is select this box right here that we have read and agreed to the Terms of Use
0:38
You can also tap on the details right here to read exactly what you are agreeing to
0:44
After all, it is technically a legal document, though I'm pretty sure no one actually reads it is
0:52
Anyway, moving on, we have Connect to Network. This step is completely optional
0:55
Here we can just sign into your Wi-Fi Network, assuming you have one that you can connect to
1:00
I'm going to be selecting skip anyway. Now by skipping it I am confronted with the date and time page which if you connect to any kind of network will not show up because the date and time will be set automatically I am not connected so it can figure out what the time and date actually is right now so it tells me to fix it for myself
1:23
I'm going to ignore it and go to the next page anyway. And then we have Google Services
1:27
So here we have a couple different services like location, scanning, and sending user and diagnostic data
1:32
If you don't want them, you can actually turn them off like so. Let's go to the bottom and we can select accept to go to the next page
1:39
which is quick login not exactly should do that is provide you with a quick login to your honor
1:45
ID I'm going to select cancel but if you want you can obviously log into it
1:51
I assume it's basically equivalent to something like the Samsung account or Apple ICloud and so on
1:58
it's basically a it's a plagiaristic copy of a couple other garbage
2:03
specific brand logins anyway here we have some data and privacy which is a load of baloney coming from on our devices
2:13
considering it's partially Huawei. Let's go. Anyway, we can tap on details to get the supposed data privacy documents
2:26
Let go to the next page and ignore that So here we have device protection We can actually set out some kind of protection to our phone And we have a couple different methods We have fingerprint face recognition and pin pattern or password
2:40
Now, if you're planning to use a face recognition or fingerprint, then you will always be forced to select pen pattern or password
2:50
Now, the reason for that would be if something would happen to you and your face and also your fingerprint, assuming you said both of them
2:56
gets damaged, then your phone won't recognize them, and therefore you would lose access to your device
3:02
Therefore, that would leave you with the last option, pin, pattern, or password
3:06
which isn't affected by whatever will happen to your finger or whatever
3:14
or the phone's ability to define these face recognitions or fingerprints. Now, I'm going to be skipping this anyway
3:26
And moving on to the next page, which is enhanced services. No thanks
3:30
You can read exactly what this is, and if you don't want it, I can select No Thanks. User Experience Improvement Programs
3:36
Again, I'm going to be selecting all this garbage to later and no thanks. So location services later
3:42
Keep your software up to date Now here if you want to skip this so it doesn automatically try to install software updates you don select this because you know or give you the later option when you can just hide the update manually in here and then additionally give you this bullshit pop
3:58
don't want overnight update. And again, enable, don't enable. Yeah, we're going to select
4:05
don't enable. I love how they're trying to do the reverse psychology by switching the options
4:09
Now here we have new navigation gestures. Now they're not new. They've been out for several years already
4:18
But if you have never used them, I recommend going through the guide right here
4:23
just so you can get acquainted with them. I already know exactly how these work like
4:27
So I'm going to just close this. And if you want to use the gesture navigation
4:32
after checking it out and you like it, then just select finish. Now if you want to change it to button navigation
4:37
you'll click right here on the blue text to switch to button navigation and then you can select finish
4:42
and this will finish up with the buttons as you can see. So there we go. Now this is the entire setup of the device
4:49
so if you found this very helpful don't forget to hit like, subscribe and thanks for watching