0:00
Welcome. In front of me is an Osco Tiger 12 and today I'll show you how you can go through the setup process of this phone
0:10
So when you boot it up for the very first time you should be presented with the Hi There page
0:16
Basically the first page of this setup in which you can select your desired language
0:23
For me, it's English, so I don't need to select anything but you just tap on this area right here and find your language from the vast list of languages
0:31
From there select start. It allows you to insert a sim card
0:38
I don't want to do that. This step is completely optional, so you don't need to
0:42
The reason it shows up here, even though we can insert a sim card throughout basically the entire process without any additional steps needed or
0:48
permission, is because right now this is one of the ways of connecting to network
0:53
This would be the second one. And if you choose to skip both of those
0:58
like I am, which actually gave us a quick message, what will be the effect of that. So we won't have the Google
1:06
account sign-in page visible. We won't be able to restore apps and data, get software updates and automatically set up time and date
1:15
So I'm going to tap continue. So here's our time and date. You can fix it up if it's incorrect
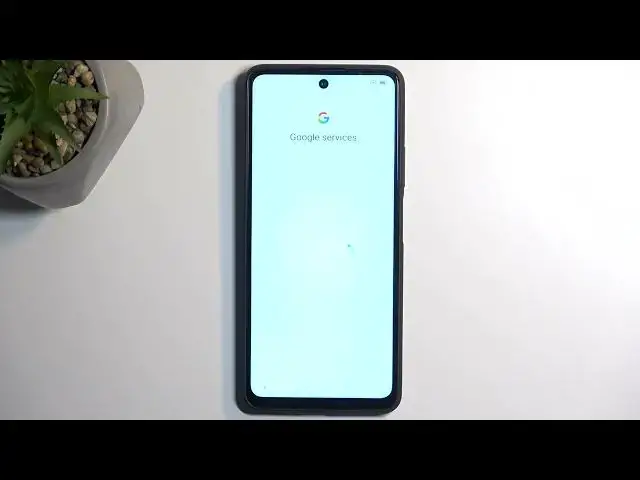
1:20
Then moving on to the next page, we have Google services, which consists of location
1:25
scanning and sending user and diagnostic data. You can disable those, but let's be honest
1:31
it's Google, so disabling means F-all because Google will still gather those without your permission
1:36
Anyway, we can go to the next page, which will allow us to select our screen lock
1:44
By default, the device will always just prompt you to select it. So if you don't want to, you can select skip right over here
1:50
And additionally, you have also screen lock options, which add two additional ways of
1:55
protecting your device, like pattern or password. Now you can only use one of those three
2:01
And I'll be selecting pattern. There we go. So it's now set
2:08
Next, it prompts us to select a fingerprint because we do have a fingerprint sensor on our power button
2:14
So you could assign that as well if you wanted to, but I will be skipping this actually
2:21
Moving on, we have some terms of use and representations. Okay, then you can read what this is. And by default, you will need to agree to this anyway
2:33
if you want to use your device. So it's not like you have an option here. Next, we have system and navigation, which gives us two different methods, the old school button navigation
2:42
right here, and gesture navigation, which is actually surprisingly selected by default
2:46
So I'm going to select next because that's what I would stick with anyway. And this finishes up the setup
2:53
So if you found this very helpful, don't forget to hit like, subscribe, and thanks for watching