0:00
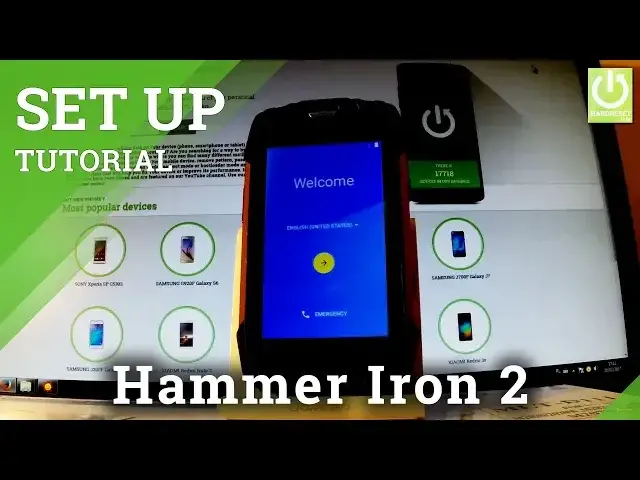
Here I have my phone Hammer Iron 2 and let me show you how to go through the initializing
0:09
setup process in the following phone. At first let's start from the welcome panel, let's use one of the following languages
0:16
in my case let me choose English for instance from United States
0:21
You can also choose emergency to open the phone's dialer and to make some emergency calls
0:26
Let's go back and tap next by using that key. You can skip inserting sim cards because you can activate your phone without the sim cards
0:34
so let's tap skip. Now you can connect to one of the available wifi, it's not necessary but I usually recommend
0:41
this because you can do more with your internet connection. So let me connect to my wifi, let's type in the password
0:56
Choose connect, the device is connecting, then the phone is checking connection, this
1:05
can take up to 2 minutes
1:29
Now you have to decide either you would like to copy your google accounts, apps and data
1:33
from one of your other devices or just tap no thanks to set up your phone as a new
1:38
So let me do it in that way, let's choose next. Now you can add a google account to your phone, you can bypass this step by choosing skip
1:51
or you can create a new google account if you don't have any. I usually recommend connect to one of your google accounts because you can enable some
2:00
interesting features. So let me type in my email
2:16
If you are ready let's tap next. Now you have to input your password so let me do it, let's wait a few seconds
2:34
Choose next right here. Now let's accept terms of services and privacy policy so let's tap accept in that corner
2:46
The phone is checking info one more time, let's wait a couple of seconds
2:52
And now you can change some settings of google services, for example you can enable or disable
2:57
automatically backup device data, use google's location services, improve location accuracy by allowing apps and services to scan for wifi, help improve your android experience
3:08
by automatically sending diagnostics and device usage data to google. Let me leave all of this enabled as is in default settings and let's tap next
3:20
Now the device is asking you to setup payment information, you don't have to do it, you
3:24
can bypass this step by choosing no thanks and by tapping continue
3:29
Let me do it. You can setup another email if you wish or you can use only a gmail
3:44
So let me choose not now. You can protect your phone by using some screen lock or you can unlock this and tap skip
3:52
Let me protect my device so let's choose either you would like to use pattern, pin or password
3:57
let me select pattern. You have to draw your customized pattern, let me use the following one, let's do it
4:05
twice just for confirmation. Let me go back. You have to decide either you would like to restore some apps from one of the following
4:21
devices, here you should see the list of your older devices, let me choose don't restore
4:30
just to setup my device as a new and that's it, all you have to do is tap the middle button
4:38
or the home button right here, tap got it and now you can use your device
4:41
Thank you for watching, please subscribe our channel and leave thumbs up under the video