0:00
Welcome. I'm from the museum Motorola G60s and today I'll show you how you can go
0:12
through the setup process of this device. So when you turn it on for the first
0:17
time you should be presented with this Hi there screen and all you need to do
0:22
from here is choose your language right over here and once you select your
0:26
language simply click on start. Now this will take you to the next page which is inserting your SIM card. This step is completely optional and you don't
0:33
actually have to do it. The reason why it is here is strictly for the mobile
0:37
network so you can connect to your network and log into your Google
0:42
account. Now you can either insert a SIM card or connect to Wi-Fi that is
0:46
completely up to you and additionally you can just not connect to anything but
0:51
that will result in you just not having the Google login screen visible
0:55
throughout the setup process and additionally date and time won't be set automatically. So I'm gonna skip both of them anyway and on the next page you
1:07
will have Google services. So you have things like location, scanning and sending user and diagnostic data. Now quickly going into into both of them or
1:15
all three of them. Location is just a simple GPS tracking for apps so they
1:20
know where you're located at. Then we have allow scanning which allows
1:24
the device to look for signals like Bluetooth or Wi-Fi and then sending
1:29
user and diagnostic data is just a Google's way of trying to get into your
1:34
personal data. Meaning just like where you're located at and for instance when
1:40
you paid for something stuff like that. So yeah no thanks I don't like spying so
1:45
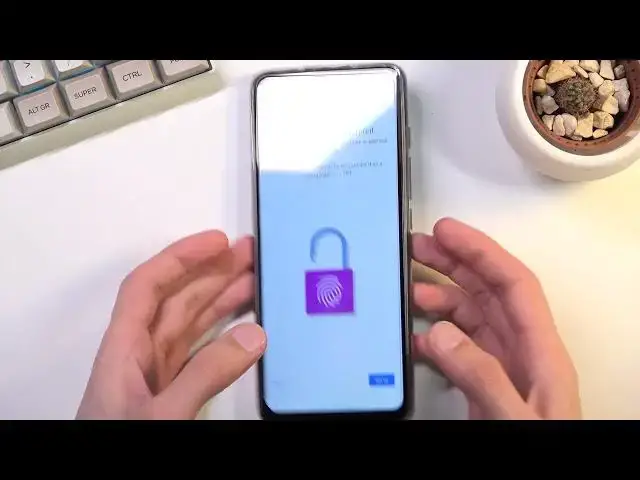
now disable that and go to the next page. Now the next page prompts me to set up a
1:50
screen lock. As you can see by default it opts into a 4-digit PIN but you can
1:54
actually change it by tapping right here screen lock options and you have
1:59
also choice between pattern and password. I'll be sticking with the pattern here
2:03
So I'm gonna draw it, tap on next, repeat it and confirm and now it's set. And
2:09
additionally once you set up some kind of screen lock it will also ask you if you want to use a fingerprint because we do have a fingerprint sensor at the back
2:16
right over here. So you could use that as well but I'm just gonna skip this
2:23
They have privacy and a software update so we have help improve Motorola
2:28
products, enhanced developer support and smart updates. You can read exactly what
2:34
these do below and if you don't like them you can turn all of them. You can see from
2:39
there we can proceed to the next page. Stay in the know, join millions of
2:43
Motorola fans. Thanks. Wait there is more. Obviously you can provide your email for
2:52
that there is more but I'm gonna skip this. Again I'm gonna select not now and
2:58
here we have another actual like support or not support but a setup kind of page
3:04
So it asks us if we want to use gestures. So you can select get started and it
3:08
gives us a quick guide on how to actually use those. If you never use them swipe up to go home, swipe up and hold to go to recent and then swipe from either
3:16
side to go back. And as you can see give it a try so you can swipe up and this
3:28
will finish up the setup but if you don't want the gestures you would just go into the settings and this will allow you to turn them off. But I do want to
3:35
use gestures so I'm just gonna swipe up and as you can see it just closed the
3:39
setup and it is now completely finished. So if you found this very helpful don't
3:43
forget to hit like, subscribe and thanks for watching