0:00
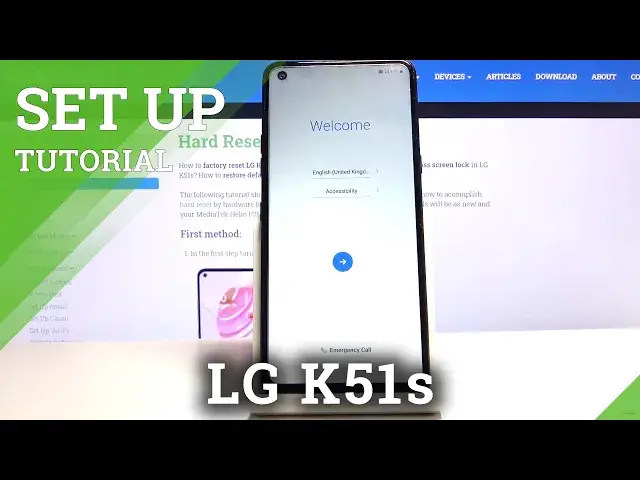
Welcome, and follow me as an LG K51s and today I'll show you how to go through the setup
0:11
process of the device. So when you get started by powering on the device, you'll see that welcome screen where
0:18
you get to choose your language. So select your desired language from here
0:23
I'm going to stick with the one that there is, that is selected by default and then tap
0:27
on the arrow. Now on the next page you can select if you want to see that cutout for the camera or
0:35
would you rather have it look like this. Personally I'd rather have the cutout rather than part of the screen being black, so it's
0:43
a personal preference here. Then insert SIM card. Now this step is completely optional and you can do that right now or later it won't really
0:52
change anything. The moment you insert your card it will just work as it was always there
0:58
So let's skip that for now. Then we have the ability to connect to Wi-Fi if we want to
1:04
So we just check this on and then select our Wi-Fi from the list
1:09
So for instance I can select this one. Then connect. And you can see it's connecting right now
1:20
And there we go, we're now connected. So you can tap on next and this will later on allow us to connect to our Google account
1:28
if we choose to. Now here we can copy our data from an old device, so basically a restore of the old
1:40
device to the new one. I'm gonna select don't copy and in turn set it up as new
1:52
And then, as I said, we can now log in to our Google account
1:58
Now I'm gonna skip this, I don't really feel like doing that, it's just a little bit of
2:02
a waste of time. Once you log in, basically the rest is almost the same anyway
2:08
Then we have date and time settings. Now it actually looks like it's correct
2:14
So the location is correct, the date and time is also correct, so I don't have to change anything
2:19
And let's go to next. Google services, so we have use location, allow scanning and send user and diagnostic data
2:26
Now you can read furthermore what they exactly do. And then, if you want, deselect them, tap on accept at the bottom
2:37
And here, secure your phone, so you can set a pattern, PIN, password and also a fingerprint
2:46
which looks like there it is on the back of the sensor
2:50
So you can choose either one or both of them. Now you cannot have only a fingerprint, that's because if something happens to your finger
2:58
gets scratched, cut or something like that, then you won't really have a finger to unlock
3:02
the phone with, so you need also another way of unlocking. I'm gonna set up a pattern, let's just go to pattern, secure startup
3:13
Now this is complete preference, I like to not have it. What it does is when the device is booting up, it will tell you that you need to put
3:21
in a pattern, in my case, before it actually boots into Android
3:26
And then once it does, you still have to put it once more to get to the device to unlock it
3:33
So this is just kinda like a one additional time you need to put in a pattern for no reason
3:39
which I just prefer to not have. So let's draw the pattern, tap next, redraw the same pattern, confirm
3:47
And now we have set the pattern. Then set your location, so you can select either EU or other
3:59
And then legal documents, so select the first one on the top that you agree, this will in
4:03
turn select everything. Now we can also deselect the ones, the optional ones, they're not necessary for you to agree
4:11
if you don't want to, only the first two are. So the EU-LA user agreement, and the privacy policy
4:24
And from there, tap on done, and you should be then on the home screen
4:29
So that is how you would set up your device, and if you found this very helpful, don't
4:33
forget to hit like, subscribe, and thanks for watching