Up next in 10

Learn more info about LG G8X ThinQ: https://www.hardreset.info/devices/lg/lg-g8x-thinq/
Stay with us and activate your new LG G8X ThinQ. We will show you how to successfully add a Google account to this device, how to set the language, time, date and more.
How to set up LG G8X ThinQ? How to activate LG G8X ThinQ? How to configure LG G8X ThinQ? How to accomplish the initialization process in LG G8X ThinQ?
Follow us on Instagram ► https://www.instagram.com/hardreset.info
Like us on Facebook ► https://www.facebook.com/hardresetinfo/
Tweet us on Twitter ► https://twitter.com/HardResetI
Show More Show Less View Video Transcript
0:00
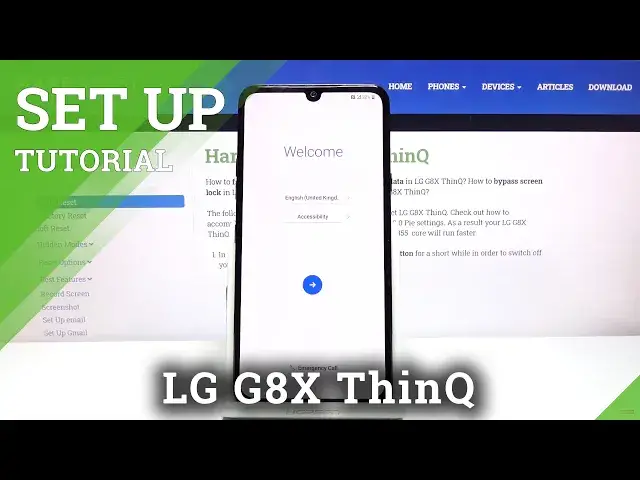
Welcome
0:02
From Home is an LGG-G-8X and today I will show you how to go through the setup process of the device
0:14
And when you put it up for the first time you'll be presented with the welcome screen where you get to choose your language
0:19
Now I'm going to stick with English but as you can see you have a pletter of other languages to choose from
0:24
So once you selected it, tap on the arrow to go to the next page
0:29
and then on this page we can set up a new second space or a screen which just
0:39
seems to change how this looks like I believe this is also incorporated with the
0:46
actual display that you can clip on it because this device does come with that
0:50
case so I can actually quickly grab it just so you can see what I mean so I'm
0:56
talking about this little case that has the second display. So you just plop it in here and you have the second display right here. So I believe because
1:05
it is exactly the same display right here and there you have on this phone, including that
1:11
notch as you can see right here for the camera, even though this doesn't have a camera, I believe
1:16
this is what this is for. So I'm just going to stick with the normal one and from here tap on
1:22
interest to get to the next page where we have the option to insert our SIM card. Now this step is
1:27
completely optional you can choose to insert it skip it whatever you want it's
1:31
completely up to you the moment you insert a SIM card it will work completely
1:35
fine without any problem and without any kind of I need to do any kind of extra work apart from maybe putting in a pin for the SIM card if you have one set on it So I just gonna skip it for now and then go to the Wi connection
1:50
Again, this step is completely optional. You can turn on and connect to Wi-Fi if you wish to
1:56
So as you can see, I can just tap on it. It will connect after a second
2:01
Now the benefit of connecting to Wi-Fi is the fact that throughout the setup, you will have the option to connect your Google account as well
2:08
and furthermore later on restore a device from an old backup that is located on the Google Cloud
2:16
But this is completely optional. So from here we have the option to restore a device, copy apps and data from a different device
2:37
I'm just going to select on copy and set it up as new. And as you see, here we have the option to log into our Google account
2:57
Like I said, this is only visible if you connect to your Wi-Fi. If you don't have any kind of network connection, this will just not be visible at all
3:05
It will pass it. I'm just going to skip it as well so I don't have to log in and here will have date and time
3:13
so it actually looks like it's right now correct primarily if you choose to connect to Wi-Fi
3:20
it will basically get the correct information about date and time from the net if you choose to skip it it might try to set it correctly based on localization but most of the time it kind of fails at it
3:34
So I'm just going to top on next, considering it was correct, and then we have Google services
3:38
So right here we have services like location scanning and send user and diagnostic data
3:43
Now, location is basically just GPS tracking. That is used for things like Google Maps
3:49
probably the best option but there are also apps that will want access to it even though they shouldn't
3:56
have any reason to need it things like the smart appliances and
3:59
stuff like that there's literally no reason for them to have it now you can disable
4:04
that and by disabling the first option it will also disable disable scanning
4:08
so I believe it's just later on turns of cup hole on couple toggles
4:15
that you can still turn on later on just as the localization
4:19
This is a simple toggle in your notification panel. So whatever you said right here, know that it can be changed later on
4:26
And then at the bottom, we also have the send user and diagnostic data
4:30
and this is just gathering data all new and sending it to Google
4:34
Now, I'm not sure, but there is a chance also that it gathers, for instance
4:38
what you're looking at and then tries to give you relevant ads based on your search history
4:42
But I'm not exactly sure if it works like that. So let's just go to more and accept
4:48
And from here we have option to select protection to our device
4:53
So it opts into fingerprint by default. That's what's selected. Now that if you try to set up a fingerprint
5:00
it will still force you to set a pin pattern or password. That is so if something happens with your finger if you cat it or whatever you still have additional ways of unlocking the device I just going to go with a simple pattern right here Select pattern
5:17
There we go. And from here, ask you for a secure startup. This will basically force you to put in your pin pattern password
5:24
when the device is booting up. So this is right before you actually put into Android
5:30
it will give you the pin pattern password to confirm, and then the device puts up fully and asks you again for it
5:37
So I'm just going to select no thanks. It seems redundant to put your pin pattern password twice in a row
5:44
And from here we can draw our pattern or whatever you have chosen
5:49
Top on next, redraw the same shape or pin pattern, password, and confirm it
5:56
And there we go. Screen lag has been set. There are some legal documents, so choose your region
6:03
EU and there's the legal documents. I can basically scroll through this tiny little
6:09
window and read it as the full document if you wanted to. But at the end of the day
6:15
you do have to agree as you can see this is required right over here. And also if
6:21
we scroll down this is also required privacy policy so I agree to it and scroll
6:27
down and click on done. The rest of them are optional so you can read what it does
6:31
and if you want it top of my agree if you don't want it just leave it empty and
6:37
there we go we're done with this setup so if you found this very helpful don't
6:42
forget I'd like subscribe and thanks for watching
#Software
#Mobile Apps & Add-Ons
#Gadgets & Portable Electronics