0:00
We are glad to welcome you on the Hard Reset YouTube channel and today I'll show how you can
0:04
set up this iGeek ZS-GQ2 security camera and connect it to your phone
0:16
So first you will need to have the camera itself as well as your smartphone
0:20
Connect your phone to a 2.4G Wi-Fi network because unfortunately neither the camera nor the
0:27
app support the 5G Wi-Fi network so make sure that whatever Wi-Fi network you will use
0:34
has the 2.4 GHz frequency. So it still misses something or what? Anyway let's continue. So here
0:52
find install and then launch the iGeek. iGeek cam app then here tap on the sign in or create an account. We have separate videos on
1:04
how to get this app, where to get it from, how to create an account so check those out if you are
1:10
experiencing any issues at the earlier stages. Anyway here open the home section then tap on
1:18
this plus button add device. Here let's see what kind of device we have. We have the battery camera
1:25
maybe monitor, floodlight camera, 4G camera, camera kits. Well it's definitely not a battery
1:33
camera since it doesn't have any battery slot or something and well it gets its power directly from
1:40
the socket. So yeah so power plug camera and this one is smart camera 2.4G Wi-Fi
1:52
Now power your device on or connect it to network. Well once you see the status light is switched on
1:59
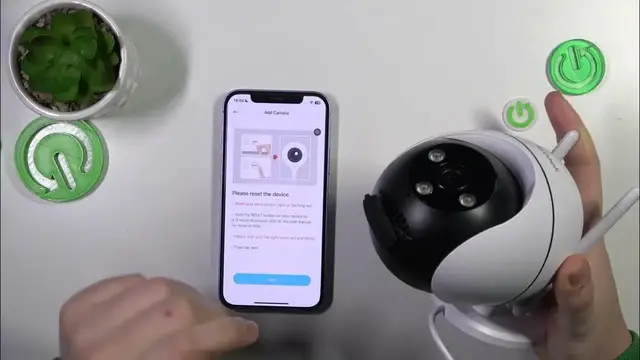
that means that the camera is on so we can continue. Reset your camera which you can do by
2:05
opening this compartment here and holding the button inside. Let me show you this is the button
2:12
so press and hold it for a few seconds until you will hear a sound like this one. That means that
2:19
the camera has been reset successfully. Now let's wait for the camera to boot itself up to check
2:29
everything. It will flash some lights, it will spin around also. So let's wait for this process to finish first
2:37
Unfortunately very smart engineers from iE Geek didn't balance this thing out properly for it to be used on the
2:51
desktop or some kind of desk in general because well the moment I let this stand go it will just
3:00
tilt front to the front and just fall. So the only way this camera can be stationary and stable
3:07
is when you screw it with this screws or any other ones whatever to the wall I guess. Now we can
3:16
continue here tap next then select the 2.4 gigahertz Wi-Fi network you would like to make
3:21
everything through then input the network password then verify whether this password is correct
3:27
Once you did that and verified the correctness of the inputted password here we can continue
3:38
So apparently something is wrong with the Wi-Fi network itself which is strange and odd
3:55
because it's a 5 gigahertz counterpart works just fine. Let's re-enter the password, not a big deal at all and see where it will get us
4:13
Hopefully it will connect to this network please pretty please. Ready let's try this
4:19
one because this network is 2.4 gigahertz and 5 gigahertz combined so I'm not sure if it will work or not
4:26
Now we gotta input the password all over again so let me do that off camera
4:40
So now let's verify the password yep so verification is passed successfully hit next here
4:48
Now you gotta get this QR code then align your camera lens with the QR code then when you hear
4:59
this sound that means that the QR code has been scanned successfully. We can continue now
5:04
and here just allow some time for the camera to be identified and found in the network then
5:12
for it to be registered to the cloud and then for it to be initialized. As you can see connection
5:16
has been successful so here you can choose a family that you will add this camera to
5:22
You can select a room for it, I'll leave it at living room and then done
5:29
Here you'll also find the installation guides. You can skip this step if needed and that'll be it. The camera has been set up successfully now
5:44
it's operative and working and now we can see what is happening
6:00
Well I do agree that it was not the most pleasant sound that I've heard in my life but
6:06
I guess that's fine. Anyway so now the setup is finished thanks for watching and bye