0:01
I'm in front of me is a Nokia G50 and today I'll show you how to bypass the Google
0:06
verification on this device. Now obviously you can see that the phone right here is locked and I can unlock it or verify
0:13
it using previously used pattern or using the Google account and obviously you can also
0:17
see this lag right here that basically proves that the device is locked
0:25
So anyway, to get started with the bypass we'll want to back out to the Wi-Fi content
0:29
connection page right over here and you can be connected to network or not it
0:36
really doesn't matter so what you want to do right now is select see all
0:40
Wi-Fi networks scroll down and select add a network and this will bring up your
0:46
keyboard with a microphone option so you want to tap on that microphone and then
0:50
select deny I'm gonna repeat that once more again select deny and as can see
0:57
it changed from being like fully black to being just an outline now click on it again and choose allow and this opens up ups notifications so
1:05
in here we're gonna go into permissions and then right at the top we have the
1:09
search icon you gonna search for settings like so so at the bottom believe very bottom yep At the end of the list you will have three different things that have settings
1:26
You are interested in this one. Just the settings with an icon as you can see
1:31
I click on it, select open, and this obviously opens up your settings
1:37
And in here we're now going to go to Absin Notifications. There we go
1:45
You're going to select Up Info, tap on the 3 dots, select Show System, and you're looking right now for Android Setup, which should be somewhere at the top
1:59
So as you can see there's two of them. So we're going to start with the first one, Android Setup, we're going to select disable, disable app, forced up, and OK
2:11
and okay and we're going to go back and select the second one and again we're going to select
2:17
for stop and okay so once you have disabled both of those we're going to now back out the
2:24
app uh apps right here and we're going to scroll down to google play services Oh, I'm a little bit too far
2:32
There we go. Google Play Services right over here Click on it disable disable up and force stop
2:44
So as you can see we have disabled three different things, two different setups and one
2:49
Google Play Services. And what you want to do right now is back out
3:04
Select let's go. Skip. Nope, we're gonna go back, there we go
3:18
So we want the Wi-Fi connection. And in here you're gonna select setup offline
3:24
Select to continue. And simply finish up the setup. I'll be skipping adding any kind of protection right now because it really doesn't matter
3:33
really doesn't matter. Skip anyway, continue. No thanks. Not now
3:46
And once you have access to your home screen, you want to now navigate to your settings
3:54
Scroll down to System and then select reset options and erase all data factor reset So this does remove as you can see your Google accounts system apps and the data settings
4:09
And basically those are the two important ones. Now even though technically we didn't log into any Google account
4:14
the Google accounter was preventing us, the FRP-locked one that we needed to verify
4:19
as still on this device along with the pattern that was used. So to remove it, you just want to select erase all data, which removes those as well when
4:30
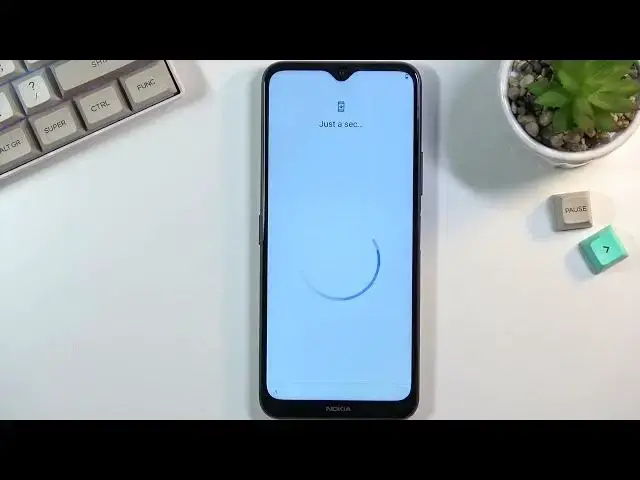
it's done through settings, obviously. Now I'm not going to go through the one video because performing this honestly will not
4:37
give you any additional information. It's just a fact that we reset out the device
4:41
Once it's complete, you are back in the setup screen, at which point you can set up your
4:45
device however you like. So like I'm saying, it provides you with no additional content or information
4:54
You can set up your device however you like from there. So yeah, I click on it and basically you're done with the bypass
5:00
So that being said, if you found this very helpful, don't forget to hit like, subscribe and thanks for watching