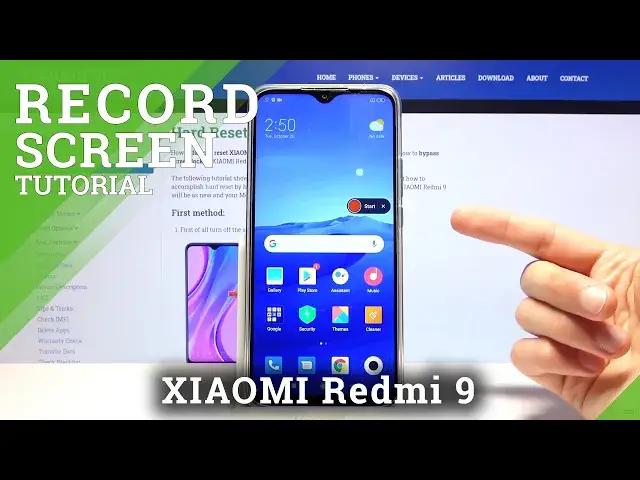
0:00
Welcome, my name is Xiaomi Redmi 9 and today I'll show you how to record screen on a device
0:13
So to start off, let's pull down the notification panel, extend it, go to the second page and
0:17
the toggle at least for me is right over here. So you can hold it, this will take us to our recorded option but we also have these settings here
0:28
So normally if you already recorded something it will be visible right over here and if
0:32
you want to change some settings you can tap on the settings button obviously and we have things like resolution
0:36
I would keep it at 1080p, this will ensure that the video looks as crisp as it can
0:42
Video quality, so here the farther you go the more space it will take
0:49
16 megabits per second seems to be good for like middle quality I would say
0:55
If you want more detail you can go up to for instance 32 or 24
1:01
I don't think there will be much of a difference between 32 and 40 in terms of quality but
1:05
you can test it around, record it. Now this quality will be only visible in for instance things that move, so videos, gaming
1:14
stuff like that. On a static screen you could keep it at for instance 1 megabit and as long as it isn't
1:20
moving the quality will basically be there. So change it to however far you want
1:28
Then we have the orientation, I'll probably keep it as it is
1:33
This basically ensures that whatever position you're holding the phone that's also the position
1:37
that the video will be recorded in. Then we have sound source, so by default it's set to system sound, you also have mic or mute
1:45
Now there unfortunately isn't a way to have both, mic and sound system so you will have
1:49
to pick and choose. If you're planning to record games with like commentary your games will have no sounds
1:55
or you won't be able to comment on anything. So pick whichever one you want
2:01
Then we have fixed frame rate, I would advise to keep that on
2:06
This will ensure that the video has a static amount of frames instead of for instance changing
2:13
And then in the frame rate I would actually set it to 30, unfortunately there is no 60
2:17
so that's a little bit of a shame. But yeah I would at least go to 30, so this will ensure that the video looks as smooth
2:24
as it can. Now the settings that I'm going through are basically settings that are designed for the
2:29
video to look the best it can, almost. So yeah. Now recording options, so you have a lock screen to end, so if you lock the screen it
2:42
will end the recording and save it. Show touch gestures, so whatever you will be touching that will be recorded as well
2:48
with this semi-transparent dot that will be shown right under your finger
2:54
And then we have visualized navigation buttons, show prompts when pressing home menu and back
3:00
buttons, you can enable that if you want, I don't really want it
3:05
Go back to screen recorder, so when you stop recording it will open up the previous page
3:10
so the page that if I back out of where everything will be saved
3:15
And that's about it. We have no settings for cameras or anything, so we're limited to this
3:21
And from here, if we leave it, go back to the toggle and tap on it
3:26
Low battery, resume whatever, so as you can see it's already recording, now this overlay
3:30
right here that I can move around is not visible in the recording, but me touching it and dragging
3:35
around will be visible as this kind of finger movement on the screen
3:41
And whatever I will be doing right now is basically being recorded
3:46
So yeah. To finish it, simply tap on the red square, there we go, and it gets saved
3:51
And like I said, we can access the video by basically holding the toggle, and there it is
3:58
Tap on it, and from here you can view it. Oh, there's my finger, as you can see, that's kind of what I meant
4:11
This is, there we go, I probably should have started like that. So as I said, the overlay is not visible in the recording, so I'm kind of just moving
4:18
my finger, but the overlay isn't there. And there is also me just messing around, just so I have something to show
4:29
And as you see, that is basically all we can set up here and how we can use it
4:35
So if you found this video helpful, don't forget to hit like, subscribe, and thanks
4:39
for watching. Bye. Bye. Bye. Bye. Bye. Bye. Bye. Bye