0:00
Welcome, in front of me is a Redmi 9A team and today I'll show you how to go through
0:12
the setup process of this phone. And once you boot it up for the first time, you'll be presented with this screen right
0:19
over here. So let's start by tapping on an arrow and then selecting our desired language
0:27
The next page we can choose our region. Now for me it's correct so I'm going to stick with it
0:32
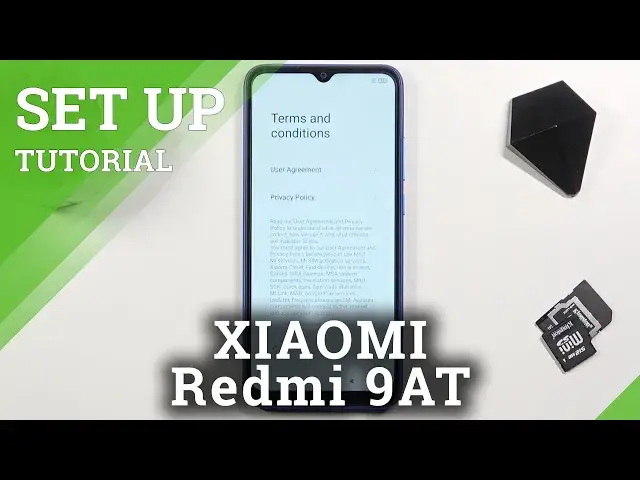
And from there we have terms and conditions. Now obviously we do need to agree to them at the bottom, otherwise we can't proceed
0:38
with this setup. Now if you're interested in reading those, you can tap on user agreement and read exactly
0:44
what you're agreeing to, as you can see right here. But anyway, from here, let's go to the next page where we'll have the option to insert
0:51
our SIM card. Now it will automatically start scanning for it and if it doesn't find it, it gives you
0:56
the message and you can check again or you can just simply skip it and disregard it
1:00
The moment you insert a SIM card it will work as it should, so there are no extra steps needed
1:06
Now next page we have network connections, so we can choose to connect to Wi-Fi or skip
1:10
it if you want to. I'm going to try to skip it
1:15
And from here we have Google services. So we have location, scanning and sending user and diagnostic data
1:21
So obviously if you don't want those, which would be acceptable, you can simply disable
1:27
them and then go down and proceed further. Then we have option to set up a screen lock
1:35
Now in here we only have a screen lock, there is no fingerprint or face recognition, so
1:39
that's the only option we have here. And in here we have option between pattern, PIN or password
1:45
So I'm going to stick with the pattern here. Now it does give us this message that we do need to remember our password, like it's not
1:51
the most obvious thing we have ever heard. And from here let's draw our pattern, redraw the same pattern, and by tapping on an arrow
1:59
you will confirm it. Now here we have some additional settings. Now these are, I believe, realme specific, because some of them already repeat, like
2:08
location and user experience programs and sending diagnostic data automatically. Now they are worded a little bit differently, but basically it's the same thing
2:17
Now additionally I will mention one little thing, if you scroll down, which as you can
2:22
see we have personalized ads. Keep in mind that you can disable all of them and it doesn't give you any kind of pop-up
2:26
but hey, the moment you try to disable personalized ads it gives you this pop-up like, ooh, are
2:32
you sure you want to disable them? That's our way of spying on you and giving you ads based on what you're searching
2:38
So yeah, let's turn it off and get rid of this permanently
2:42
And from here we can finish up the setup by choosing our theme
2:46
So we have, well not theme, but like launcher. So we have two options. We have the classic, which is all applications on your home screen, and then we have app
2:54
drawer, which keeps only certain applications on your home screen that you can choose to
2:58
put on, and the rest of them are, all of them are being kept in your app drawer, which you
3:03
can pull out. So that's what I'm going to go with, and let's complete it by tapping right here, and should
3:09
be in the home screen. And there we go, as you can see, the setup is complete
3:24
So if you found this very helpful, don't forget to hit like, subscribe, and thanks for watching