0:07
Fenom is in Alcatel U3 and today I will show you how to go through the setup process of
0:11
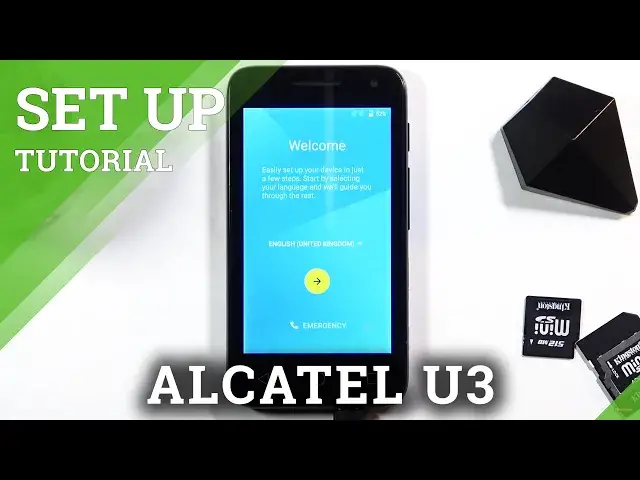
this phone. And to get started, when you boot it up for the first time, you'll be presented with a
0:16
welcome screen, so choose your desired language by simply tapping on a text right over here
0:25
and select it from the list. Now I already have the language that I want selected, so I'm just going to click on the
0:31
arrow and it will take me to the SIM insert page, so here I could insert a SIM card or
0:37
I can completely disregard this page, it doesn't really matter right now. I'm going to skip it
0:41
The moment you insert a SIM card, it will start working the way it's supposed to
0:44
On the next page we have Wi-Fi connection, so you can connect to Wi-Fi if you have one
0:49
that you can connect to. If you don't, you don't need to worry about it, you can simply skip it
0:54
Now by skipping it, a date and time won't be set automatically and you also won't have
0:58
the option to log into Google account throughout the setup, which still can be done later on
1:03
after the setup is completed through settings. So as you can see, there's the automatic date and time
1:10
For some reason it's not correct. You can disregard this if you want to and just skip this, because when you connect to
1:19
Wi-Fi it will automatically set the time correctly or fix it up
1:23
So this would kind of be a waste of time, but if you're not planning to connect to any
1:27
kind of network or anything like that, then you might want to set it up manually
1:31
Anyway, I'm going to go to the next page where you can insert a name
1:35
This step is optional, if you choose to leave both of the fields empty, the device will
1:40
name itself, which it will take the name of itself. So in this case it will be Alcatel U3 or something along the lines of the U3
1:48
So I'm going to go to the next page where we have the protection for a device
1:55
So if you keep this on, it will prompt you to set up pin, pattern or password
1:59
And if you deselect this, this will mean that you will just skip adding some kind of screen lock
2:05
Now I'm going to add one just to show you. So from here, choose if you want to go with a pin, pattern or password
2:11
I'm going to select the pattern. So from here, let's draw the pattern, continue and redraw the same pattern once more and confirm
2:21
And this will automatically set it up. Now it also goes to the next page to ask you how you want to display notifications during
2:30
when the device is locked. So you can show all notifications, hide notifications but show like the badges or don't show any
2:37
kind of notifications. So when the device is locked with the last one, no one will be able to see any kind of
2:43
notifications if you worry about that. I'm going to keep it as it is and go to the next page
2:52
And here we have Google services. So we have location, scanning and sending user and diagnostic data
2:56
Now if you don't like these, you can disable them. You can also read exactly what they do by tapping on an arrow and expanding this super
3:06
cramped little text. Like I said, you can disable them if you don't like it
3:11
Like so. Go all the way to the bottom and tap on accept
3:18
And setup completed. So let's tap on finish and there we go
3:29
And that is how you can go through the setup of this device. So if you found this very helpful, don't forget to hit like, subscribe and thanks for watching