0:02
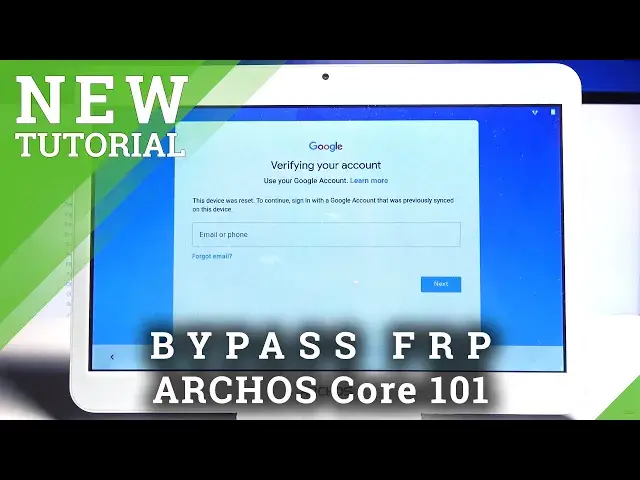
Infonomies an Arcus Core 101 3G and today I'll show you how to bypass the Google verification
0:15
Now before we get started there's a couple things that we will need. Number one is an SD card with the app downloaded that is provided in a description
0:23
And number two will be a SIM card with any kind of contact on it
0:29
So to get started, once you have both of those, you want to insert them to the device and then reboot the device
0:35
Otherwise, the SIM card will not work. And from there, we can begin
0:41
So, obviously, you can see that it is locked right here, verify a Google account
0:45
So now I'm going to begin the process. So we do it by going to the first page
0:50
Now you also should be connected to Wi-Fi, just in case. Let me go back even further to the first page
0:59
page. There we go. So now we're at the first page. So from here you want to go
1:08
to emergency. Tap the emergency information twice. And then also the pencil to edit it
1:17
Choose contacts. Add contact. Give it a second. For you it might take a while to load
1:26
the contacts that are on your SIM card. so just give it some time so yeah once you see them you want to choose any kind of
1:36
contact tap on it to add it and tap on it again once added in here allow allow
1:43
allow and now we want to top on the three dots and go to share and hold the gmail
1:51
option then select hop info And from here we are going to scroll down to notifications and then go to
2:10
open feedback I believe. Actually you know that seems to do nothing let me quickly
2:16
see. It's supposed to go to notifications and
2:29
Oh there we go, so it's the info icon. I was looking for a setting icon but it doesn't exist here so it's the information icon as you just seen right here
2:39
And from there I going to go to the three dots and now help and feedback And from here once it loads
2:53
we check it. Let me go back. Go to manage account, continue
3:09
And from here, from here, Let's scroll down to security. Security
3:21
Scroll down to unknown sources. Now we go and enable it, confirm it by topping on OK
3:30
And once we have selected that, one tool go even lower. Let me quickly check it
3:45
We're looking for the other, there we go, device administrator, so it wasn't actually lower
3:49
it's above basically. Then select Android Device Manager, select that, and then deactivate for this device administrator
3:59
And once it deactivated, we can go back. Go back once more, and now go into..
4:07
into apps and from the apps let's stop on the 3 dots go to show system
4:19
and now scroll down to G scroll lower
4:37
So we're looking for Google Account Manager. There we go, Google Account Manager
4:52
Select disable, disable app. Go back, and now want to go back and also disable the Google Play Services
5:05
disable, disable app, go back, go back once more
5:15
And once we're on the main settings page, you want to go to storage, then choose your
5:19
SD card. And now you want to launch the app that we have downloaded so let select that Go to Next Next install So once it done installing which took a while click on done go back
5:45
Go back once more, and from here we're going to go to accounts
5:50
Go accounts, tap on an ad account, and choose Google. And once it shows us the option to log in, you want to log in with any kind of Google account that you own or know the credentials for
6:11
If you don't have any, I can simply create one, although I would advise you to do it on a computer, even though you have the create account right here
6:18
So I advise you to do it on a computer and you can basically create a trash mail specifically just to bypass this if you want it to
6:26
And once you have it, just use it to log in. Now I have my own account so that's what I'm going to use
6:43
And now I'm going to put in a password for it. And let's stop on next to log in
6:54
Let's accept whatever it shows up. And as you can see, it tells us that the app that we have installed is crashing
7:07
It doesn't matter. This app allowed us to actually add Google account
7:12
That's basically all the purpose of this app was. And it doesn't matter anymore
7:17
It has allowed us to add it, so its job is done
7:21
So from here, let's go to apps, and we need to reenable the apps that we have this abled
7:27
So again, let's go to show the system and scroll down to G
7:33
Half, now we go G, I think I'm too far. We go Google Account Manager
7:40
Let's reenable it. Go back, you can see now it's enabled. Scroll down, there's the Play Services, and reenable that as well
7:51
And once you have enabled both of these apps, hold the Power Key and select reboot
7:56
I'm actually going to take out the SIM card right here
8:09
This is just so I don't have to put a pin for it. And as you can see we now back in the setup screen so let right now progress to this setup process and I would advise you to skip basically as much as you can because it doesn really matter what we choose right now we still need to perform a reset of the device
8:41
Okay finally it proceeded further so you can see right now this is the previously the screen
8:48
that will tell us to verify our Google account and now it's telling us that account was added
8:52
and as the account that have inserted right before the reboot of the device
8:57
So basically they did override the last one and allows us to proceed further
9:06
And also I'll mention that even though you see right now that account was added and allows us
9:10
to proceed further, the device is still not unlocked and like I said before we still need
9:15
to perform a reset of it through settings. which will and this performing it in this form will basically remove everything from the device
9:24
and all the data from the previous account, the this account and afterwards the device
9:30
will be fully clean and unlocked. Okay, so there we go. We're now on the home screen
9:42
So let's open up the uptray. Hopefully this can load quick. And go and you want to open up settings
9:54
From here scroll all the way down to backup and reset. Factory Data Reset
10:04
Reset tablet and then tap on erase everything. Now I'm not going to force you to sit through the rest of this
10:12
It's basically going to go through a reset of the device and you should be back in the setup
10:16
screen afterwards. And at that point, you can set up the device as however you like
10:20
It will be fully unlocked and tool act as though the setup will look basically identical to the same way where you unbox the device and have it for the first time
10:31
So you can skip the Wi-Fi connection or just to connect to it. And Google account will only be there just to allow you to log in and you can completely skip it if you don't want it
10:41
Like I said, I don't really feel like it's necessary for me to go through it because it probably will take a while
10:48
So, yeah, once you topple and erase everything, the device will begin unlocking itself
10:54
So, if you found this very helpful, don't forget to hit like, subscribe, and thanks for watching