0:00
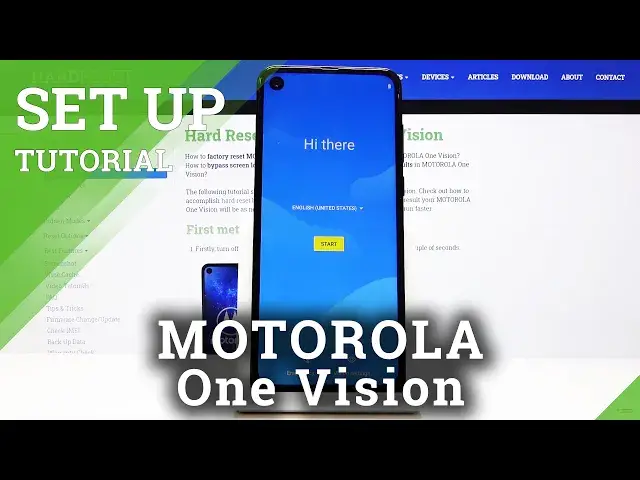
Welcome! In front of me is a Motorola One View and today I will show you how to go through
0:10
the setup process of the device. So once you power the device on for the first time, you'll
0:15
be presented with this screen. So choose the language that you want by tapping on the drop
0:19
down right here and selecting your desired language. And from there I'm just gonna tap
0:25
on cancel and stick with English. From there tap on start and here we have an option to insert a
0:31
SIM card. Now this step is completely optional if you want to. It gives you actually a neat
0:36
animation which is kind of nice that you can insert two different SIM cards although it also
0:41
includes a SIM card or an SD card if you choose to use one of each. Let's tap on skip for here
0:49
and then you have Wi-Fi connection. Now this you can skip as well or you can also connect
0:55
to it if you want. I'm gonna tap on connect but if you want to skip it you can do it here
0:59
For instance you don't have a Wi-Fi near you that you know the password to. Now let's give it a
1:08
little bit of a moment for it to actually gather some data. I'm not really sure what exactly it's looking for
1:15
And then we have a page to copy our data from a previous device. So basically we create a Google
1:29
backup and then you can restart it from here. It'll just give you a list of different backups
1:33
that your phone has created over the time and you can pick it and it will basically download all the
1:39
apps and everything that was on your previous device at that moment. Now I'm gonna set it up
1:43
as new so I'm gonna choose don't copy and let's wait a little bit longer. And then we have the
1:53
Google sign-in page. So if you have a Google account you can sign in, if you don't you can
1:58
create one right here and you can also just skip this step if you don't want to sign in at all
2:03
Then we have Google services. So as you can see you have some localization services and some
2:15
diagnostic data. Calling the services is a little bit of a misleading thing. Basically there's a way
2:23
for Google to know where you are. So this will allow you to also use something like Google Maps
2:30
and other apps that shouldn't really have it will also want access to it. So just a nice thing to
2:36
remember when you're using your phone from a day to day. And then you have the send user and
2:42
diagnostic data. Again whatever you're gonna be doing is gonna be gathering data on it and kind
2:49
of sending it to Google to quotation mark improve how the usability of the device feels. So choose
2:57
if you want it you can disable this if you want to. But things like location, like I said certain
3:03
apps will require it and you will then be forced to enable it if you want to use that app. From
3:08
there let's tap on accept and we have a screen lock. Now this step is optional. Again you can
3:15
set it up if you don't like four digit pins you can choose a different one between like pattern
3:20
or password and whatever you choose you just want to draw it and then redraw it. You can also like
3:26
I said skip it by tapping on skip on the first page that we were. You have unlock with your
3:31
fingerprint so you can add a fingerprint there's a sensor basically in the middle of the back of
3:36
the device basically the logo. You can set it up by just tapping your finger there. I'm gonna skip
3:43
it I don't really feel like doing it. And then you have maybe additional apps. Yeah I don't want
3:47
additional apps so tap on okay. And we're almost done. Accept and continue. Go more and next. And
3:58
there we go. And now the setup is finished. So if you found this video helpful don't forget to hit
4:03
like, subscribe and thanks for watching