0:00
Welcome in this video, I will show you
0:01
how to set up Windows 11 on your Dell 14
0:10
First of all, select your country or
0:14
and then click yes. After that, you have
0:16
to add a keyboard layout for your
0:21
Select one that you prefer as your
0:24
primary keyboard layout and then click
0:26
yes. If you want to add a second one,
0:28
you can click add layout right here and
0:30
proceed. Otherwise, skip this step and
0:33
do it later in settings if you
0:36
want to. After that, you're going to
0:37
have to connect to a Wi-Fi network.
0:40
So, select a Wi-Fi network from the list
0:43
and click connect. You can also just
0:45
connect an internet cable
0:52
Enter password, press enter, and then
0:57
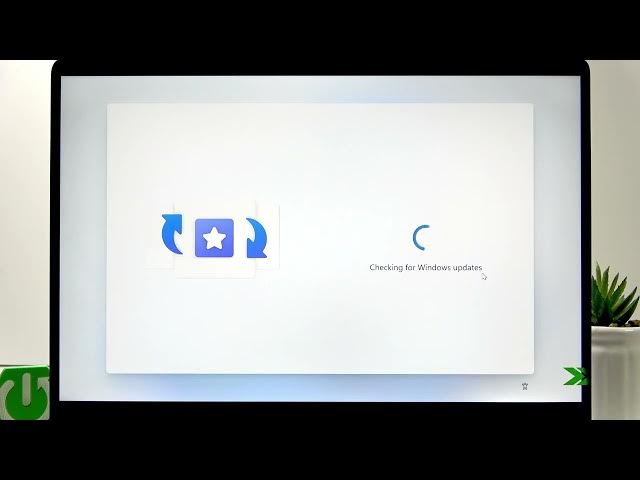
After that, your laptop will quickly
0:59
check for available updates and it might
1:02
restart at this point. Let's wait until
1:05
the updates check is finished.
1:08
Now, if you want to rename your laptop,
1:13
entering a custom name for your device
1:15
into this field and then clicking uh
1:18
next. After that, your laptop will
1:20
restart to apply changes or if you don't
1:22
want to do it right now,
1:24
just click skip for now.
1:26
And after that, you're going to have to
1:28
wait until the updates that your laptop
1:31
found previously are installed on your
1:38
uh make sure that the charging cable is
1:40
plugged into your computer and uh wait
1:44
for about half an hour until all the
1:48
are installed. Okay, but before we wait
1:52
for that, let's select for personal use
1:59
And now just wait until
2:02
the updates are installed.
2:11
Okay, once the updates are installed,
2:13
let's sign in to our Microsoft account.
2:16
So, select sign in and after that enter
2:20
your account's data, so email address
2:29
Press enter and then either use your
2:34
confirm your identity using a code that
2:40
Let me just check my email real quick.
2:43
Okay, and once you enter the code, press
2:47
And then wait for a couple of seconds.
2:56
Then you're going to have to create a
2:58
Click create PIN and then enter a new
3:00
PIN code into the first field and
3:02
confirm it by entering it once again in
3:16
And then choose privacy settings for
3:18
your laptop. So, here we have location
3:21
service, find my device, diagnostic
3:23
data, and inking and typing
3:24
personalization offers. So, the first
3:27
one get uses your location to give you
3:31
info like directions, weather, news,
3:33
etc. Find my device uses your location
3:37
help you find your device in case uh
3:40
it gets lost or stolen. Diagnostic data
3:44
gathers data about your device's usage
3:47
to send it to Microsoft for research.
3:50
Inking and typing does the same thing as
3:52
diagnostic data, but only with your
3:55
device's keyboard. And personalized
3:57
offers is personalized ads service.
4:02
So, let's disable the services that we
4:04
don't need and click accept.
4:12
Now, if you want to restore your
4:15
system from the backup, you can click
4:17
continue. If you are prompted to If you
4:20
want to set up your device as a new
4:23
laptop, go with more options.
4:26
Select set up as a new PC and confirm by
4:28
clicking set up as a new PC once again.
4:31
Then wait for a minute or two.
4:40
After that, you can customize your
4:42
experience by selecting one of the
4:44
available presets on this list. But, if
4:47
you don't want to do this right now, you
4:49
can do it later in settings.
4:51
And just click skip right here.
4:54
Then, if you want to connect your
4:56
smartphone to your PC if you have an
4:59
Android device, you can scan this QR
5:01
code using your Android smartphone's
5:04
camera and then click next. If you have
5:06
an iPhone, then just skip this step and
5:08
do it later in settings.
5:10
Then, if you want to back up photos from
5:12
your smartphone in OneDrive folder, you
5:15
can scan the following QR code both on
5:17
iPhones and Android smartphones. Once
5:21
you scan this QR code, click next. And
5:23
if you don't want to do this, just click
5:25
Then, if you want to synchronize your
5:27
Microsoft Edge data on this device,
5:30
click accept. Otherwise, click not now.
5:35
And then we have one Microsoft offer.
5:38
Let's decline it. The second one,
5:44
And the last one, let's skip this one,
5:50
And that's it. The setup is finished.
5:52
Thank you for watching this video. If it
5:54
helped you, please consider subscribing
5:55
to our channel. Leave us a like in the
5:57
comment below, and I'll see you in the