0:06
I'm from the Xiaomi Redmi 9 and today I'll show you how to go through the setup process of the device
0:14
So when you put it up for the first time, you'll be presented with this small screen right over here
0:19
And stop on the arrow to get started. So get started, we all need to select our language
0:24
For me, I'm going to stick with English, which is selected by default, but if you want to use any kind of other language
0:30
just scroll down and select whichever language you want to use by simply tapping on it
0:34
And from there, tap on arrows, go to the next page, where you get to select your region
0:40
So again, select your region. You can tap on a search bar right here to quickly find it, but I'm going to stick with this one
0:47
And then connect to a network. And this step is completely optional. If you want to, you can connect to some kind of Wi-Fi
0:52
If you don't want to, you can completely skip it. You might not want to constrain. For instance, you don't have accessible Wi-Fi near you, so you just you
1:00
stop on skip and the only thing you will miss out right now is the ability to log into your
1:04
google account which rest assured you can do later on after this setup is complete simply by
1:09
going to the settings and from there connecting to Wi-Fi and then adding an account
1:15
and then next page terms and conditions because nothing welcomes us better into our new device
1:21
like agreeing to terms and services so obviously we need to check that we have read it
1:26
thoroughly and agree to the user agreement and privacy policy and then top on next
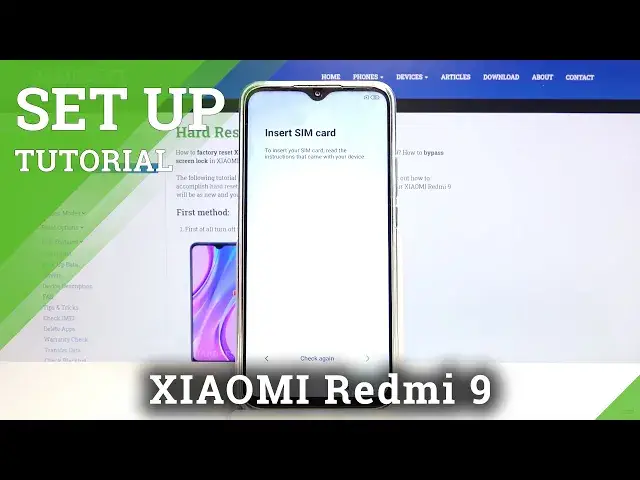
1:33
and now it's searching for SIM card and again this step is completely optional
1:39
you can insert a SIM card at any point throughout well the user usage of this device And the moment you inserted it will start working as it was supposed to
1:50
So there is no additional steps needed outside of, for instance, putting a pin for the SIM card
1:56
if you have one set on that SIM card. If you don't, it will just, you won't just pop it in and it will work immediately
2:03
I'm going to tap on next button to skip this. And then we have Google Services, so location, scanning, and send user in diagnostics
2:10
data. Now you can top on the arrow to read it further if you wanted to, but basically the short
2:15
abbreviation of this is location, GPS scanning for apps, for instance, things like Google Maps
2:23
will need location or want location, so if you're using that as a GPS navigation, this
2:29
will then give you a correct route, but then there are apps, additionally, for a majority of the
2:36
time, things like smart appliances that want location for no reason. Then we also have the scanning, scans for Wi-Fi, Bluetooth, stuff like that, just so we can connect to it
2:46
Send using diagnostic data, kind of self-explanatory in the title. I gather data on you and sends it to Google
2:53
And the nice thing about this is you can actually disable them
2:57
Now keep in mind that when you disable location and scanning, basically all those options will be disabled, so Wi-Fi and navigation, GPS
3:10
will be disabled and when you try to open an app for instance like Google Maps it
3:15
will not find your current location until you turn it on and if you try to use it as
3:19
a GPS navigation the device will prompt you that it needs and use you to turn
3:24
it back on so let accept here at the bottom and go to the next page where we can add a protection to the device So as you can see we can add either fingerprint or and actually other locking options
3:40
which will be pattern, pin, password. So if you try to add a fingerprint, you will be required to actually add also pin pattern or password
3:50
You cannot have just a fingerprint. You will also need to have some kind of physical unlocking
3:55
method outside of the fingerprint because well if you catch your finger you won't be able to
4:02
get to your phone so I'm gonna go with just a pattern here so that's what I'm gonna select
4:08
now it gives us a five second message that we need to remember our password like it isn't
4:14
obvious that passwords need to be remembered so let's draw it retry it and then top on
4:20
a arrow to confirm it then we have additional settings so these are I believe
4:25
RealMe outside of Google because we already had options for location, obviously, which we disabled
4:31
But RealMe is persistent here outside of Google and also wants it
4:36
So we have allowed apps to access your location. How about no? User experience programs help us improve our products
4:43
So again, this is basically send user and dynamic data along with the actual send diagnostic data automatically
4:52
Then automatically sync automatic system updates. so when there's an update the device will automatically download it and install it
5:00
this is completely up to you if you want it or not and then we have personalized ads
5:04
which is keep in mind i believe if we disable it yep this is the only one that is actually
5:09
like really persistent on trying to stay on so it basically what it does is scans of scans for what you search on the web and then gives you ads associated with your search
5:23
So personally, I really don't like this, and that's why I want to disable it, and also
5:27
pointing that out. As you've seen, this is the only option that pops out a window, are you sure you want
5:32
to disable this? Which makes this super sketchy to me. Wheelpaper, cursor, and the last thing is
5:40
is just a wallpaper. So I believe it's only for your lag screen
5:46
Yeah, for a lag screen, as you can see here. It will be changing daily, so it hasn't built in a hub in the device
5:53
where it basically gets daily wallpapers and then switches them up on the lag screen
5:57
If you want this, keep it on. If you don't, disable it. And then choose a theme
6:04
So honestly, there's not much difference between them, apart from the wallpaper and icon style
6:08
As you can see, the icons in the classic are a little bit more squares with around the corners well these ones are kind of
6:14
shaped in all kinds of ways I'm gonna go with limitless and just kind of something
6:19
that I like more how it looks like and from there set up complete so let's stop on
6:23
narrow and get access to our home screen And there we go
6:43
So if you found this video helpful, don't forget to hit like, subscribe, and thanks for watching