0:00
Hi everyone, in front of me I've got a Redmi Note 11 Pro Plus and let me share
0:12
with you how to enable Google Backup on this device. So first of all let's enter
0:16
the settings and now let's tap on about phone which should be at the very top
0:20
Now let's tap on backup and restore option and scroll down. As you can see
0:25
right here we've got whole Google Backup section and all we have to do is to simply tap on backup account in order to add it. If for some reason this option is
0:33
turned off in your case, no worries. It is only because this backup my data option
0:39
is off. As you can see we cannot tap on it so just tap on it here and tap
0:45
on the switcher. As you can see the backup account is active so let's tap on
0:49
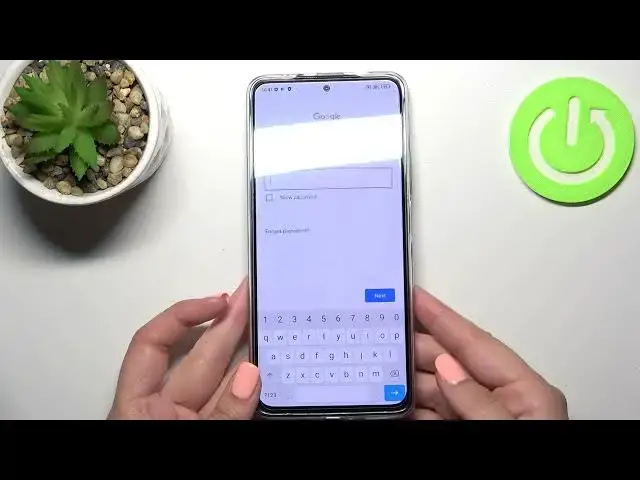
it and make sure that you've got the internet connection because it is required for this operation and from this step we can either create a new
0:56
account if you do not have your own yet or simply type your email or phone. So
1:00
let me do it. What's more a quick disclaimer you do not have to enter the
1:07
full email address just the very first part of it which is before the add
1:10
symbol. As you can see after that your device will autofill it. So now let me
1:15
take the phone and enter the password. Alright let's tap on next. Here we have
1:27
to decide who will be using this device so I'll stick with the first option and
1:32
here we've got Google Terms of Service and Privacy Policy so of course if you
1:36
want to you can read them just tap on it and here we've got all the info. Let's tap on
1:40
I agree after reading. Here we've got the shortcut of backup and storage info so
1:45
just tap on accept because we will have this step right here and it's much more
1:50
clear outside. So here you can learn that you are able to use 15 gigabytes of
1:56
Google account to storage and backup apps and apps data, call history, contacts, device
2:01
settings and also text messages. You can of course have more details to learn
2:05
more. Your device will backup the data automatically, you will store it
2:11
securely and you will be able to backup to manage the backup easy so that's
2:17
quite cool. Of course if you don't want to backup the data right now no worries
2:21
just tap on not now and if you decide that you want to you will be transferred
2:26
directly to this step so you do not have to go through the whole operation of adding the account. So just tap on turn on. As you can see here in this Google
2:34
backup section we've got our account added which simply means that from now
2:38
on your device will backup the data on this particular account. So actually this
2:44
is it. This is how to enable Google backup in your in your Redmi Note 11 Pro
2:49
Plus. Thank you so much for watching. I hope that this video was helpful and if
2:53
it was please hit the subscribe button and leave the thumbs up