0:01
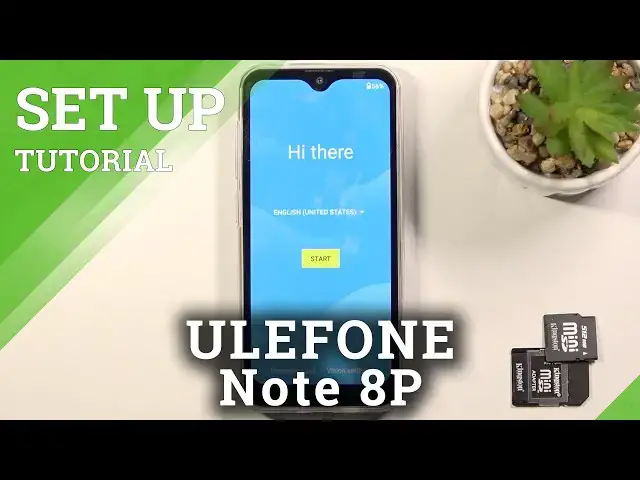
In front of me is a Yilo phone, Note 8P, and today I'll show you how to go through the
0:11
setup process of this phone. And when you boot it up for the first time, you'll be presented with this Hi There screen
0:17
So to get started, select your desired language, which I'm going to be sticking with English
0:23
And from there, select Start. On the next page, you have the Connect to Mobile Network, so all you would need to do
0:31
is insert a SIM card. I'm not going to be doing this right now, so I'll select Skip, which will bring me to
0:37
I believe Wi-Fi connection page. There we go. And here you can connect to Wi-Fi
0:41
Now if you choose to not connect to either mobile network or Wi-Fi, date and time will
0:46
need to be fixed manually instead of being set automatically if you are connected to network
0:52
And also, you will not have the page for logging into your Google account
0:56
This can be done still later on after the setup is complete
0:59
Once you connect to Wi-Fi through Settings, you can also find in the Settings account and add, for instance, Google account
1:05
Now I'm going to be setting it up offline, so again, I'm going to skip connecting to Wi-Fi here and go to the next page, which gives me the date and time
1:14
Now like I mentioned, if you connect to any kind of network, this page is basically being skipped
1:25
And on the next page, we have services from Google, so we have Location, Scanning, and
1:29
Sending User and Diagnostic Data. Now to be perfectly honest, those aren't necessarily services, or I guess they are, but from you
1:36
to Google instead of the other way around. So number one, Location basically gathers your location
1:45
Now it is most commonly used for things like Google Maps, so you do have an accurate position
1:52
on the map and also route to your destination, but it's also being used in more nefarious ways
1:59
If you've ever seen a pop-up, for instance, McDonald's, it's because of a location where
2:07
Google knows that you went to a specific location and it presumes that you, for instance, went
2:11
to some restaurant or something like that, and then wants your rating on it
2:16
Then we have Scanning, which allows the device to scan for nearby devices and signals, meaning
2:20
Wi-Fi, Bluetooth, and so on. And below that, we have Sending User and Diagnostic Data, which basically sends your data, how
2:28
you use the device, what you use on it, to Google, just so they can, quotation mark
2:34
improve the user experience. And if you don't like these at all, you can simply disable all of them, like so
2:42
At least that's what I believe we're doing, because at the end of the page, you do have
2:46
Accept, which makes it kind of counterintuitive. Now next page, we have Protect Your Phone, which will allow you to set up some kind of
2:55
screen lock to your device. So we have a choice between PIN, Pattern, or Password
3:01
Select which one you want. If you don't want any, then you can select Not Now, which will mean that anybody can
3:06
access the data on your device, meaning that they have your device
3:12
They won't have to unlock it or anything. They can just do it normally. Now if you want to protect your device, you could set up one of these, for instance a pattern
3:20
So you draw the pattern, tap on Next, confirm it by drawing it again, and now to access
3:26
the device, you will always need to insert that pattern. Have wireless updates, so we do have to agree to privacy policy, obviously
3:35
And I have read Consent Form, so obviously you can read exactly what you're agreeing
3:42
to right here. And tap on Continue, which looks to be finishing up the setup
3:52
And there we go, so that is how you can go through the setup of this phone, and if you
3:56
found this very helpful, don't forget to like, subscribe, and thanks for watching