0:00
Welcome, today I am with Nokia XR20 and I will show you a couple camera tricks
0:11
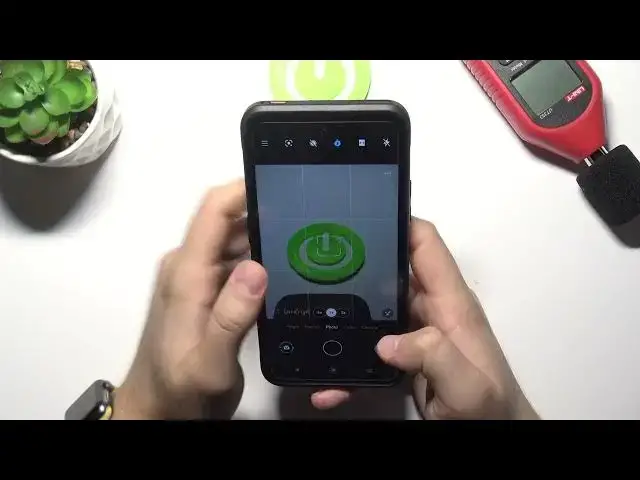
So at the first I'm going to show you all features, all the best features that you can find in the settings and after that about I'm going to talk about this options that we can find right here
0:23
So to open the settings we have to click on the left upper corner and as you can see at the first we are able to add grid lines to our
0:29
screen so when you enable this option all the modes like photo and video you will
0:35
find this help grid lines on the screen and they help us to take better
0:39
composition our photos so for example if you want to put this object in the middle
0:44
right now with these lines you are able to make it definitely easier when you go back
0:52
to the settings we can also find location tags when you enable this feature and then grant
0:57
permission for location to our camera, we will be able to check the exit location where the photo or video was taken
1:07
So let me show you. Let's take photo like that. Click here, top on the right upper corner
1:17
And as you can see, in this place, we can find the exit location where the photo was taken
1:22
And we can also able to open it in the Google Maps
1:26
When we are here, we can also find option long press on the shutter, and when we make it we are able to capture quick video, I mean we can capture video quickly or just take bare shot
1:40
So let's use, for example, this second option. And right now when you switch and then click and hold this shutter you are able to take series of the photos Of course you can check all of them by going to the gallery and here they are
2:01
Let's go back for the settings one more time, and as you can see when you are here, we are also able to add watermark to our photos
2:07
So click on the switch wire top set. As you can see, at the first we can add the device information to the left bottom corner
2:14
we can pick this one or this one, one of these two themes
2:19
When you select personal message, we can type whatever we want. And we are able also to change the theme of that custom watermark
2:33
So we can pick, for example, this one. For me, it looks very cool. Okay, so as you can see, here we got the watermarks
2:40
We are also able to out our custom image. Maybe I will find something in a gallery
2:53
Let's get this one for example. And as you can see, here we have this watermark picture
3:01
And the left bottom corner and that's how it looks. You will replace this normal watermarks
3:11
But let's turn them on and let's take a photo. take a look on the left bottom corner
3:19
we will find our custom watermark I think that will be all from the settings
3:26
yeah that's all and when you are here in the normal modes
3:32
we can find this very cool and useful feature that's the Google lenses so when you tap on this option
3:37
and then open camera you are able to find here a lot of useful features so for example we are going to use this one Google search You have to remember that you have to connect to the Wi network when you use
3:50
that option. So that's what I'm going to do right now. For example, for this one, let me just
3:57
input the password quickly. Okay, right now I'm connected, so I'm able to go back. And right
4:07
know if you are looking for something for example you want to find this product you
4:13
don't know what it is so we have to basically aim your camera on that product and then
4:19
click shutter to make search and as you can see here we can find this product online
4:30
that is decibel matter so that's nice and useful to feature when you are on the modes when you are in the photo mode we are also able to
4:44
add timer to our photos so we can pick three or ten seconds when it select three
4:50
seconds and then tap on the shutter button after a few seconds the photo will be
4:54
taken as you can see let's turn it off when you also click on the screen just
5:01
like that and move this icon like that we are able to change brightness level on our photos without using pro mode
5:14
As you can see we can increase and decrease brightness level on our photos
5:22
So that's useful feature. When you are going for the video mode, we are able to turn on white nose reduction when we
5:31
shot video outside and the same we can change the brightness level on this mode so that the same like in the photo and video mode when you go for the more modes in this place
5:43
we can find for me two interesting options the first one it's very common
5:49
the pro mode where you are able to adjust a lot of options manually like
5:56
wide balance focus iso shutter speed and EV Oh there's we got exposure compensation sorry guys my mistake and when you tab right here
6:08
you all also small preview of that option if you don't know how to use the
6:12
promote you can find it on our YouTube channel we got other video about this mode but right
6:20
now let's go back and in the more modes you can also find the dual side so take a look
6:25
right now I'm able to shot video with two cameras at the same time so with the front
6:32
and the rear camera but also we can make change right here and we are able to shot video
6:38
with two cameras at the same time with ultra wide lens and with the wide lens so take
6:43
look I will show you how it looks and we are also able to change size of this preview
6:51
right here let's turn it off and let's take a look As you can see that's how the video looks
7:05
Maybe it will be useful mode for you. So basically that's all from the all best tricks and tips that you can find Nokia XR20
7:14
If you find this video helpful, remember to love a like, comment and subscribe