0:00
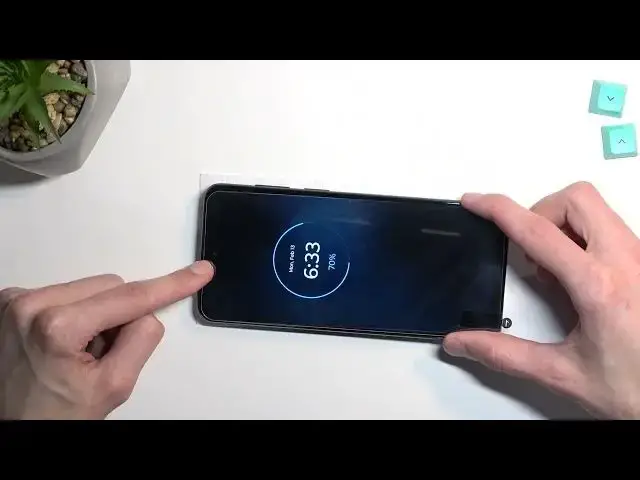
Welcome. In front of me is a Motorola G53 and today I'll show you how we can apply tempered glass to this phone
0:11
Now with that being said I'll be using temperate glass that is designed for a little bit of a different device as you can see this is for the Node 20 Ultra
0:18
but as I will dry fit it just so you can see this fits perfectly over this device
0:23
It's as though Nokia's not Nokia as the Motorola is buying this place from Samsung
0:31
So anyway, just try fit it just so you can see it. And there we go
0:38
Now there might be just a slight difference from what you have. Possibly you might have a holoponched camera in the tempered glass to accommodate for this one right here
0:48
I'll be sticking it in. It really doesn't change the quality of the photos
0:52
so it's not like I really care about that one and it's just a little bit of a cleaner aesthetic
0:56
which I prefer anyway now apart from the tempered glass in the box
1:01
you'll find this foam which I like to put my phone on it
1:05
and also this wet and dry wipe now if you have one that looks like this
1:15
I recommend throwing them out they're absolutely horrendous number one the size of these wipes is just
1:21
comical and number two as you can see this is the wet one so this is a wet wipe
1:31
which isn't wet now if a wet wipe ain't wet it kind of defeats the purpose of it
1:42
now just the size of this itself is already enough for me to grab something
1:48
like a micro fiber clot which is what I prefer to use general So if you have them use something else like a microfiber cloth, you can even use a t-shirt
1:56
and it will probably do a better job than these pitiful little wipes. Now if you have some other temperglass that came with a little bit of a better wipes for instance something like this where you have a little moist pad with alcohol and actual microfiber cloth that comes with it kind of like this one
2:14
Then by all means, use those. These work fantastically. But if you have this that I just showed you before, don't
2:22
Just throw it out straight away. And now with that being said, moving on to the glass itself
2:29
As you can see, I have just the number one to peel off right here. we will peel that off starting with one
2:35
some tempered glasses might have a number two don't worry about that just yet
2:39
you'll always start with number one which will reveal a sticky side
2:43
on the tempered glass which then you will just lap it down like this
2:47
so that being said once you are ready to apply it the way I apply it is
2:53
I just grabbed this display or not the display the temper glass
2:57
from both edges like this and I apply it at an angle So, kind of like this
3:05
So the top of the tempered glass is already touching the display while the bottom one is just simply lifted up, as you can see
3:14
This allows me to then, using my, this kind of pinch right here
3:18
feel the bezels of the phone and align it correctly from left and right side, and also with my right hand I can pull it or push it
3:25
to align it correctly at the top right here. So the spacing is just symmetrical
3:31
That is also one of the things that I'll mention right now which is to dry fit it before you start applying it
3:37
This will give you an idea how far you need to push it up so it's evenly spaced out from top and bottom
3:45
The sides don't really matter that much because you will be doing that with your index and your thumb
3:52
by just pinching the actual glass and the bezels of the phone
3:56
So that should position the glass already in the middle like it should be with..
4:01
about even spacing from left and right side. And same thing, you will start lowering it down on the bottom
4:07
and with the same logic, pinch the display as well and the bezels of the phone
4:11
and just simply plop it down And it should just settle in place correctly as it should be just positioned So anyway now that I kind of described how to apply the temper glass I just mention
4:25
this is my way of applying it. It works really well for me. You can try to fiddle around if
4:32
something just doesn't feel right to you. Additionally, if you try this and it just doesn't
4:37
work for you, maybe it was just a little bit to one side, just shift it off
4:42
a little bit wrong. You can always lift it up using fingernails. Just do it gently so you don't get
4:47
any kind of dirt on there. Lift it up and you can fix it up if anything went wrong. Which is also
4:52
one of the things that you can do if when you applied you had like a, for instance, air bubble
4:58
that's created itself under the display. You can lift it up to get rid of it if it's not getting
5:04
pushed out, which sometimes happens. Now, that's out of the way. We can clean off our display
5:12
Get rid of all the dirt that is on your screen. Once you have that cleaned
5:18
you want to then make sure that there is no dust particles on the display. Now, dust will be probably the most important thing to get rid of
5:27
because it will create air bubbles that you won't be able to get rid of
5:36
Once your display is nice and clean, go straight to applying it
5:40
just so the dust can't settle, meantime. There we go. Now it's not gluing itself just yet, so I'll
6:04
need to apply a little bit of pressure. Whoops. Now when you have some portions like this and this that didn really go fully didn stick fully you can just push them out obviously Shouldn be much of a problem pushing these spots out
6:34
Now in here, there is actually a couple problems that I can see. So I'm going to touch upon those
6:40
They don't happen all the time, but sometimes they do. So as you can see, there is this white stuff right here
6:46
This is just compressed air. There's no dirt under there. It's just compressed air
6:50
it will come back as an air bubble. It just didn't get squeezed out correctly
6:54
and also have some right here that doesn't want to get pushed out and at the bottom
6:59
So I will actually lift this up gently, get to this portion
7:05
where I had the air and I'll just start lowering it back down
7:12
And as you can see, right now I just went fully on there. The compressed air that was visible right here
7:19
is now completely, almost completely gone unless that's dirt. Nope, I think that's just dirt
7:33
So yeah. Now the last part is right here, same as before
7:40
Oh, didn't go correctly. As you can see, it also created this kind of compressed air
7:45
So... There we go. As you can see, no air bubbles anywhere
8:04
The temper glass might be just a little bit dirty with a couple of specs
8:09
a little bit of solution, some kind of liquid, just get it moist up and clean it off
8:15
and it should come off without much of a problem. But there we go. That is how you can
8:19
apply temper glass to your phone and if you found this very helpful don't forget to hit
8:22
like subscribe and thanks for watching