0:00
Welcome guys, so today I am with Motorola Moto G52 and I want to show you few camera tricks
0:08
So first let's start by opening the camera application. You will find it for sure on the home screen or in the app drawer
0:16
And as you can see as default we are in the photo mode and we can quickly change
0:20
brightness level right here by tapping on the screen and then use this slider
0:25
You can make it automatically by tapping on the screen 2 times
0:32
This option also works in the other modes like for example in the video mode
0:41
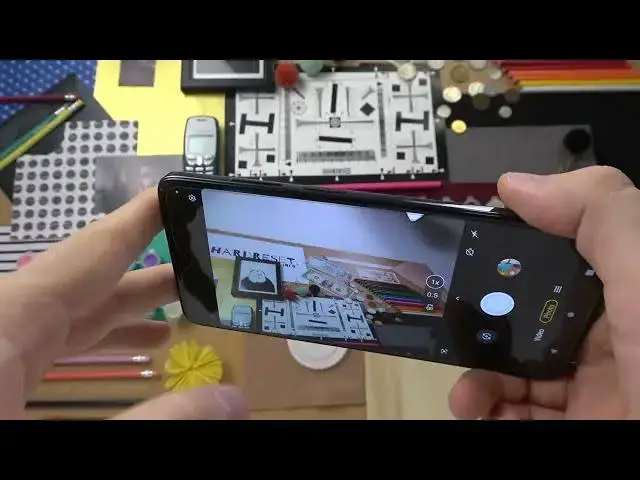
Just like that. Let's go back for the photo mode because right here we get also zoom feature
0:46
As you can see we can switch between the ultra wide lens, macro lens and also wide lens
0:53
And to get more zoom options you have to click and hold and there it is
0:59
As you can see right now we got this slider so we can go for the 8 times zoom
1:08
And you can make it like that. When you click on this arrow we will open this kind of the menu with few options
1:15
For example we can use camera timer between 3 or 10 seconds
1:20
So when we enable this option right now and click on the shutter after this time the photo will be taken
1:27
So it's useful for example when you want to take group photo and use the tripod
1:32
So you will have enough time to put the phone on the stand
1:35
to tap on the shutter and then just go around and join to your friends. Okay and let's turn it off right now
1:45
Yeah just like that. Next step we can open the settings because right here we'll find also few useful options
1:52
We can go for the AI settings where we can find for example the gesture selfie
1:56
So when you enable this option and then open the front camera and show the palm of your hand you will be able to take the selfie with the gesture
2:07
And the photos right here we can enable for example the camera watermark
2:12
So when you enable this option with these two switches you will get this signature on the left bottom corner
2:18
and the date and the time on the right bottom corner. You are also able to add your own signature
2:30
And as you can see this signature will be appears under the shot on the Moto G52
2:37
We can also slide like that and as you can see you can see it more clearly
2:42
Okay let's go back. Let's turn it off by the way because it's not the default thing on this phone
2:50
All right now we can go for the capture settings and here we can find another useful option
2:55
It's tap anywhere to capture. And this option allow us to take photo while clicking on the screen
3:03
On the screen. You can also use volume buttons to take photos
3:12
Volume up and volume down. And when you click and hold this shutter you will be able to take series of the photo
3:23
It works the same with the volume buttons. When we open this more settings we can find for example color spot
3:33
It works on the photo and the video mode as you can see. So right now when you get this option on the screen we can pick for example maybe this color
3:46
And right now when you move the slider just like that as you can see the other colors
3:53
just disappear and we stay only with this one that we select
3:59
Right here. So we can also switch for example for yellow. As you can see right now the only yellow is visible right here and also right here in this small paint box
4:16
And that's how the photo with this mode looks like. Okay and actually that's all for the Moto G52
4:26
Top tricks and hiding options in this phone. Camera application. If you find this video helpful remember to like, comment and subscribe