0:00
Here I've got ZTE Axon 10 Pro and I'm gonna show camera pro mode on it
0:11
At first we have to click on the camera button here. And now let's take a look at this settings bar
0:17
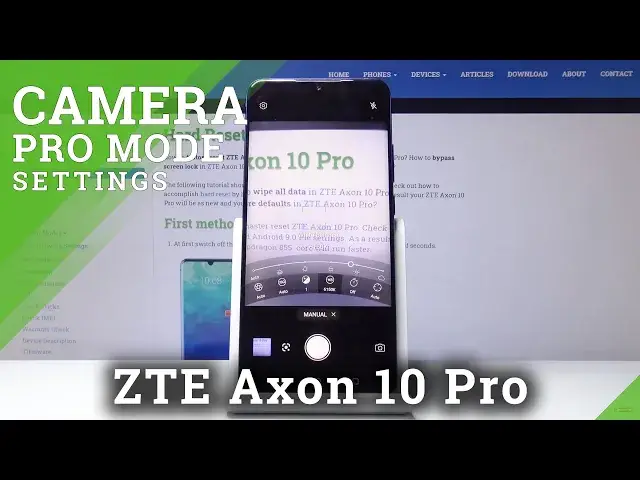
We go to the right to the more settings and here we have access to the more advanced modes
0:22
So we pick the manual mode here. As you can see we have this slider so we start with the left
0:30
The first one here is the shooter speed so here we can change the time of taking picture
0:35
As you can see we have the pretty wide spectrum of it. From 1 and 10 thousands of seconds to 60 seconds of taking picture
0:44
This is very long and this is really pro as in the professional cameras
0:50
And we can go back to the auto mode on this slider to the left
0:58
And the next one here is the ISO so here we can control the camera's sensitivity to light
1:03
As you can see this is how it works also by this slider
1:07
And also to go back to the original settings we go to the left. The next one here is the exposure compensation so here we can make our picture more bright
1:18
or more dark as we need. And here we go to the white balance so here we can change the temperature of our picture
1:25
in Kelvin degrees. As you can see here we can make our picture more warm or more cold as we need
1:32
And it also suggests us the preferred area of our subject from the different surroundings
1:41
As you can see the cloudy light, daylight, white fluorescent light. Tungsten light and the very warm tungsten light
1:53
And also we can go back to the auto to the left. The next one here is very interesting thing because here we can turn on intervals so here
2:02
we can make pictures at every, for example, for 5 seconds. I'm going to show you how it works
2:14
So it just captures a picture every 5 seconds in the interval
2:21
And also it shows us how many pictures it was taken. For now it's 2
2:27
For a moment it will be 3. So this is very interesting when we want to capture different moments in a short time
2:35
for every 5 seconds or more. I think it's useful. I'm going to turn it off
2:41
And the last thing here is the focus. So here we can change autofocus to manual focus
2:47
And also it suggests us in the percentage how far our object is
2:57
And now let's take a look at these settings here. So here I'm going to show you the one thing
3:04
Save as rough picture by this button. The rough format is the format used by professional photographers
3:12
And it captures all image data recorded by the sensor. Photographers use this for example to post-product photos in better quality
3:23
after taking them in the graphic program. So I think it's useful
3:28
And now I'm going to take a picture. And that's all
3:38
Thanks for watching, subscribe our channel and leave the thumbs up