0:00
Welcome! Here I've got Oppo Reno4 Lite and I'm gonna show you how to use the camera
0:10
pro mode at this device. So at first we have to tap on the camera button here to
0:14
open it and for now we are in the standard photo mode. Let's change it by
0:19
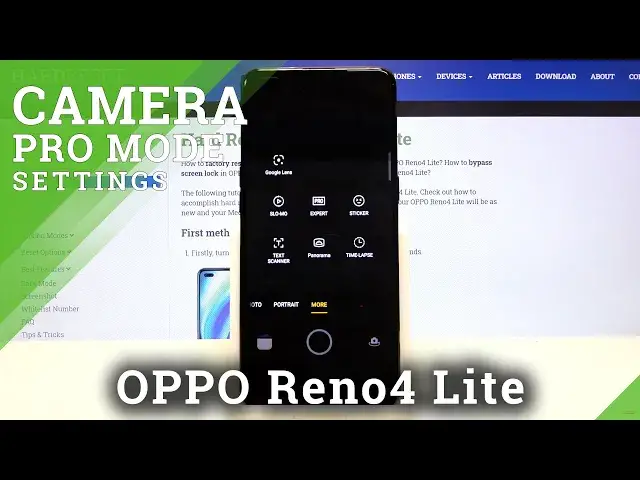
using this settings bar and just simply going to the right to more. Here we have
0:24
access to other modes of this camera. One of this is the pro mode, called also as
0:28
an expert mode. So when we tap on this we can start using this. This mode gives us
0:34
possibilities to choose shooting parameters by ourselves. This is useful when we want to learn photographic skills or making experiments with
0:41
photography. So let me start with this settings bar. Let's go from the right. The
0:46
first one button here is the exposure compensation so we can manage the light
0:51
of the picture. By using this slider and going to the right we can make it much
0:56
brighter and by going to the left we can make it much darker. So this is how
1:01
it works and the auto exposure compensation is at the center of this
1:06
slider with zero and zero parameters here. Now let's move to the next one
1:12
button. Here we have AF letters from the autofocus. By using this slider we can
1:18
change it to MF so the manual focus and we can adjust focusing by using this
1:24
slider like that. Of course we can easily go back also to autofocus by just simply
1:30
tapping on this icon with a letter here so it goes back to the auto settings. Now
1:36
let's move to the white balance here. This button allows us to control the
1:41
temperature of our picture in Kelvin degrees as you can see by using this
1:45
slider and going to the left we can make our picture much cold and by going to
1:53
the right we can make it more warm. So this is how it works. This is the balance
1:58
between blue and orange light and of course to go back to the auto white
2:04
balance we have to just simply tap on this A letter here. Now let's move to the
2:09
next one button. Here we have shooter speed so let's move to the left to the
2:14
beginning of this slider. This is the shortest time of taking photo here so 1
2:20
and 8 thousands of seconds this really short time and this should be better to
2:25
objects that are in move for example to frozen them. When we go to the right we
2:30
can make our time much longer to the 32 seconds so this is really long time and
2:37
this should be better to objects that are stable. Of course to go back to auto
2:42
shooter speed we have to just simply tap again on this A letter here and it goes
2:47
back to the auto settings. Now let's move to the last one button the ISO. Here we
2:52
can control the camera's sensitivity to light so we can make it less sensitive
2:57
from 100 and by going to the right we can make it much sensitive so 6 and 4
3:04
thousands of it so this is really wide spectrum and really pro spectrum of ISO
3:09
like in the professional camera. Of course to go back to the auto ISO we
3:14
have to just simply tap again on this A letter here and in this mode we have
3:19
also one extra button which is here in the center X HD so it allows to turn on
3:26
ultra HD the best possible quality of this camera and by just another tap we
3:31
can easily turn it off. So for now let me use the settings and take a picture so
3:38
let me stay on ISO for example here the shooter speed maybe this one the white
3:46
balance maybe warm one. The focusing let's stay on the auto and the exposure
3:52
compensation maybe a little bit brighter. To see the picture we have to go here to
4:01
the left corner at the bottom when we tap on this we get quick access to the
4:05
gallery so this is my photo and that's all thanks for watching subscribe our
4:09
channel and leave the thumbs up